points of measure
tutorial and demo
introduction to the pom library module
POMS or points of measure is a way in which you can send your suppliers information on the orders and how you would like it to be measured, so they can make sure to create a product exactly how you designed it.
watch

read
pom library
navigating to the pom library
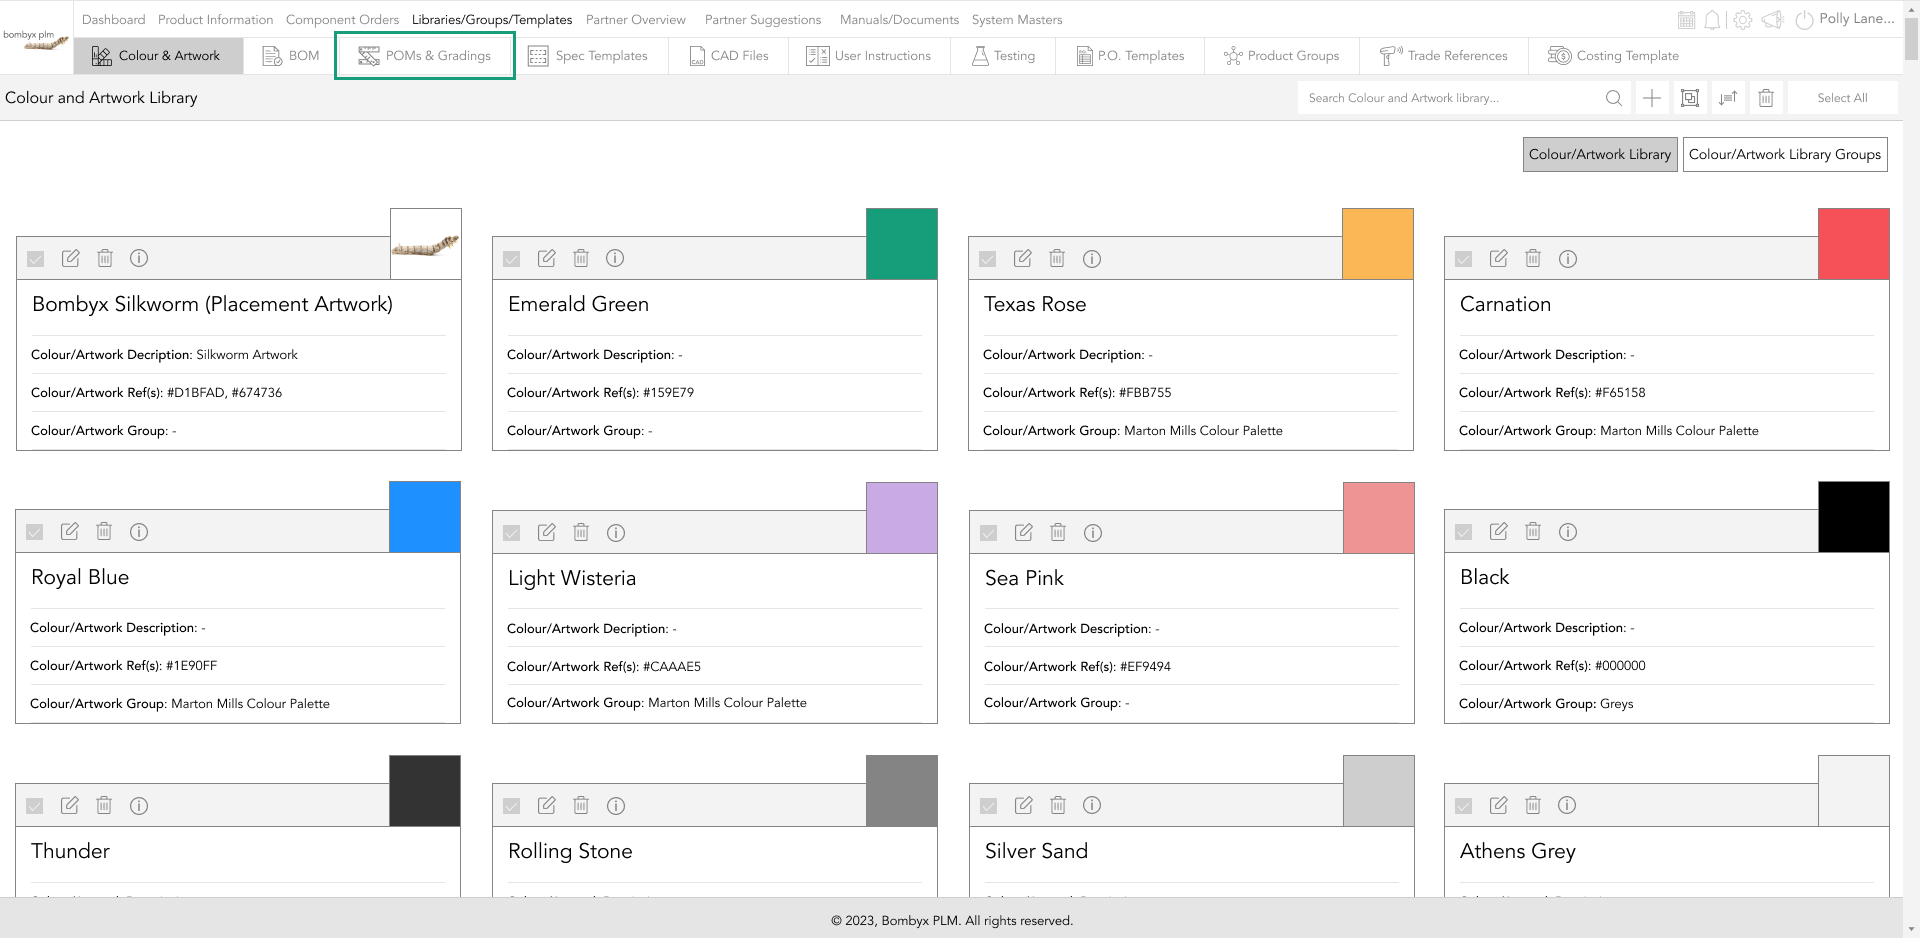
To be able to access the ability to see POMs and Grading (Points of measure) you will need to click on Libraries/Groups/Templates which can be found in the top bar.

Once you are here if you look across the middle bar you will see POM & Gradings you will need to click this to access the POM library and the grading groups.
how to create a point of measure
To add a new POM to the library you will need to tap on the plus icon, this will then bring a row where you can upload an image, and enter the pom code, and description.

Here you can add the image of the product you will be working with so you and the supplier when the pack is sent to them to create so they can see the Pom for that particular measurement depending on the description you have included.
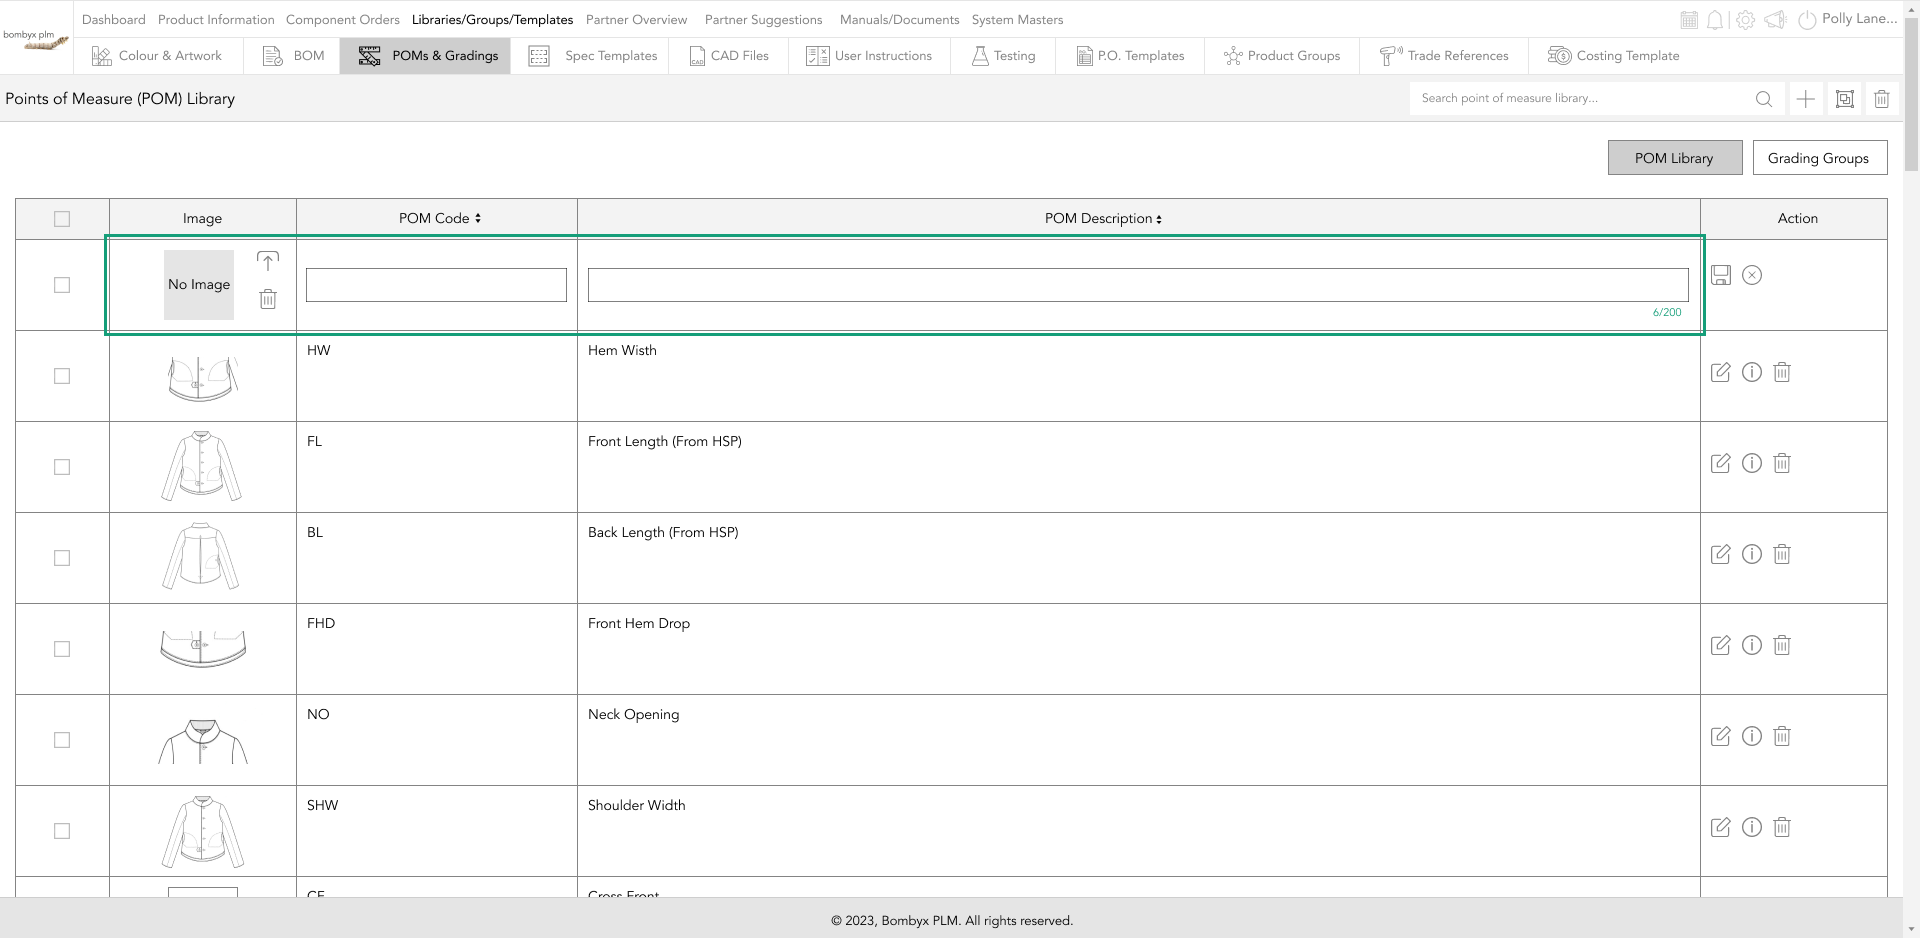
Note: One thing that is very important to remember when creating your code for your POM you need to make sure that the code you are using doesn’t already exist in the library. If so you will be unable to add it again and will need to use a different code that does not exist in the library.
upload an image
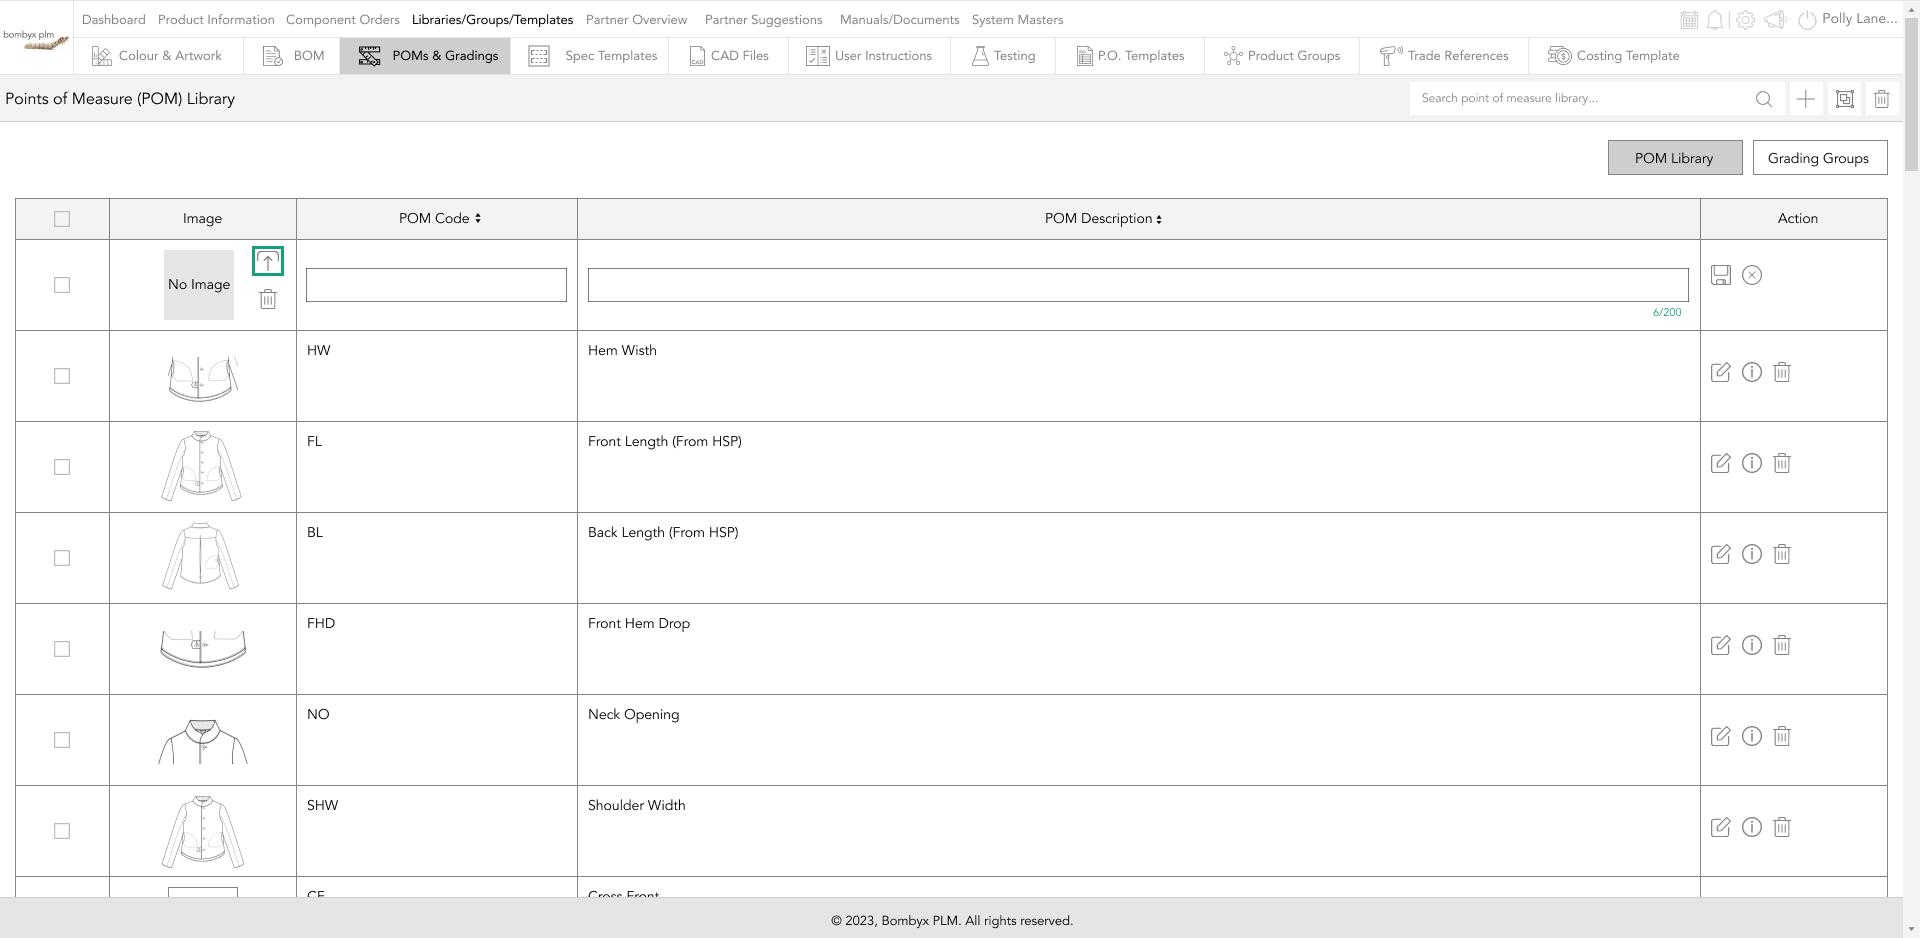
To upload an image for your point of measure, tap the upload icon.
A popup will appear in which you can drag and drop the image into the grey box, or you can tap the upload icon in the bottom right corner.

Once the image has been selected, a preview of that image will be displayed in the ‘Uploaded Image and Crop Preview’ area where you can then crop the image to focus on a preferred area by dragging one of the square crop handles in the corner.
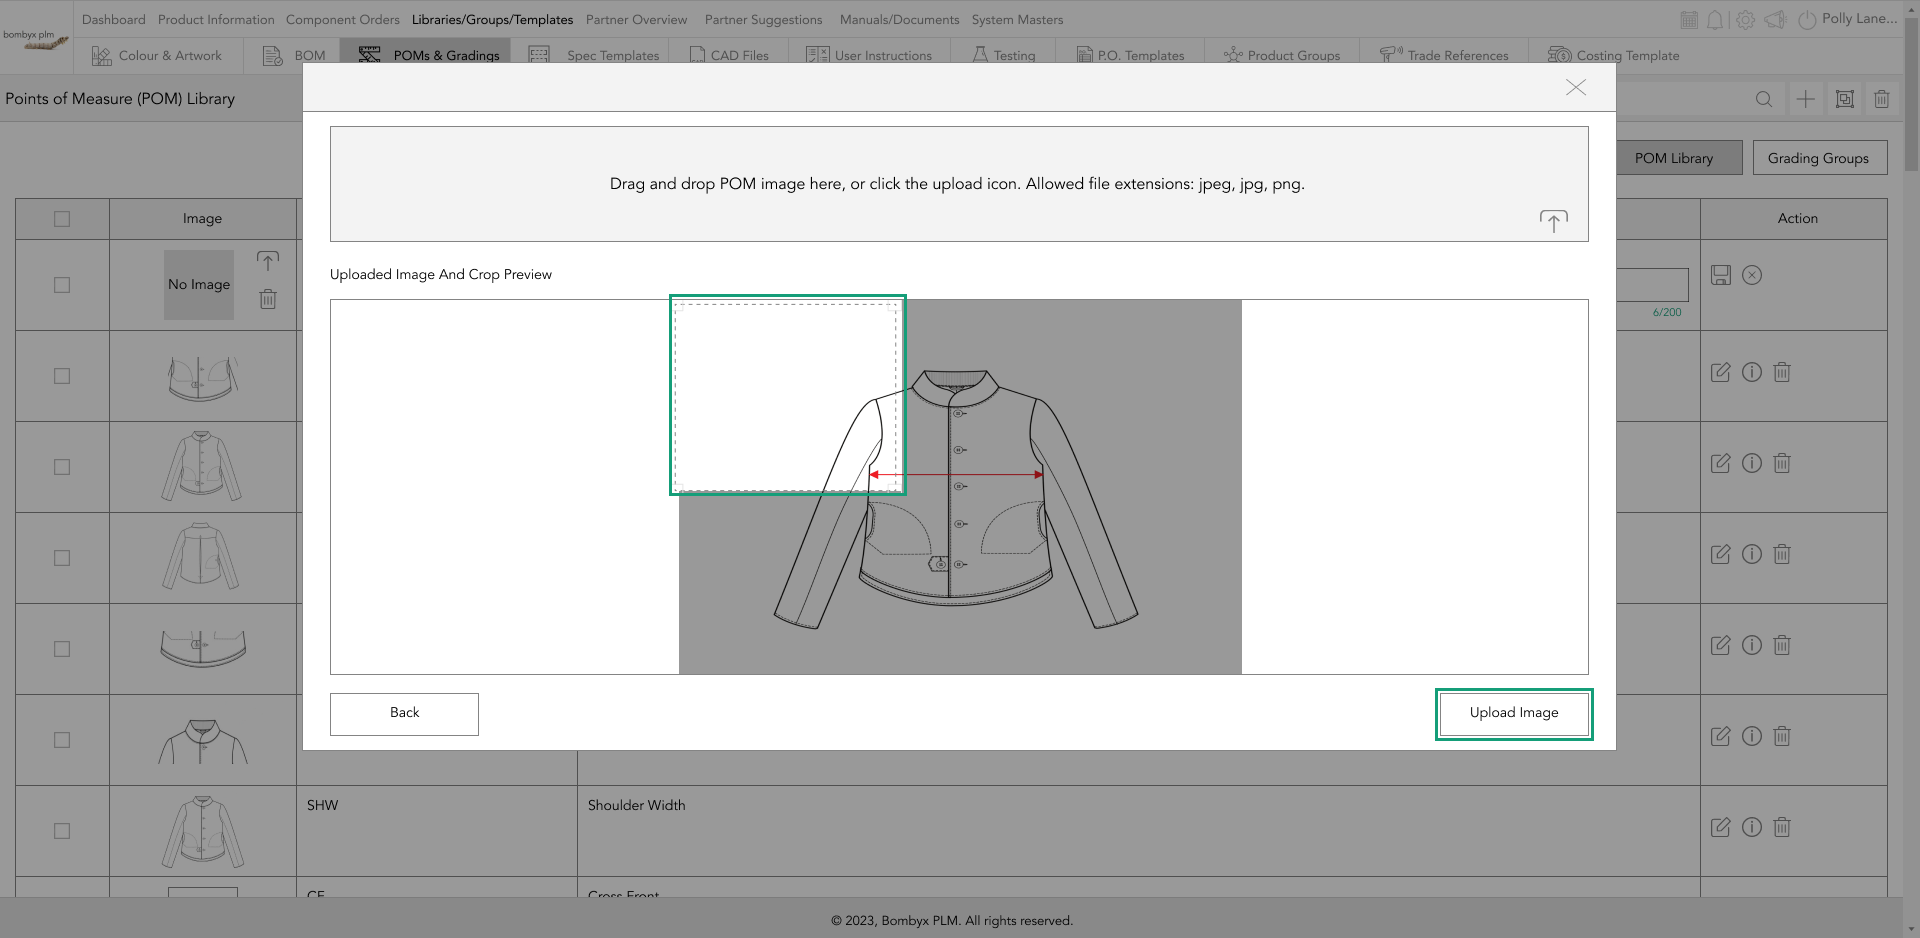
Once you’re happy with the cropping position, tap the ‘Upload Image’ button.
editing poms
To edit/update or upload an image for a particular point of measure Tap the edit icon…
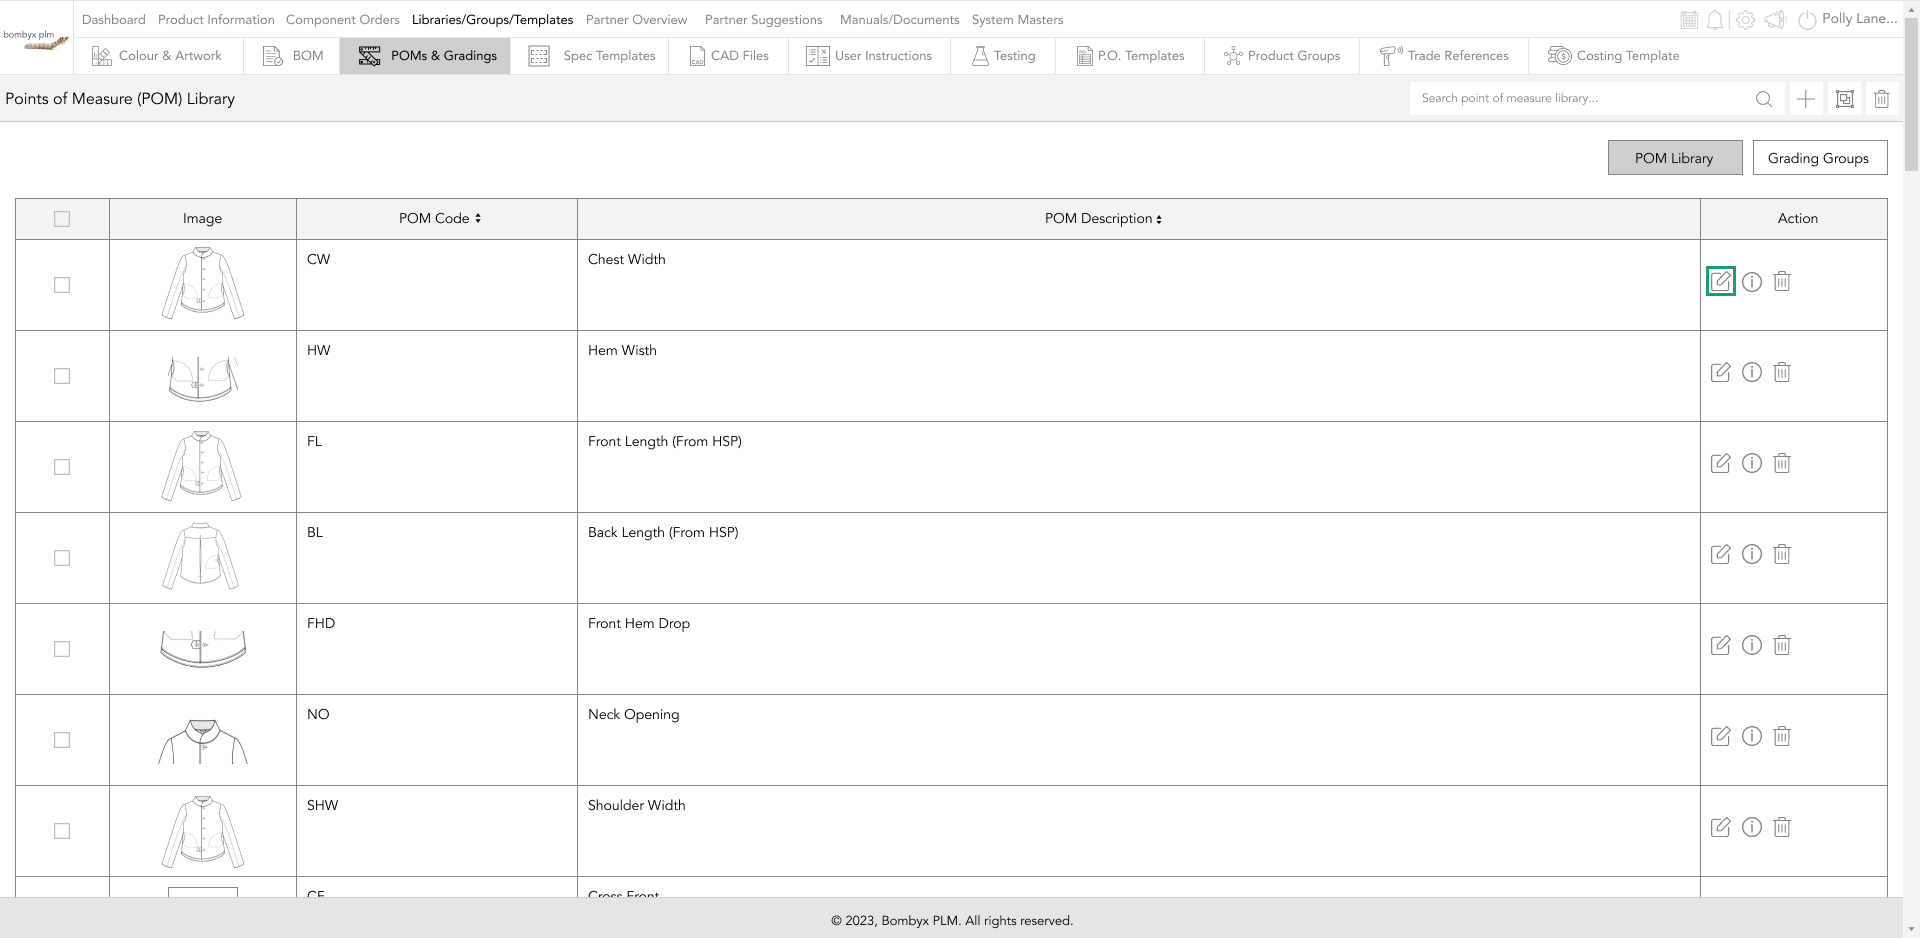
This will allow the table to become visible for you to edit/update the information you have previously entered.
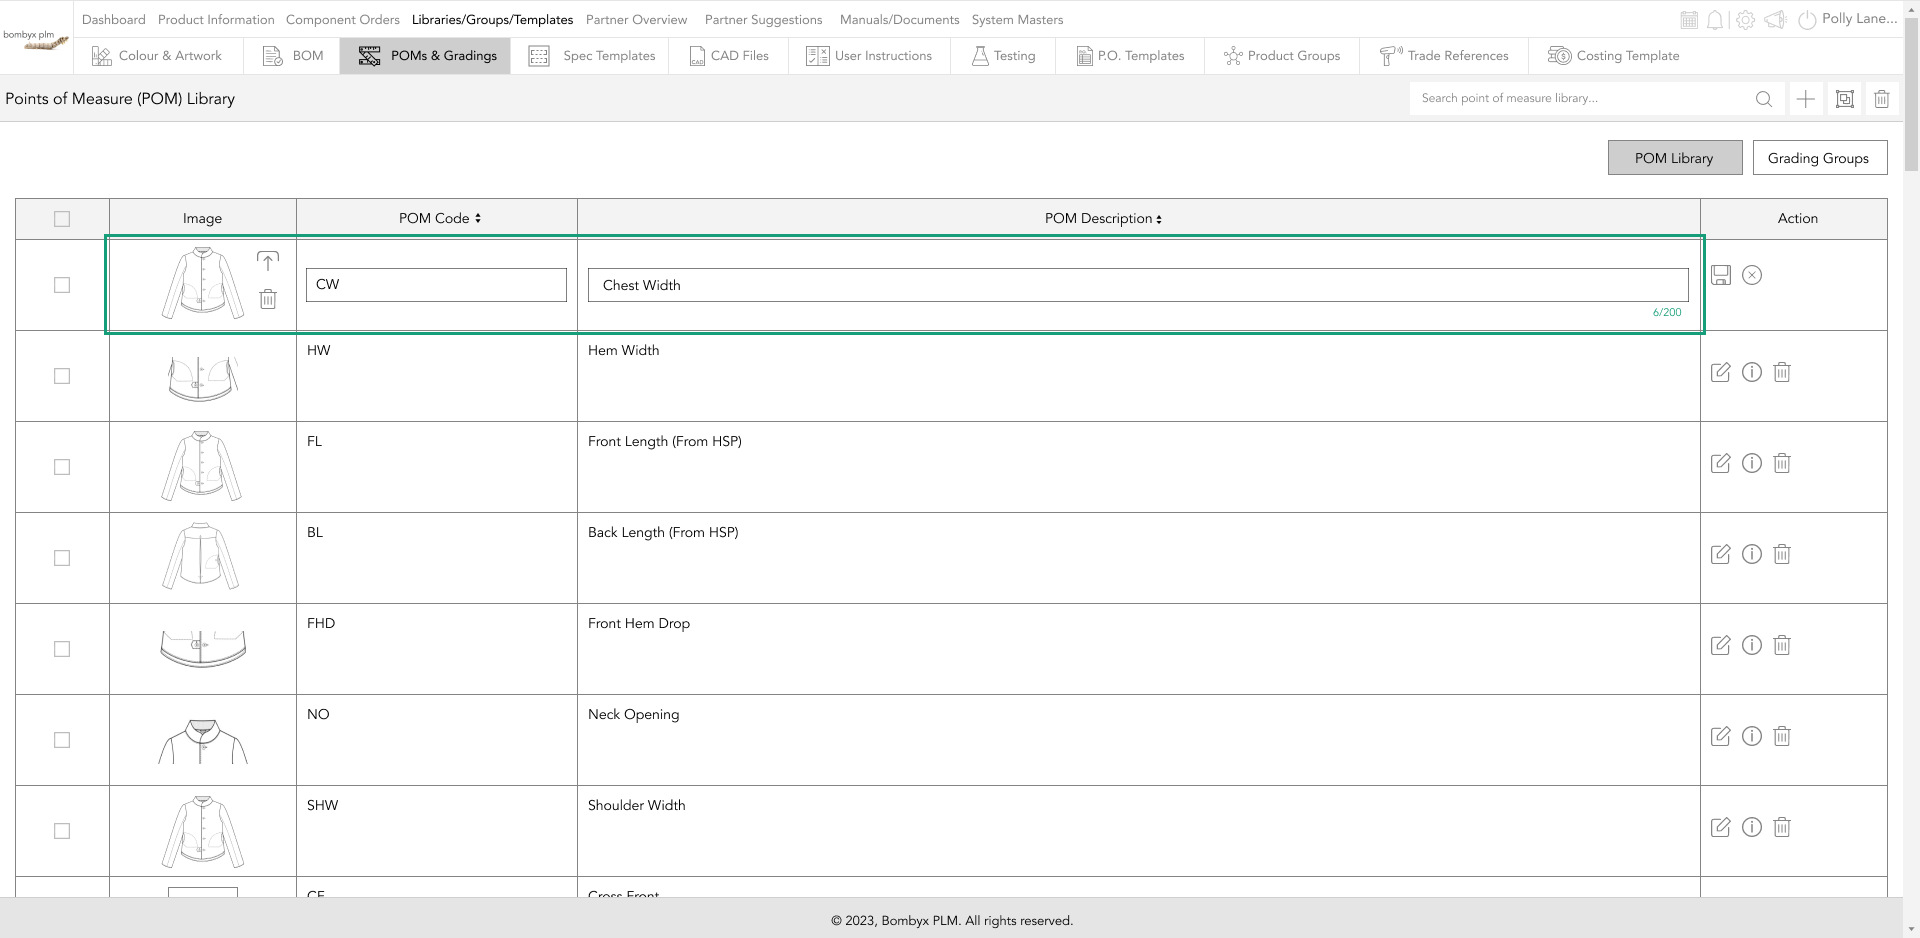
Tap the save icon at the end of the row, or to cancel tap the cancel icon.
deleting poms
There are two ways in which you can delete poms.
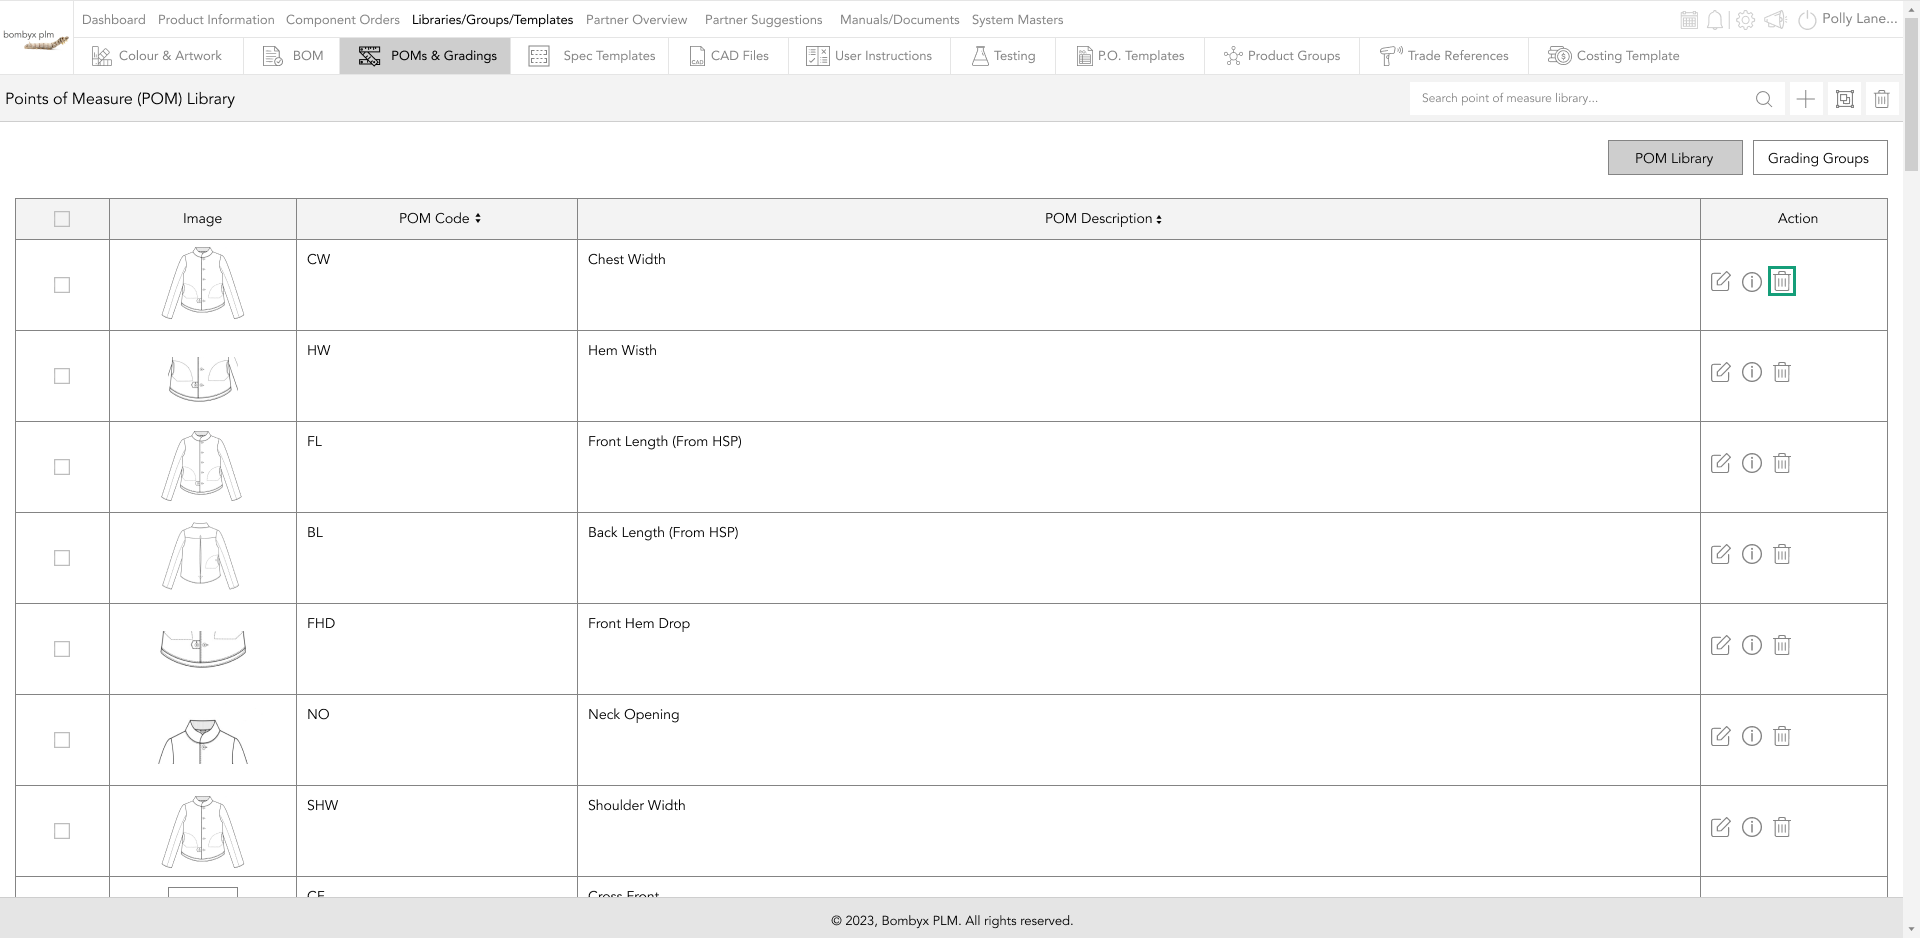
To single delete, a pom, tap on the bin icon, at the end of the row of the selected pom.
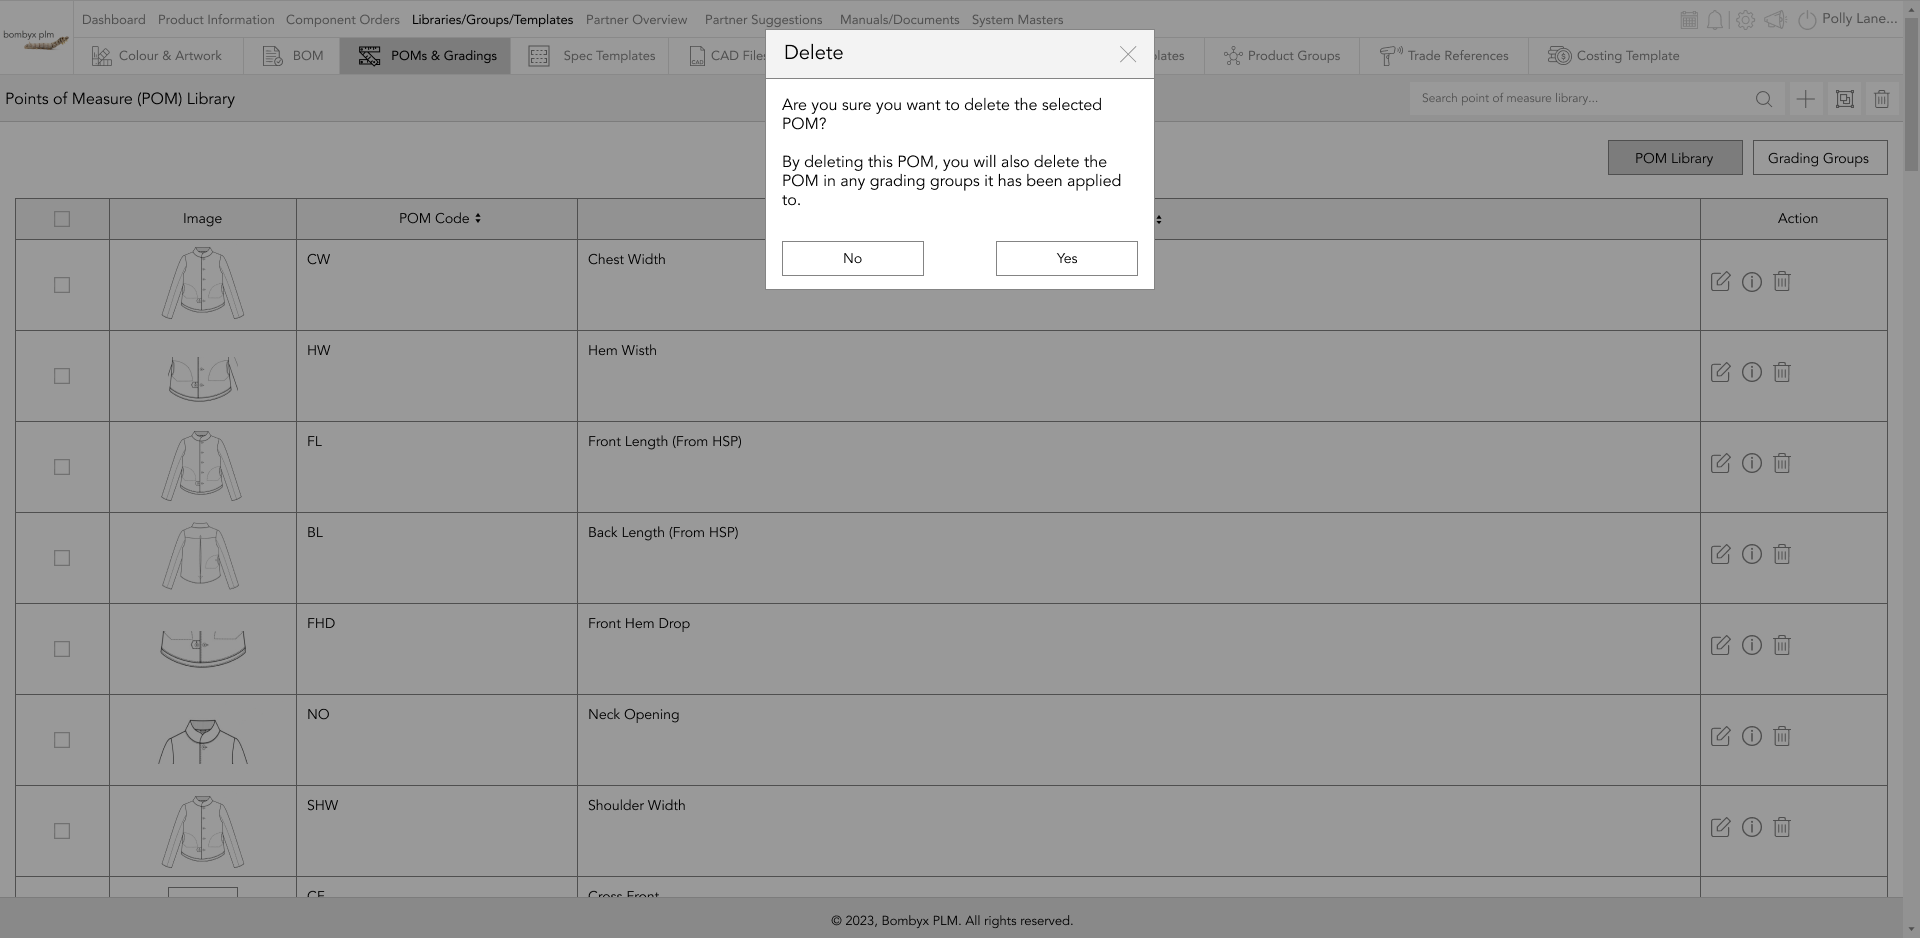
A popup will appear asking you if you are sure you want to delete the selected point of measure, once sure tap yes to continue or to cancel this action tap no.
To delete multiple POMs, tap the checkboxes to the left of the image box, then navigate to the delete icon that is located on the right-hand side of the page.

add poms to a grading group
To add POMs from the POM library into a grading group, tap on the checkbox that is on the left-hand side of the POM image…
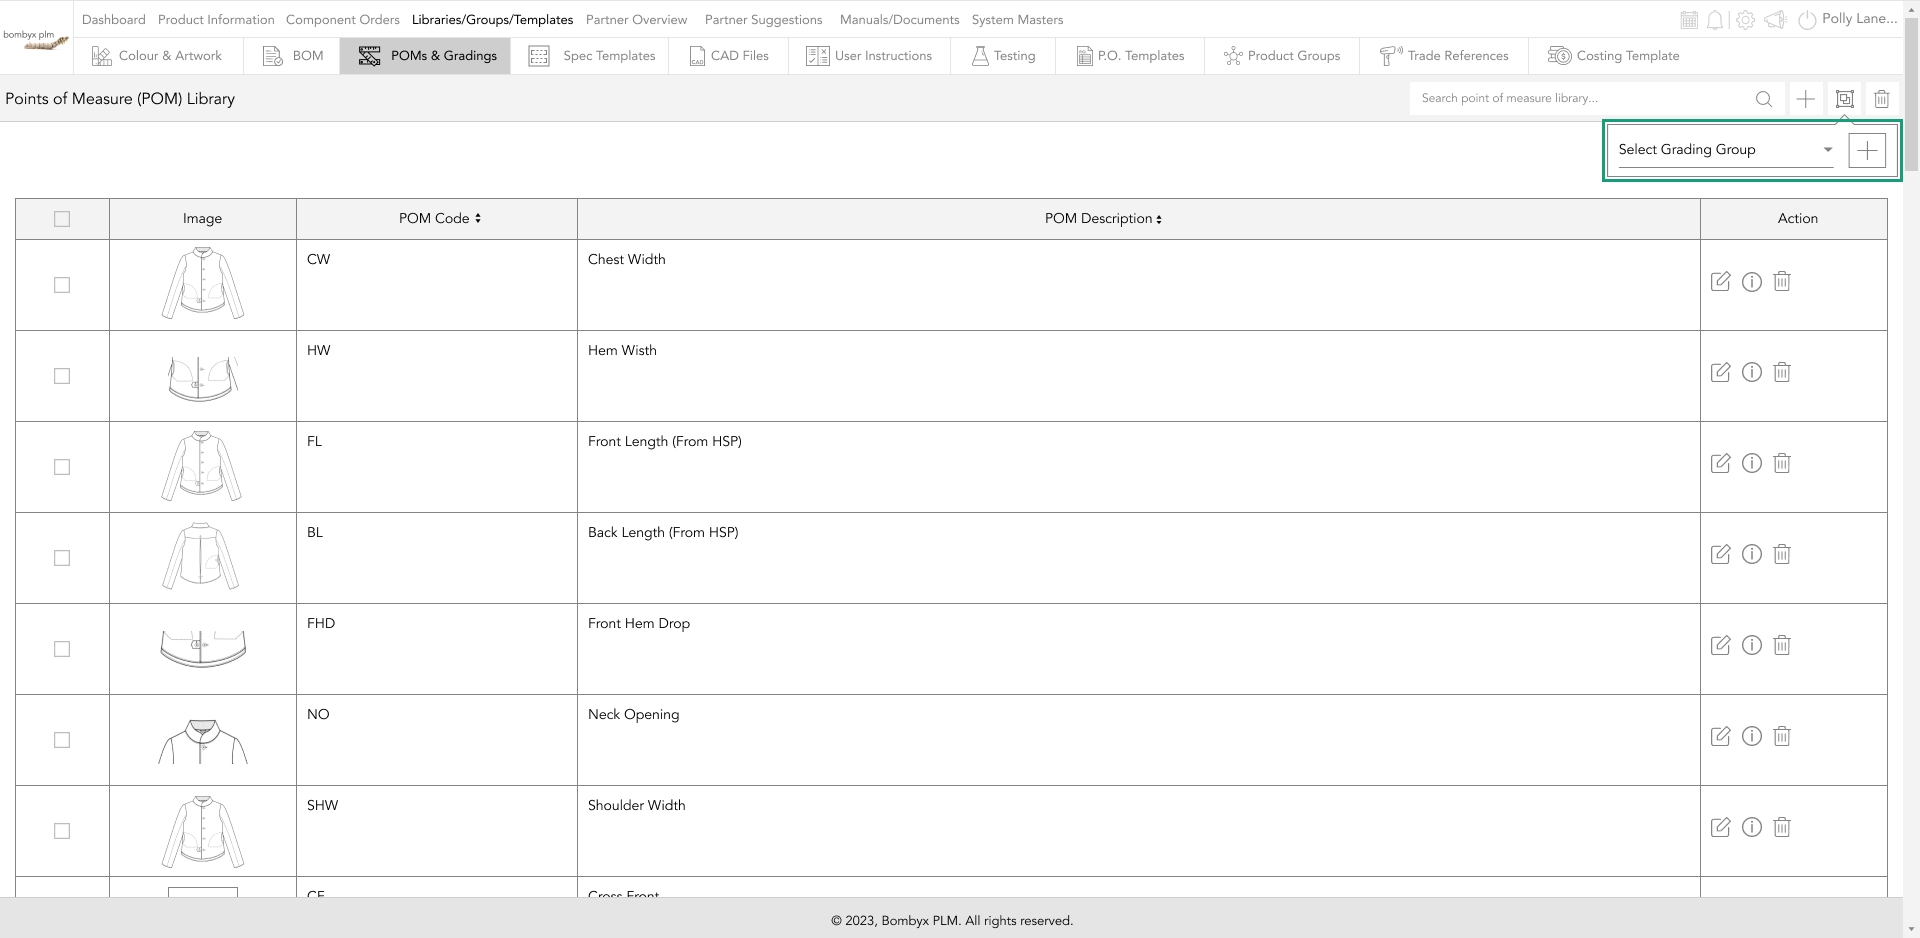
Once you have selected the POMs, navigate your way to the add to grading group icon, next to the search bar on the right-hand side of the page.

From here you can select from the drop-down the grading group to which you want your selected POMs to be added. These points of measure will now be in the grading group selected.

Tapping the plus icon will allow you to create a new grading group for the selected POMS to be added.
navigating to the grading groups
To access the grading groups, tap the grading groups button on the right-hand side of the page.
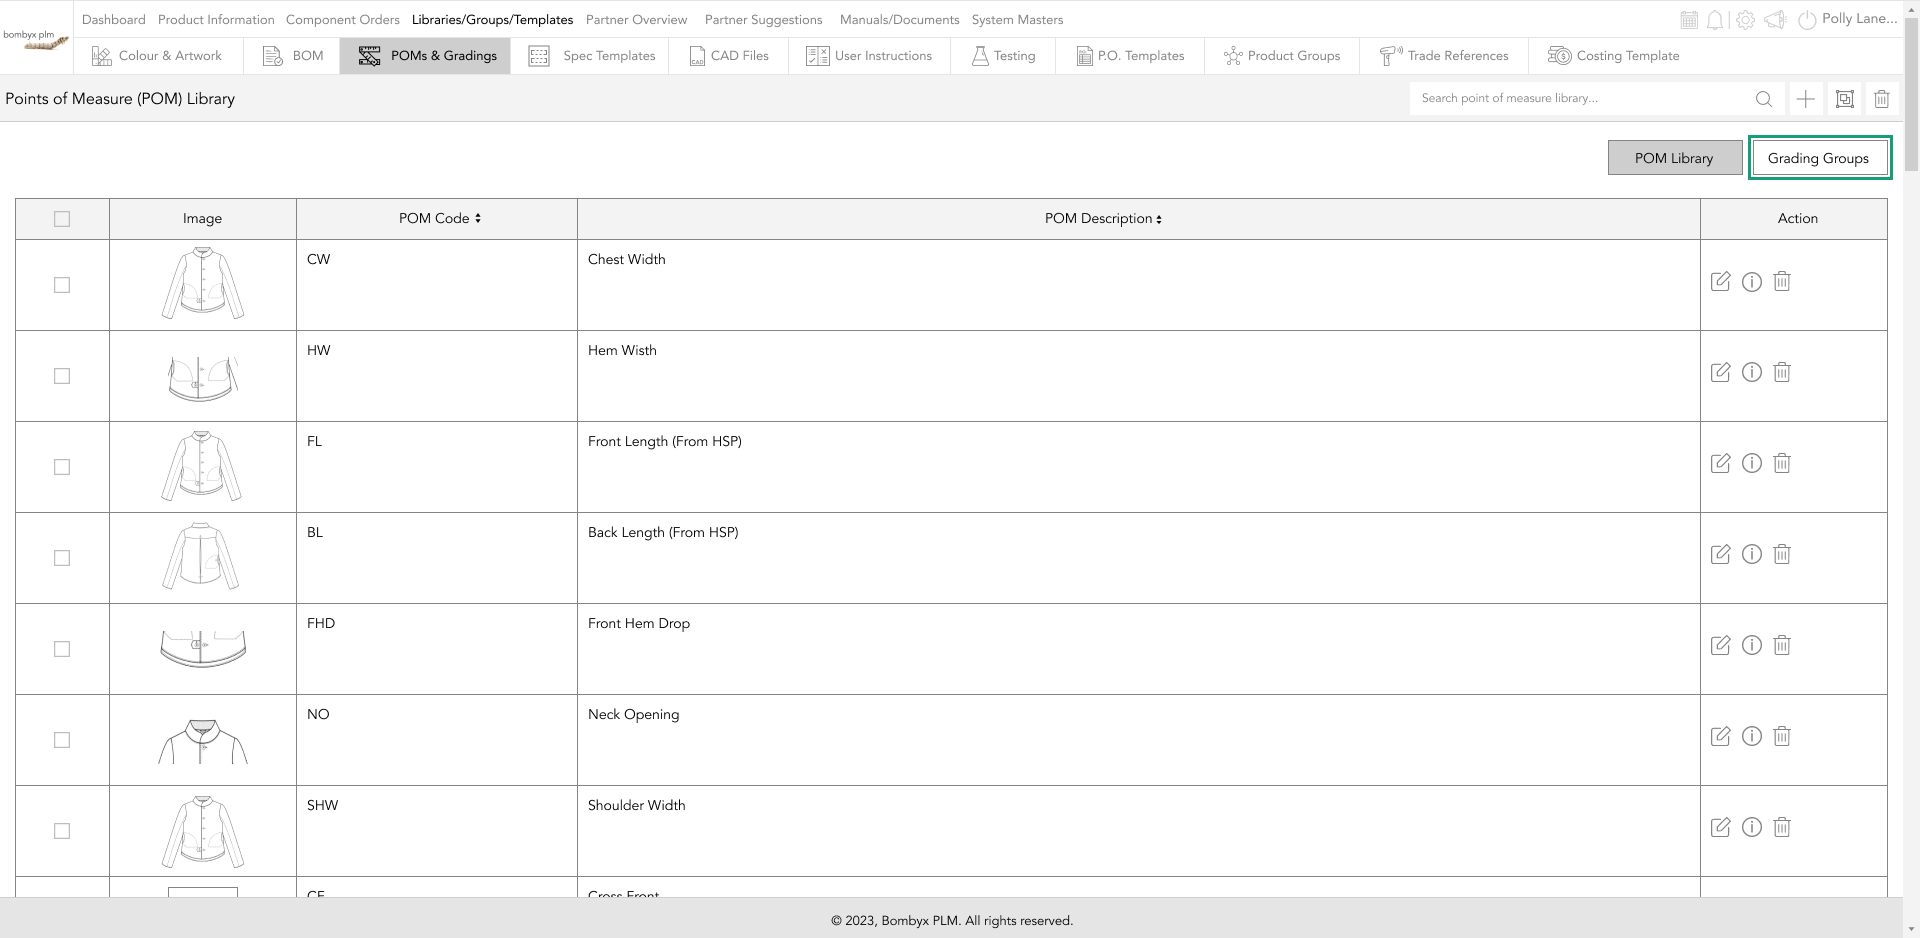
You will now be able to create, edit, and update the grading groups.
Beyond the Label: Diving into the Sustainable Story with Digital Product Passports
Consumers today are increasingly concerned about the environmental and social impact of their purchases. From the food they eat.
Bombyx’s AI Integration: Advancing Business Excellence in PLM, PIM, and DAM Systems
Let's delve into the exciting realm of Artificial Intelligence (AI) undergoing a transformative evolution. As we Enter the year 2024.
Beyond Baubles: A Stylish Dive into Christmas Fashion Trends.
e explore the latest Christmas fashion trends, with a focus on achieving a harmonious balance between sophistication and comfort. From luxurious velvets to cosy knits
Streamlining Winter Fashion with PLM: Managing Seasonal Changes
Winter fashion production demands meticulous planning and execution. PLM serves as a guiding force in production management, aiding in resource allocation, scheduling
Christmas Experience through Digital Transformation
During the Autumn/Winter months in Europe and the USA, are marked by heightened activity. The festive season introduces an atmosphere of joy and unity. Amidst the era of digital in
Demanding Trends & The Transformative Power of Product Lifecycle Management
Explore how strategic Product Lifecycle Management (PLM) empowers fashion to navigate trends sustainably. This post delves into the symbiosis of trends and sustainability,
The Power of Product Information Management (PIM) With a PLM System.
In today's fast-paced business environment, effective product information management is crucial for success. Product Information Management (PIM) is a powerful tool.
Fashion and the Power of Product Lifecycle Management
In recent years, the fashion industry has witnessed a surge in fashion, a phenomenon characterised by the rapid production and consumption of inexpensive clothing... and a whole l
Supply Chain Management has Forever Changed
Brands make use of product lifecycle data analysis to help them work out price points, marketing and advertising strategies, packaging, growth and expansion… and a whole lot more

