
navigating to specifications
To navigate to the specifications within a product, tap Product Information on the top menu bar.
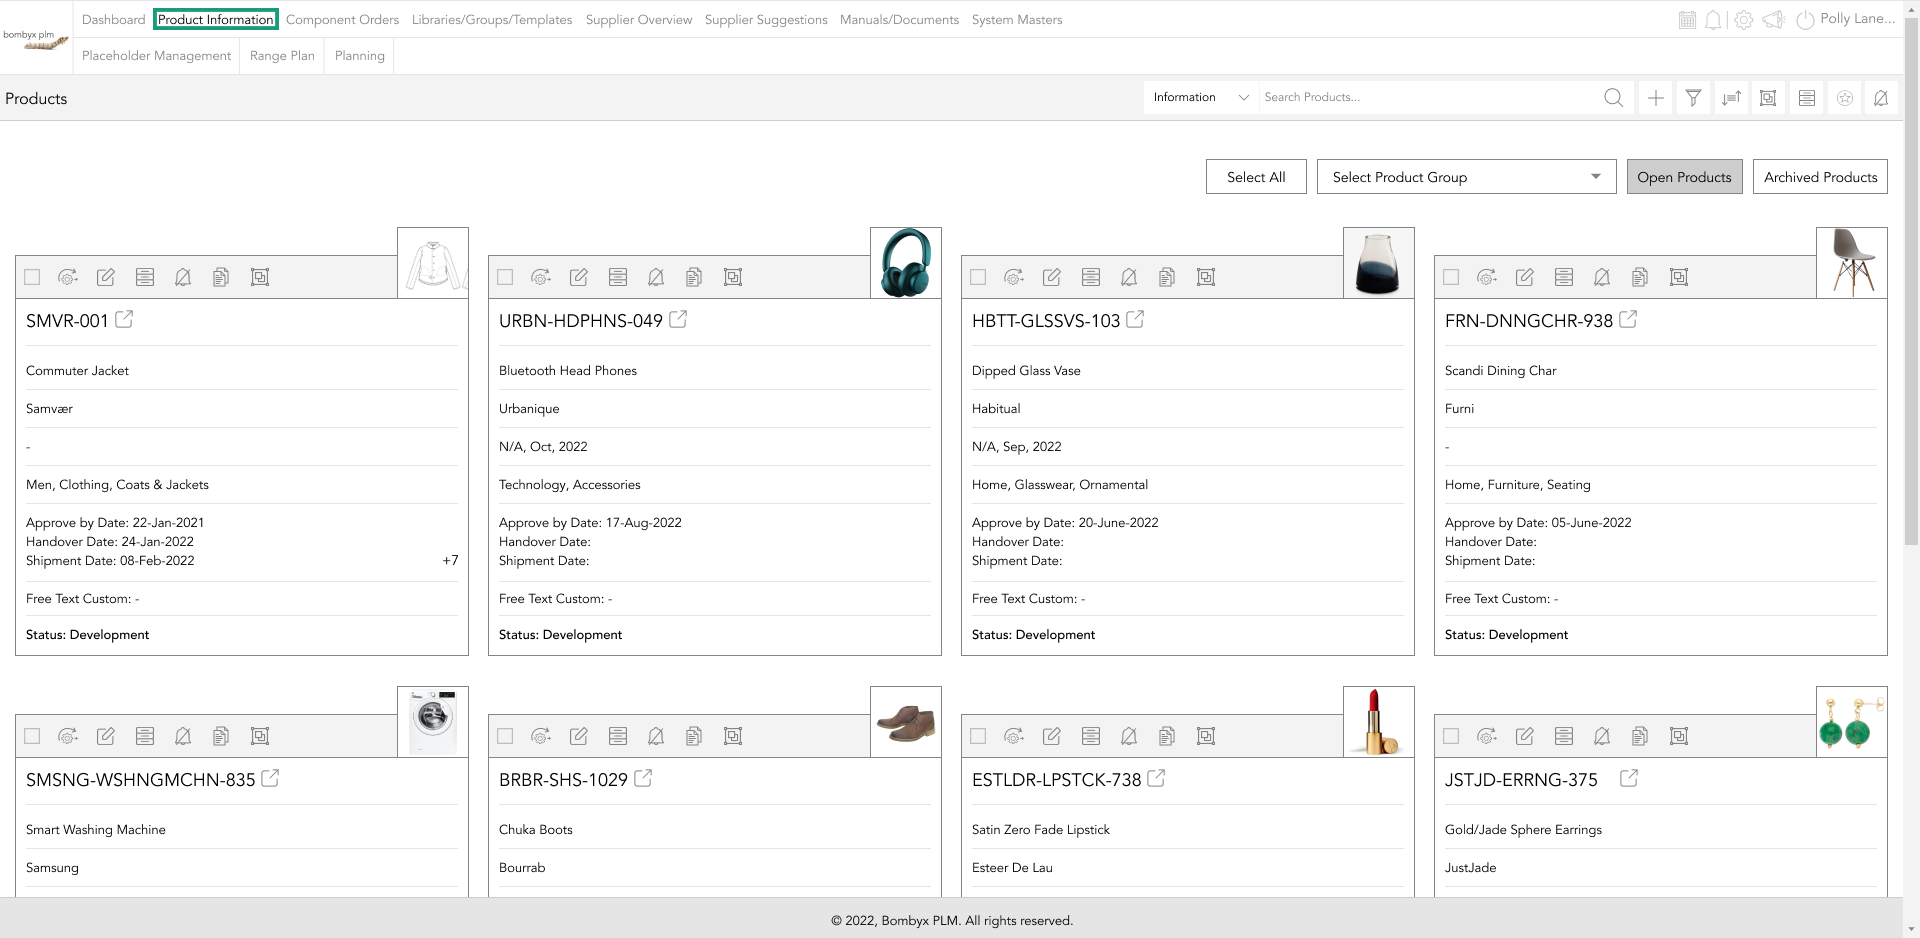
And then locate the product by scrolling, or by searching for a product by using the search bar function.
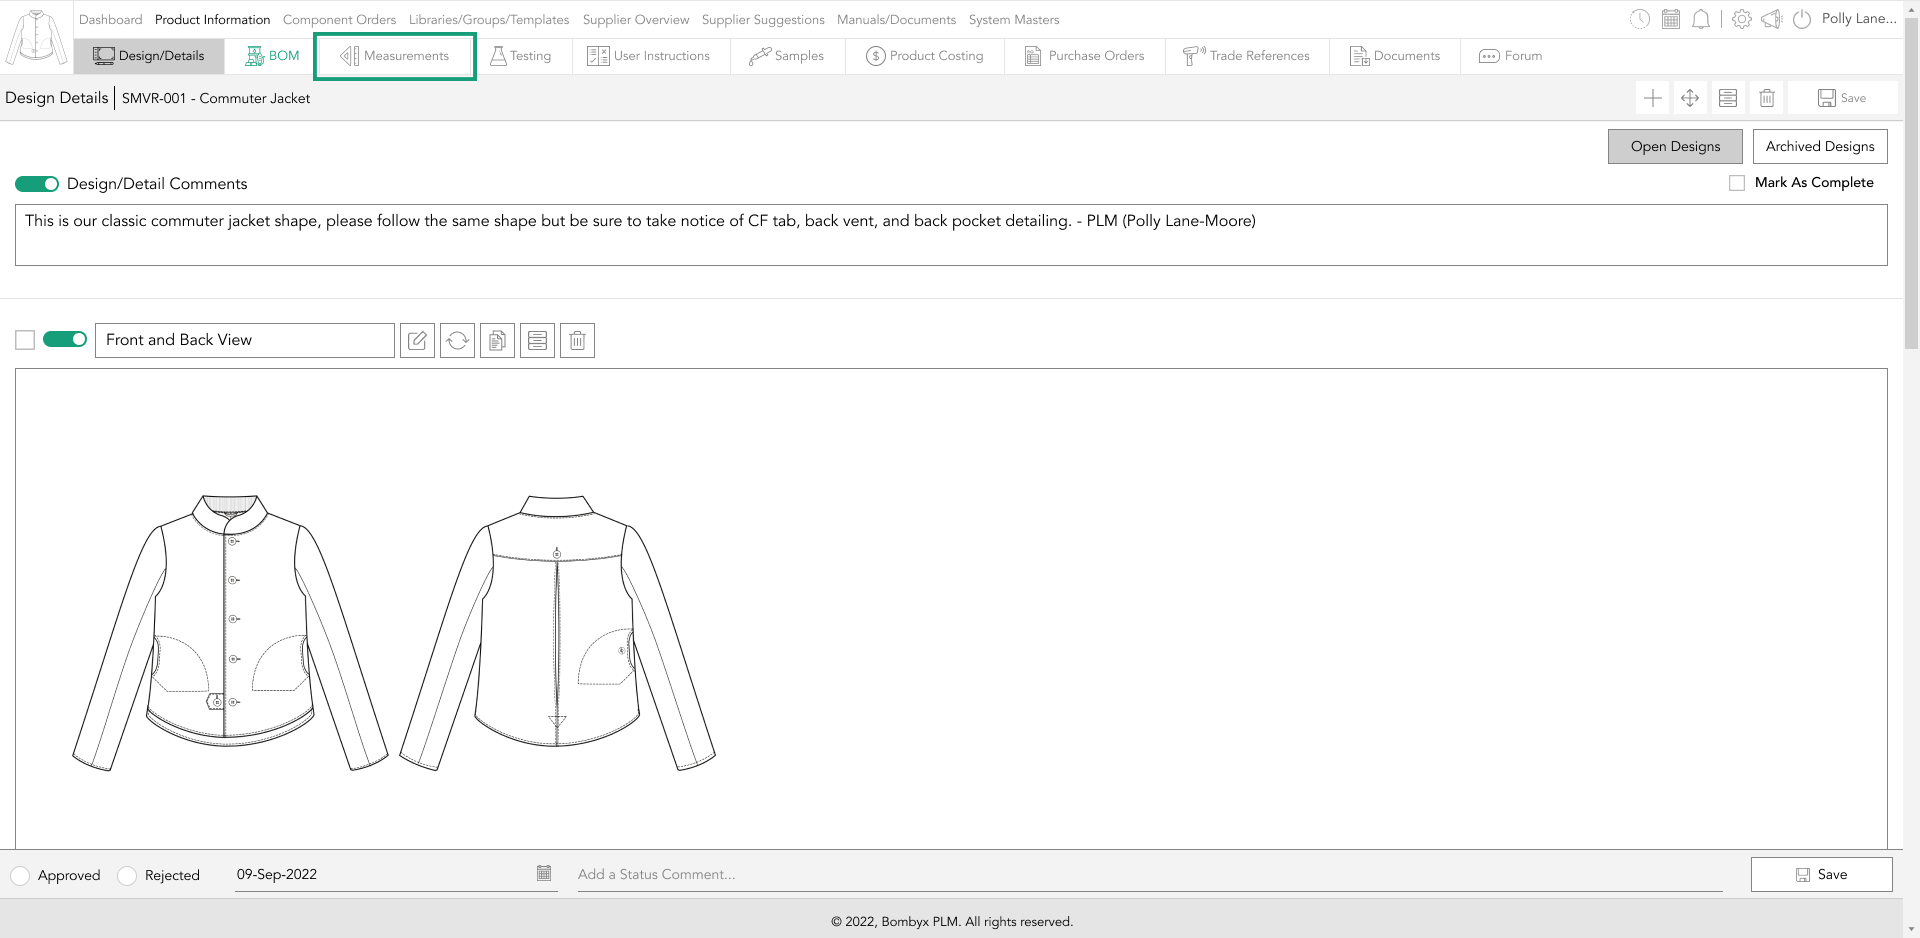
Once in a product, tap the Measurements button in the product menu bar.
toggles for CAD files and specifications
The default mode for a toggle switch is off. To turn it on, just tap the toggle and it’ll turn to by switching it on, you’re allowing your integrated suppliers to see information in this section, as well as the information, is visible in the documentation that is submitted to a supplier, or downloaded green indicating that it is switched on.
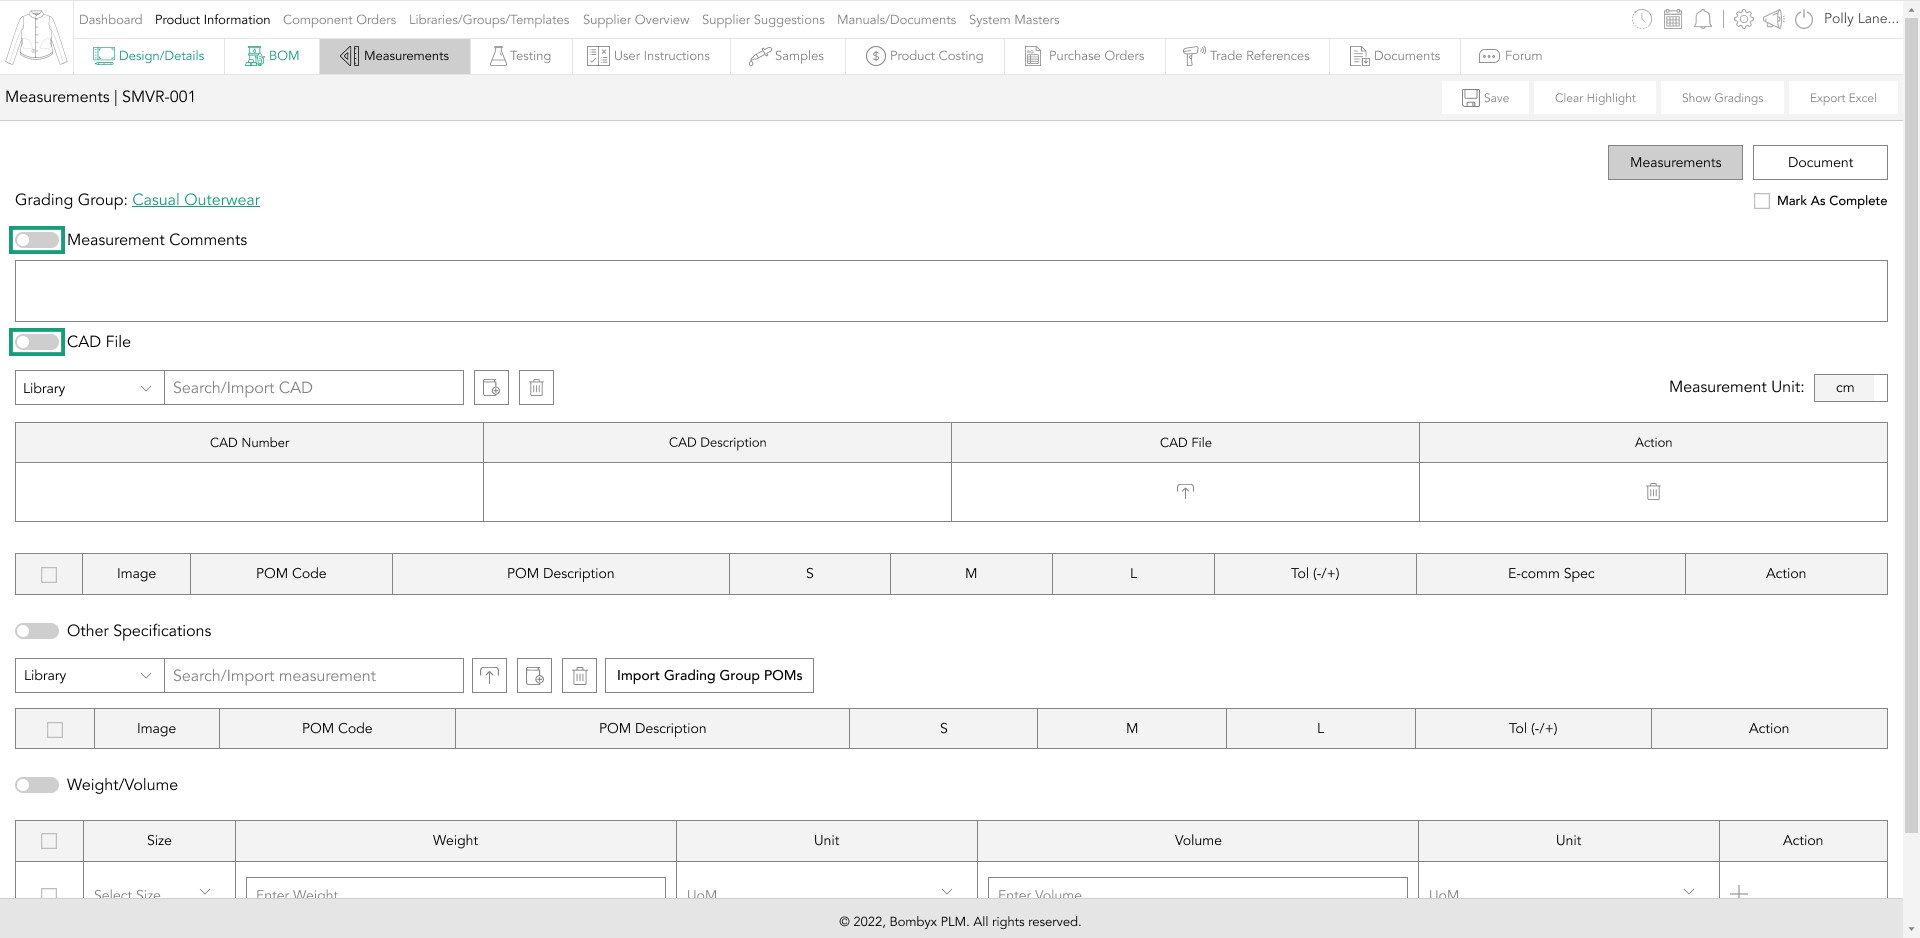
measurement comments
At the top of the page is a space for general comments you wish to share with your collaborators, whether that be your internal team or supply chain.

All you have to do to make it visible outside of your organisation is to turn the toggle on, and your team and suppliers will also be able to see those comments.
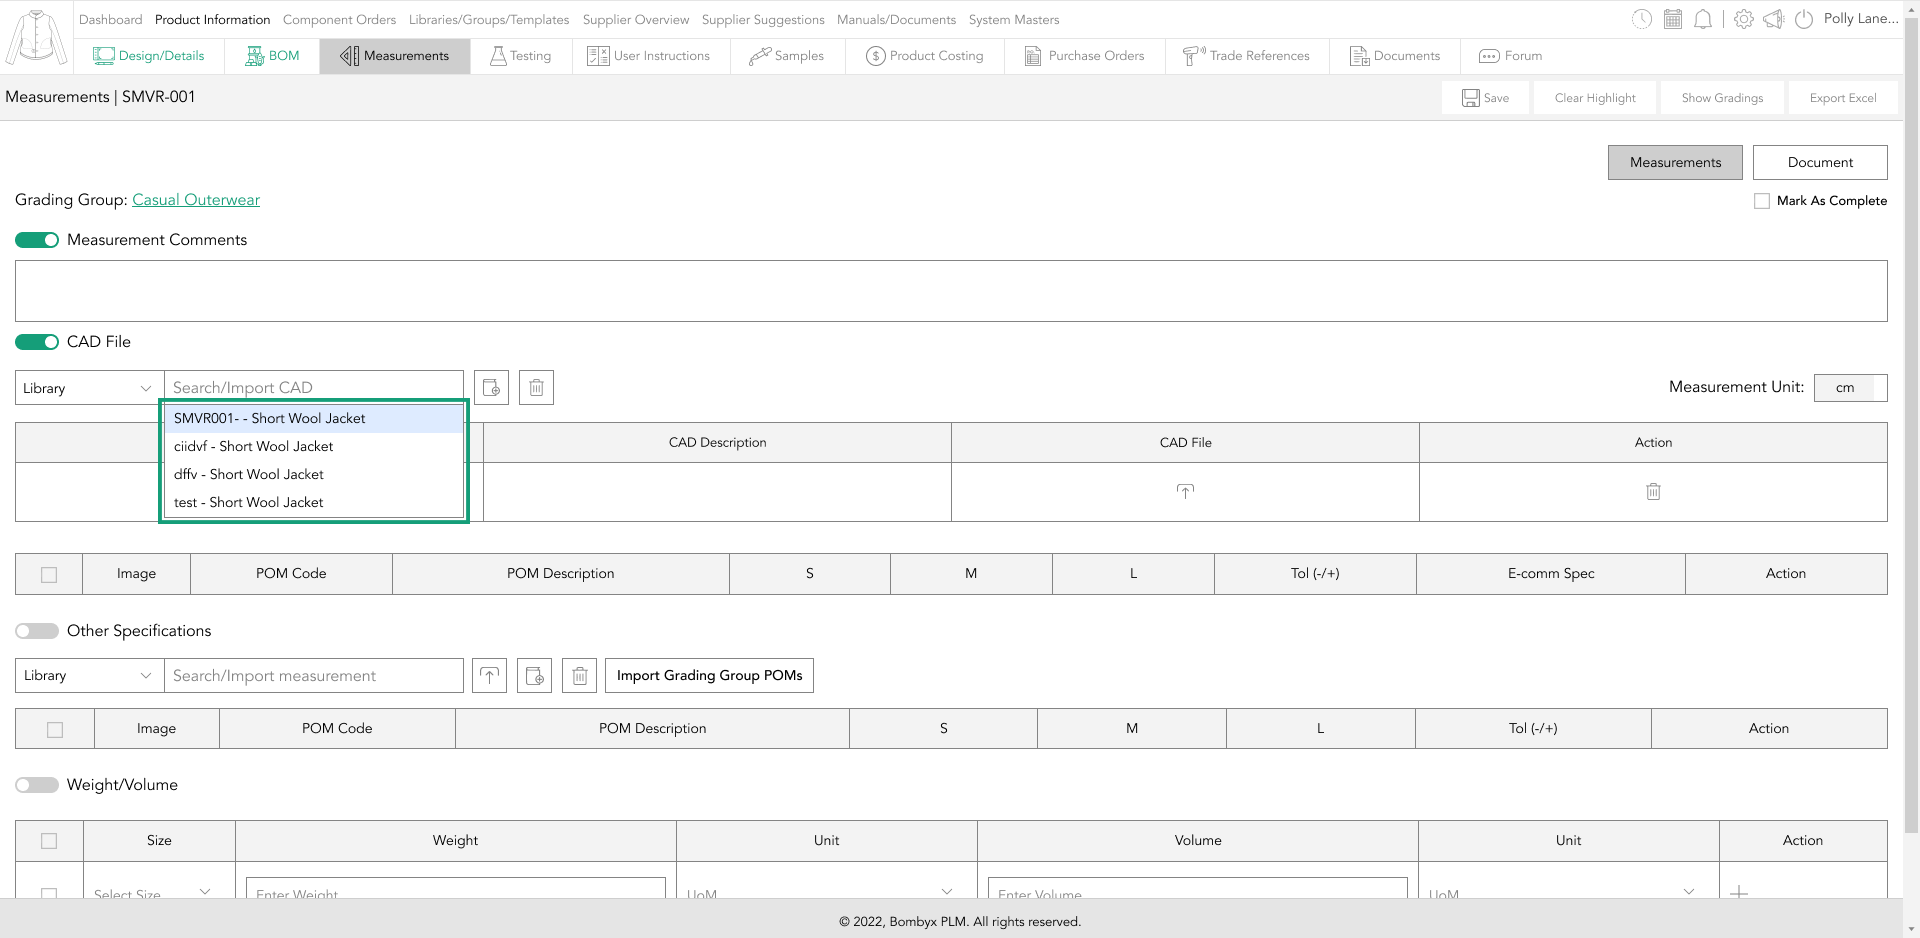
search/import CAD files
Import is a simple function, all you have to do is to start typing the CAD file code/description in the search bar, and Bombyx will start to filter through the CAD files within the library for you.

Once the required CAD file appears in your search results, tap the item to import it.
Next to the search bar there is a dropdown with 2 options, library, and product.
Library is the default selection, meaning that the item you’re importing is coming from the library.
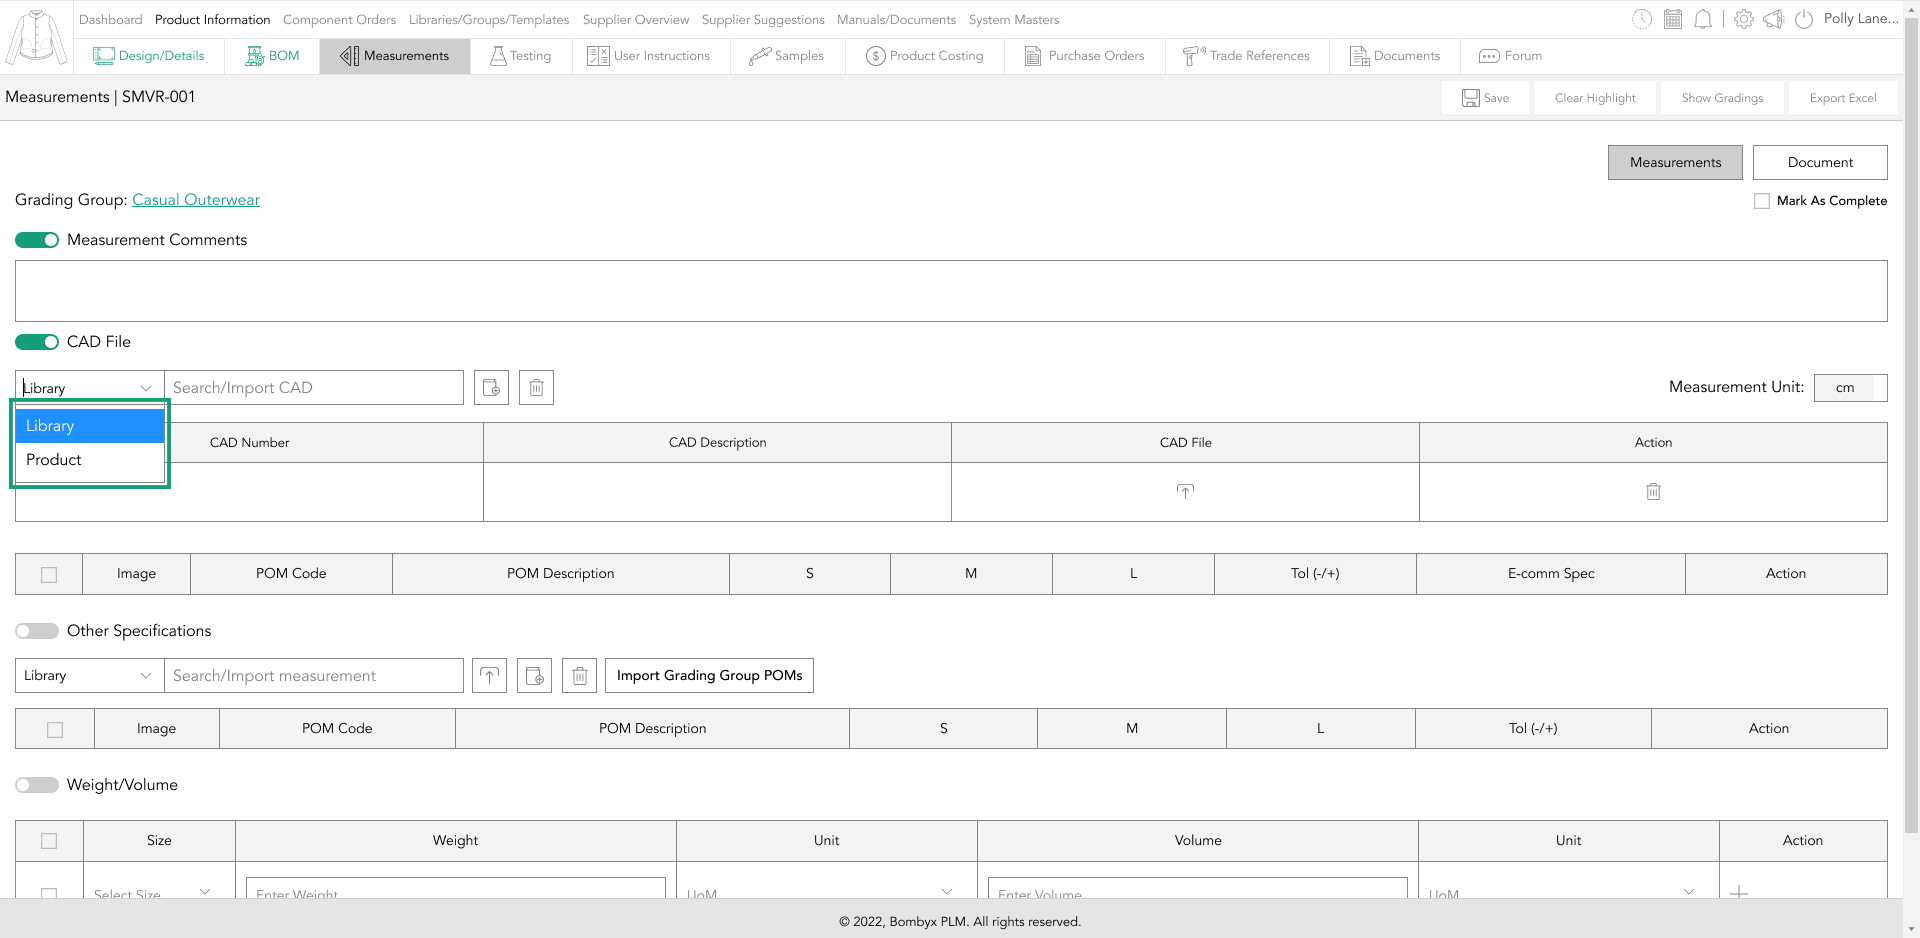
Selecting ‘product’ from the dropdown will drop in the CAD file already imported in another product.
Once you’ve selected Product from the dropdown, another dropdown will appear in which you can then search for a product number/description, and as you type Bombyx will start to filter out the results based on your search.
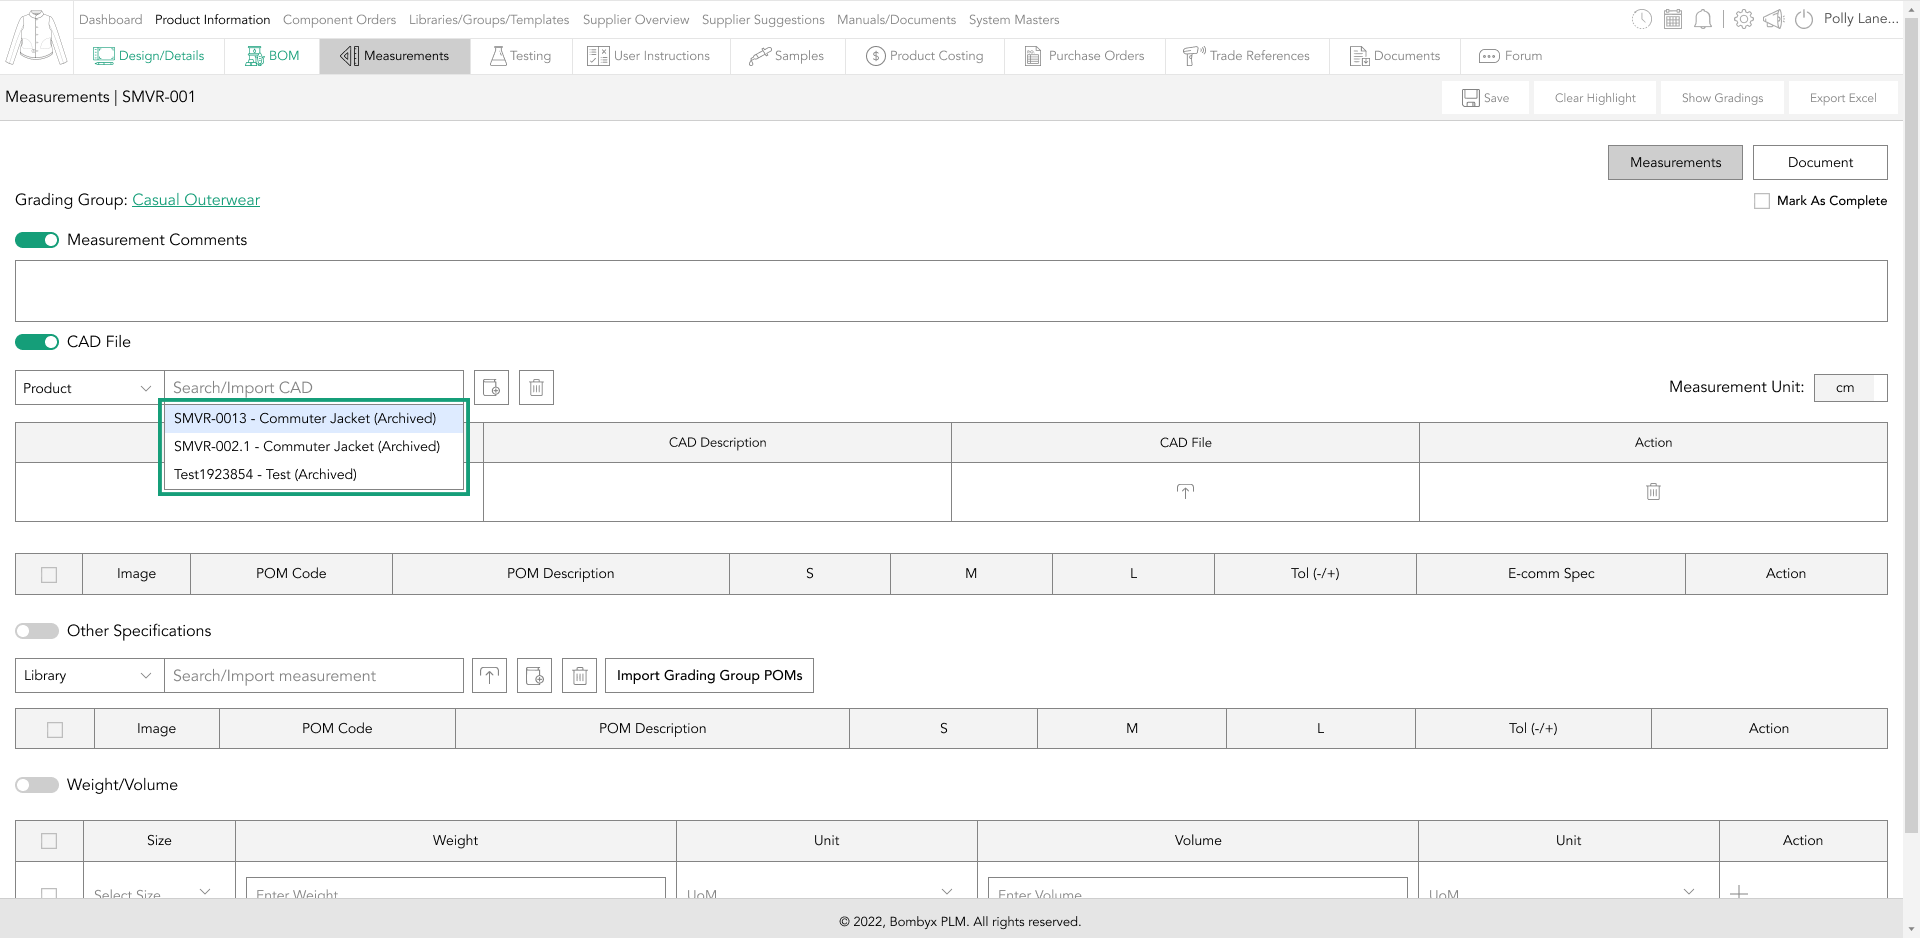
Once you’ve found the CAD file you want to bring into that specific product, tap the selection and all the items from that product will appear. Note that you can’t bring in a CAD file from a different grading group. For example, if the product has a CAD file that’s associated with ‘Outerwear’, you can’t bring in a CAD file from a product with a CAD file associated with ‘dresses’.
updating POM image
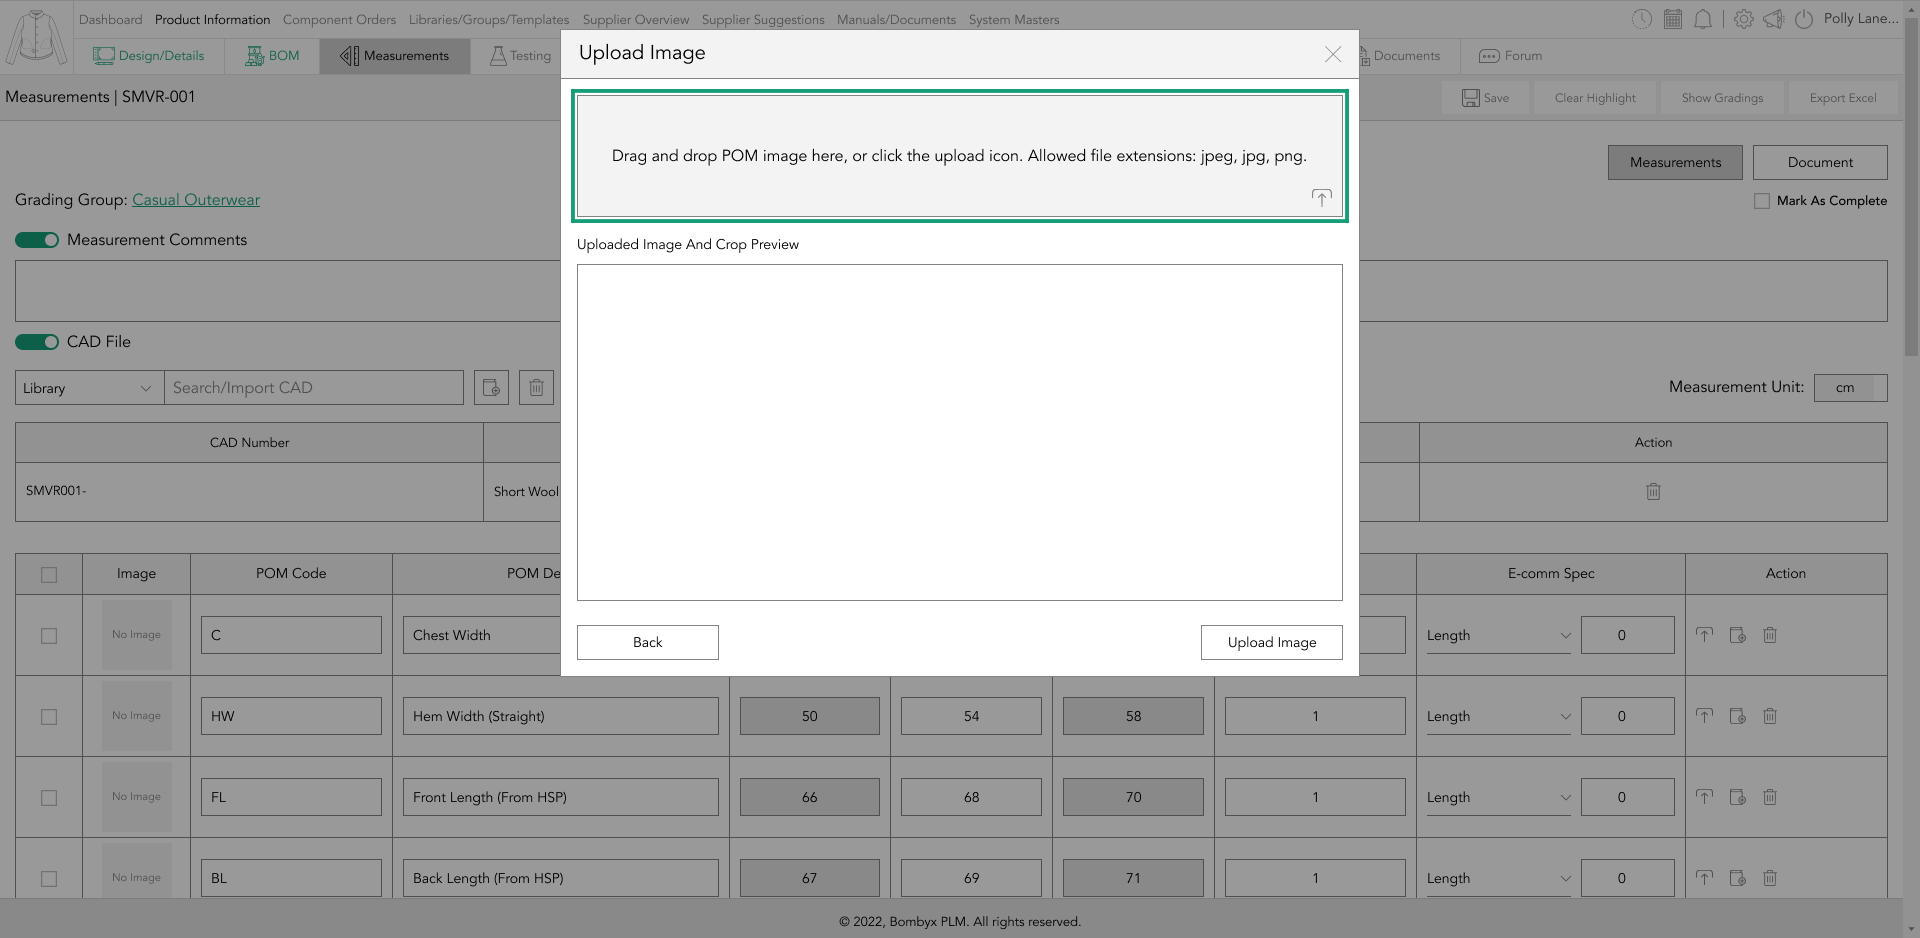
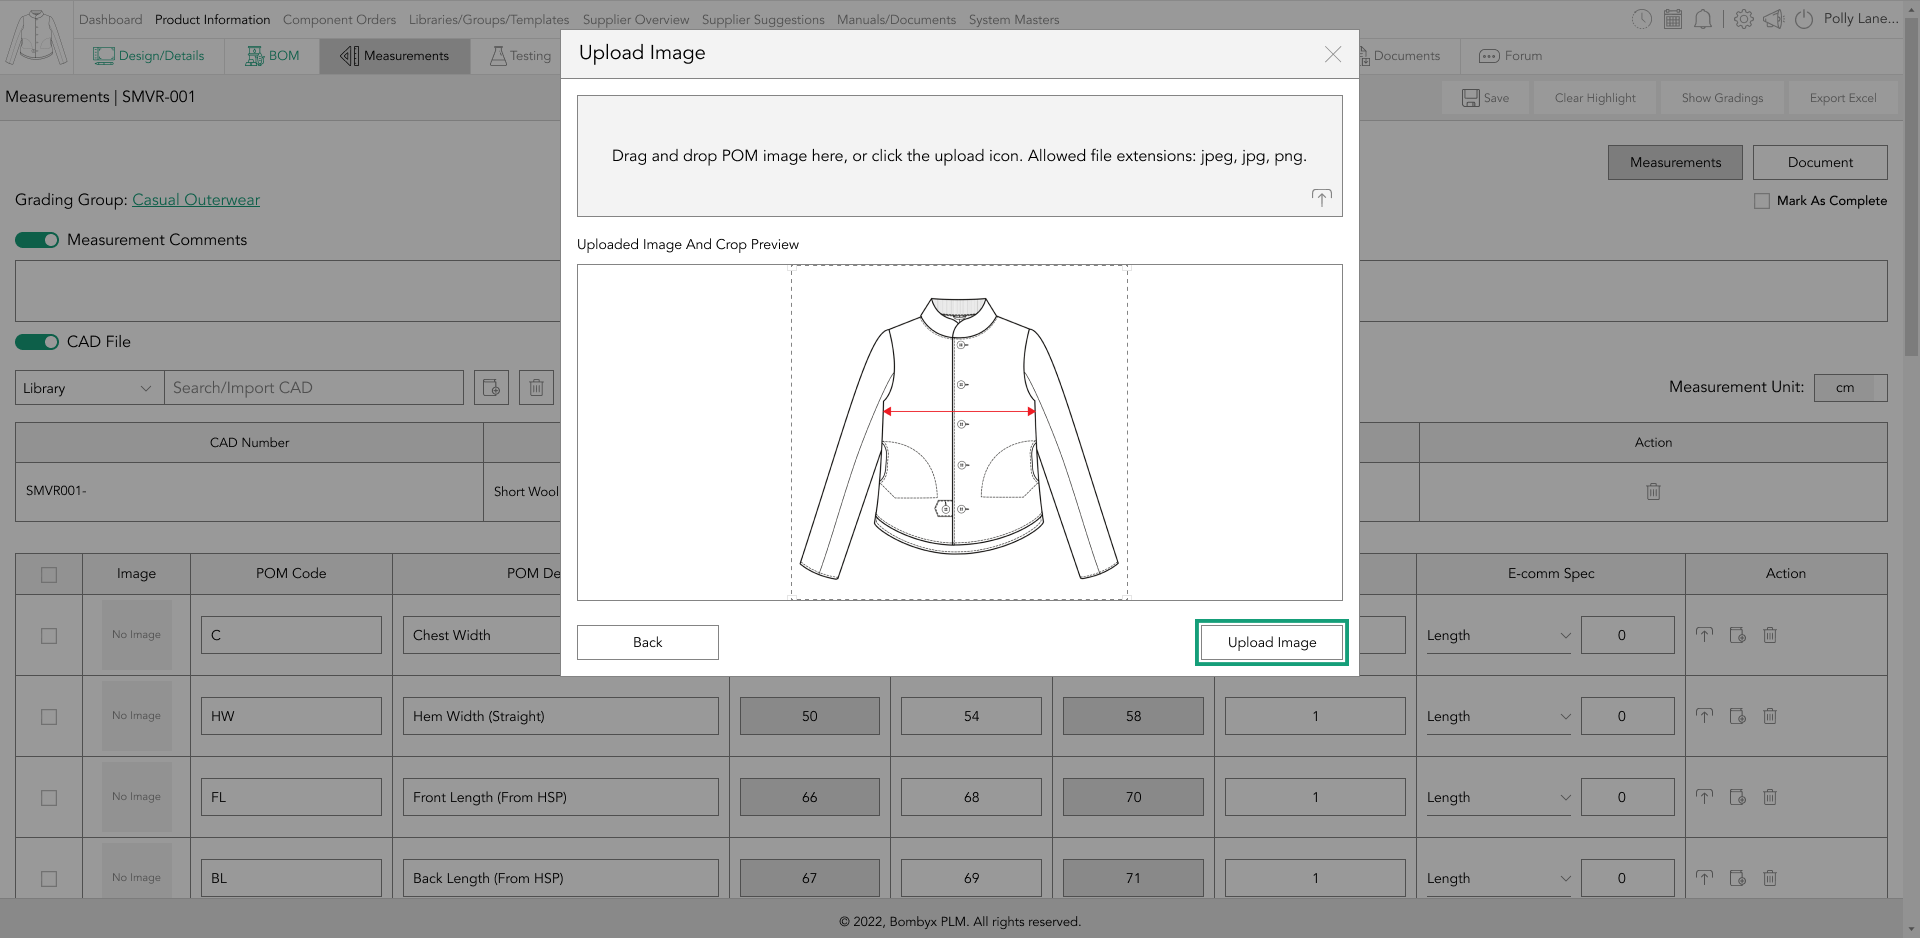
If something has changed on your point of measure and a POM image needs updating, in the action panel at the far right of the row, tap the upload icon button.

A popup will appear in which you can drag and drop the image into the grey box, or you can tap the upload icon in the bottom right corner of the grey pop, and select the image from your computer.
Once the image has been selected, a preview of that image will be displayed in the ‘Uploaded Image and Crop Preview’ area where you can then crop the image to focus on a preferred area by dragging one of the square crop handles in the corners of the crop area.
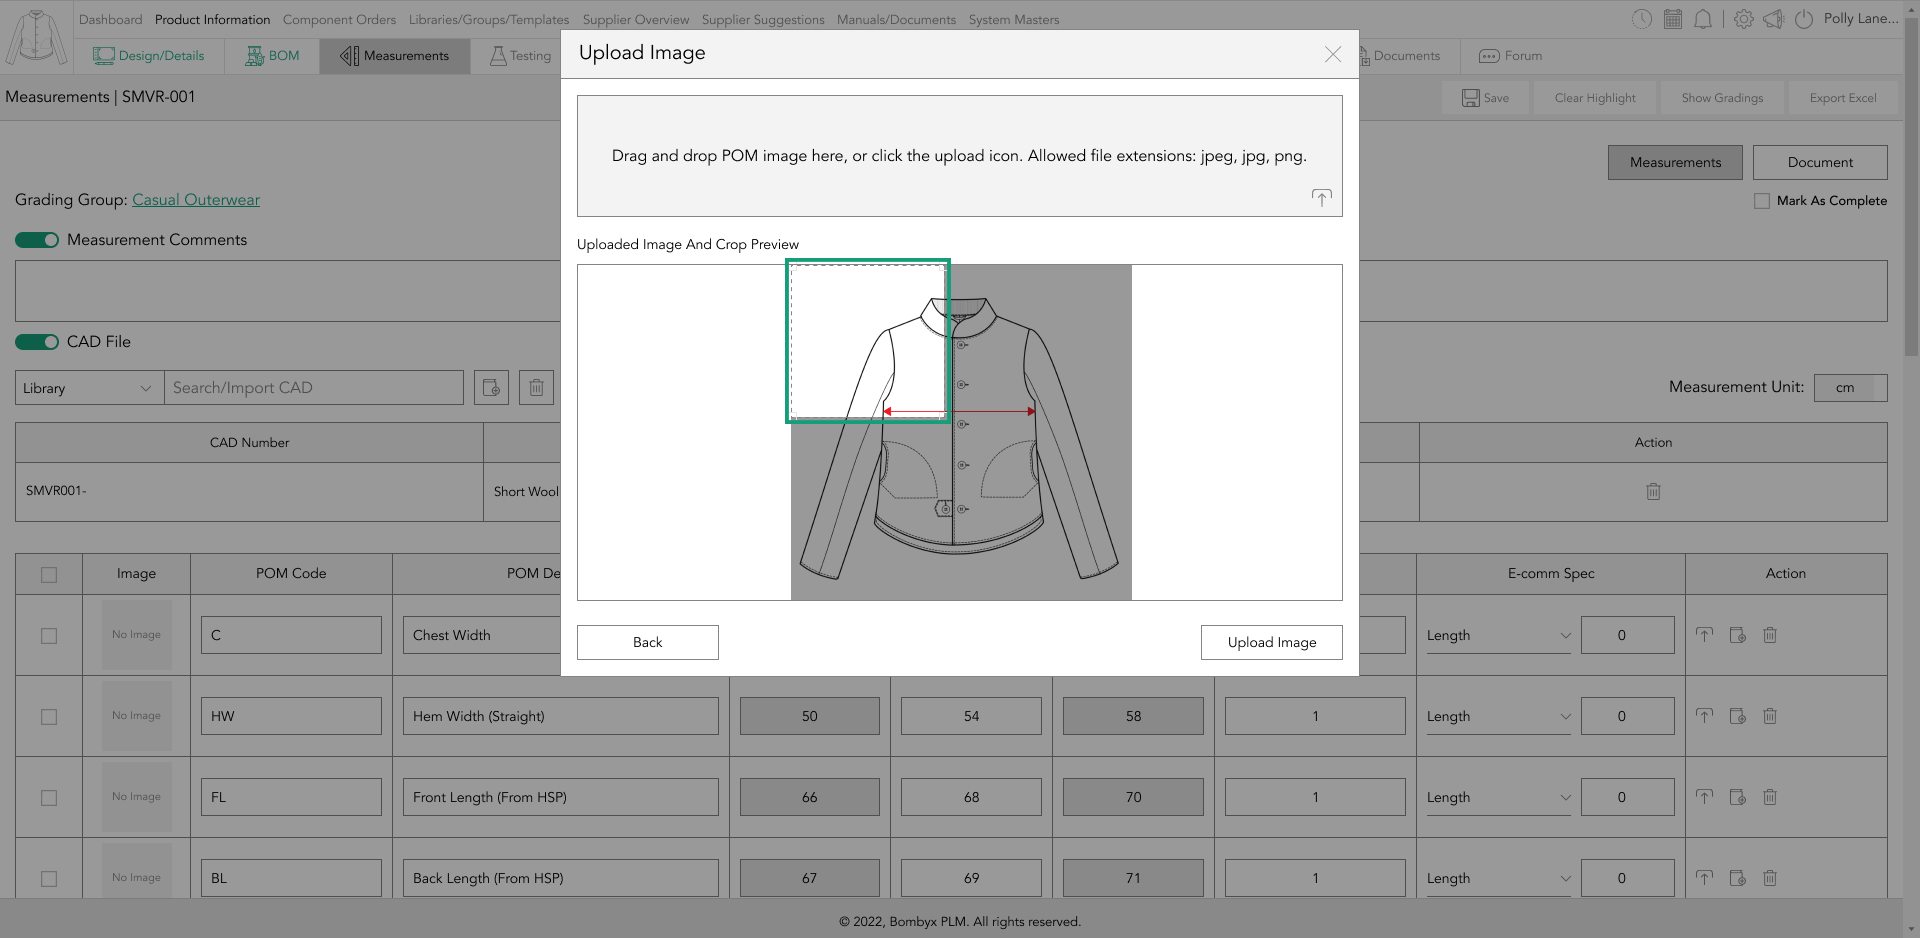
Once you’re happy with the cropping position, tap the ‘Upload Image’ button.
add/update POM images to POM library
To add a single pom to the library, in the action panel of each POM row there is the add/update to library icon.
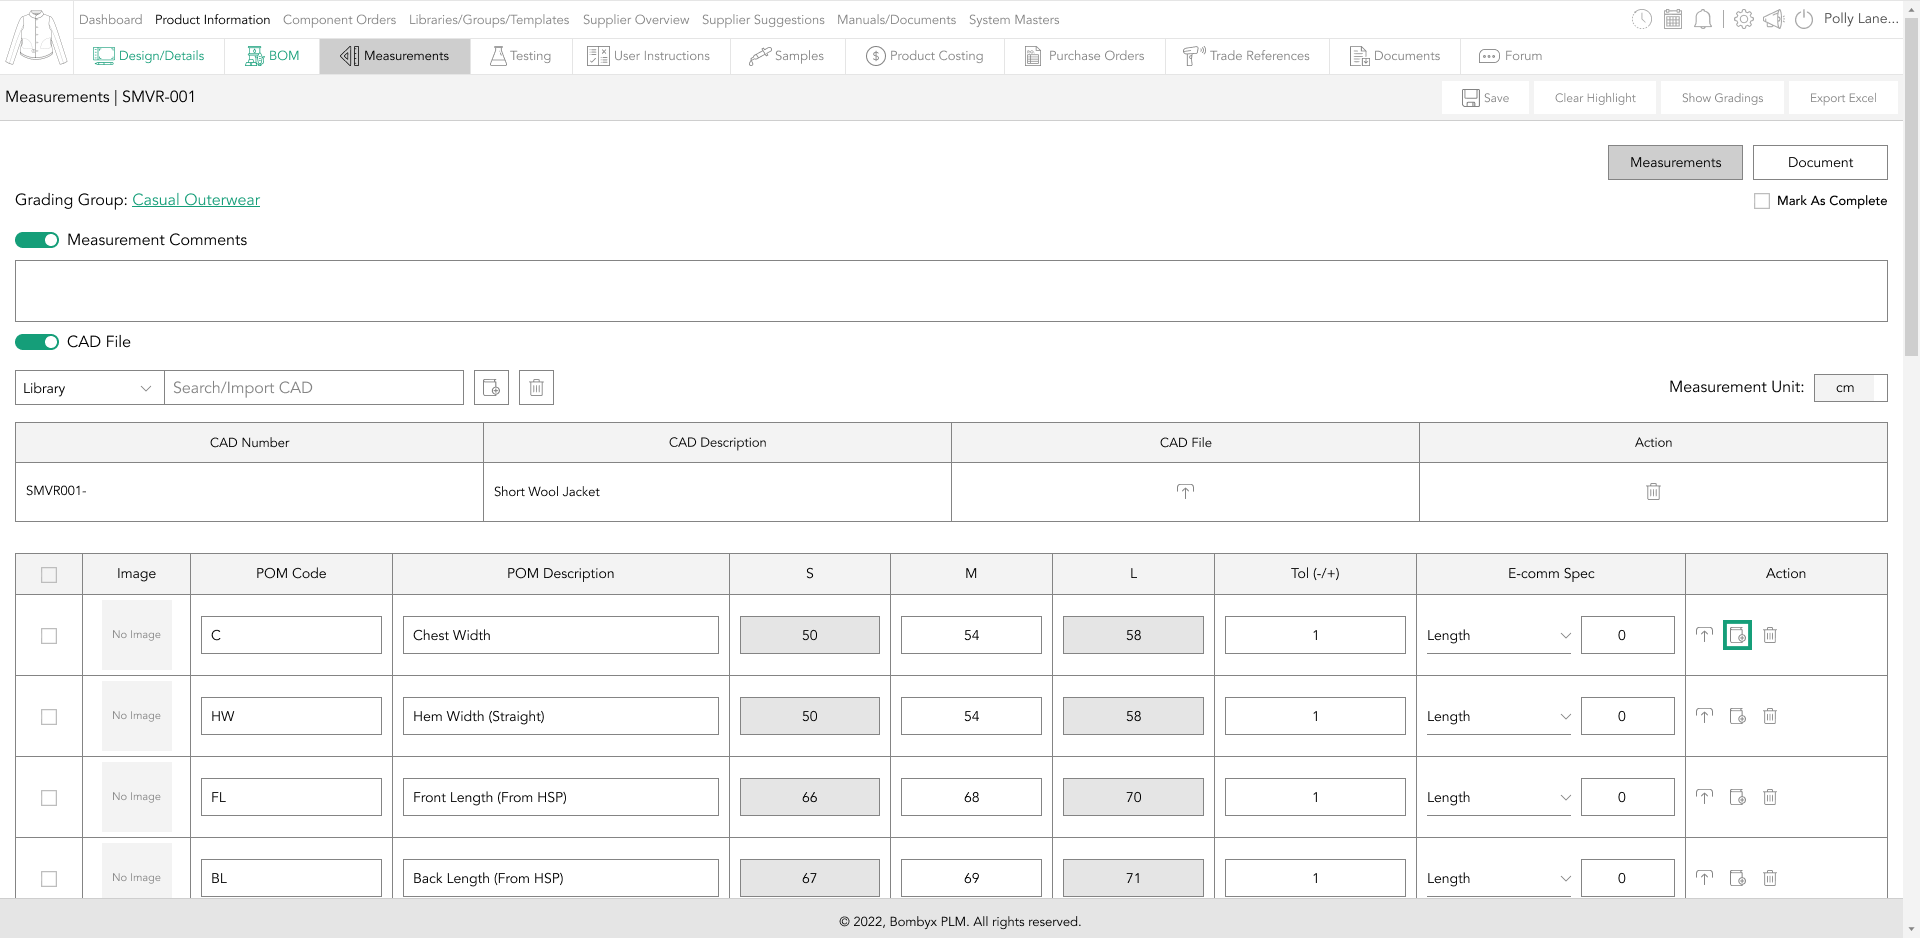
Tapping this will take that individual POM image update back to the POM library.
To add multiple poms into the library, you can do this by selecting the checkboxes down the left hand side of the POMs you want to update, and then tap the add/update to library icon, that is located next to the search bar function.

deleting specifications
On the far right hand side of the POM rows there is an Action column, locate the ‘delete’ icon, and tap it to remove this line from your CAD specifications.
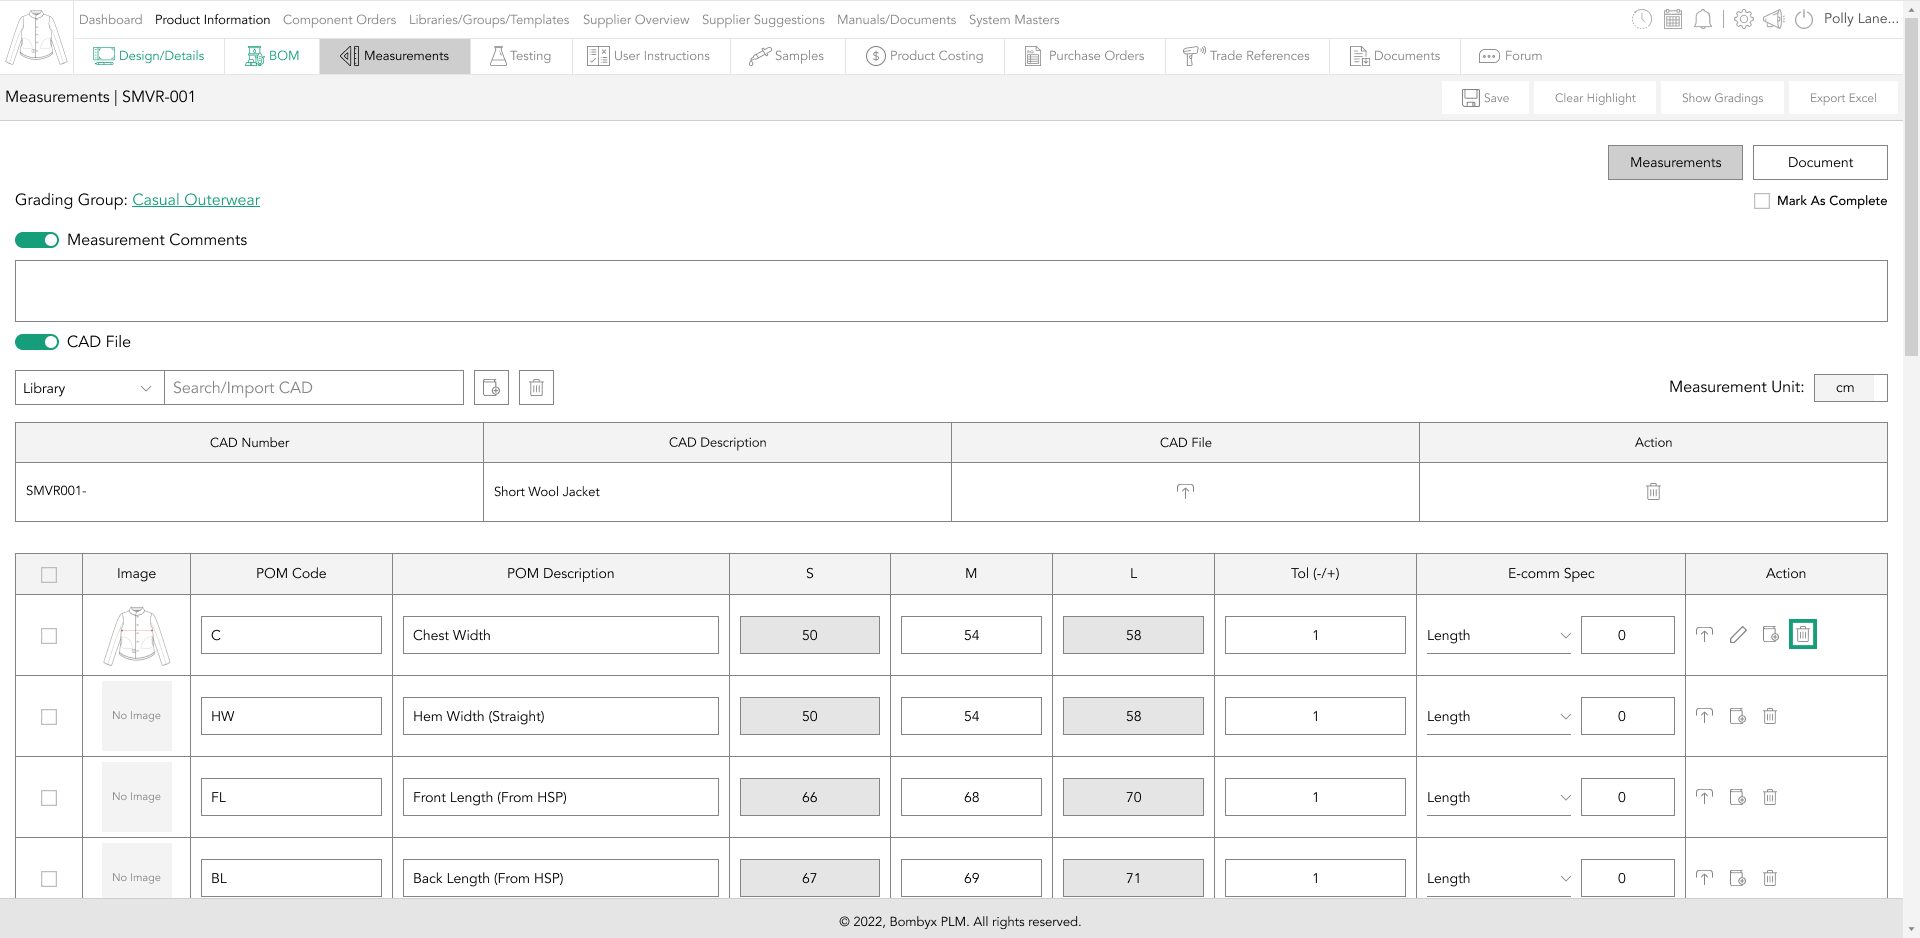
If you’ve made a mistake, you can re-import it from the search bar above the area. Tap the CAD File from the selection, and the deleted measurement will reappear.
If you want to delete multiple CAD File Specifications at once, select the checkboxes down the left side of the POMs, and tap the ‘delete’ button, positioned three buttons away from the search bar function.
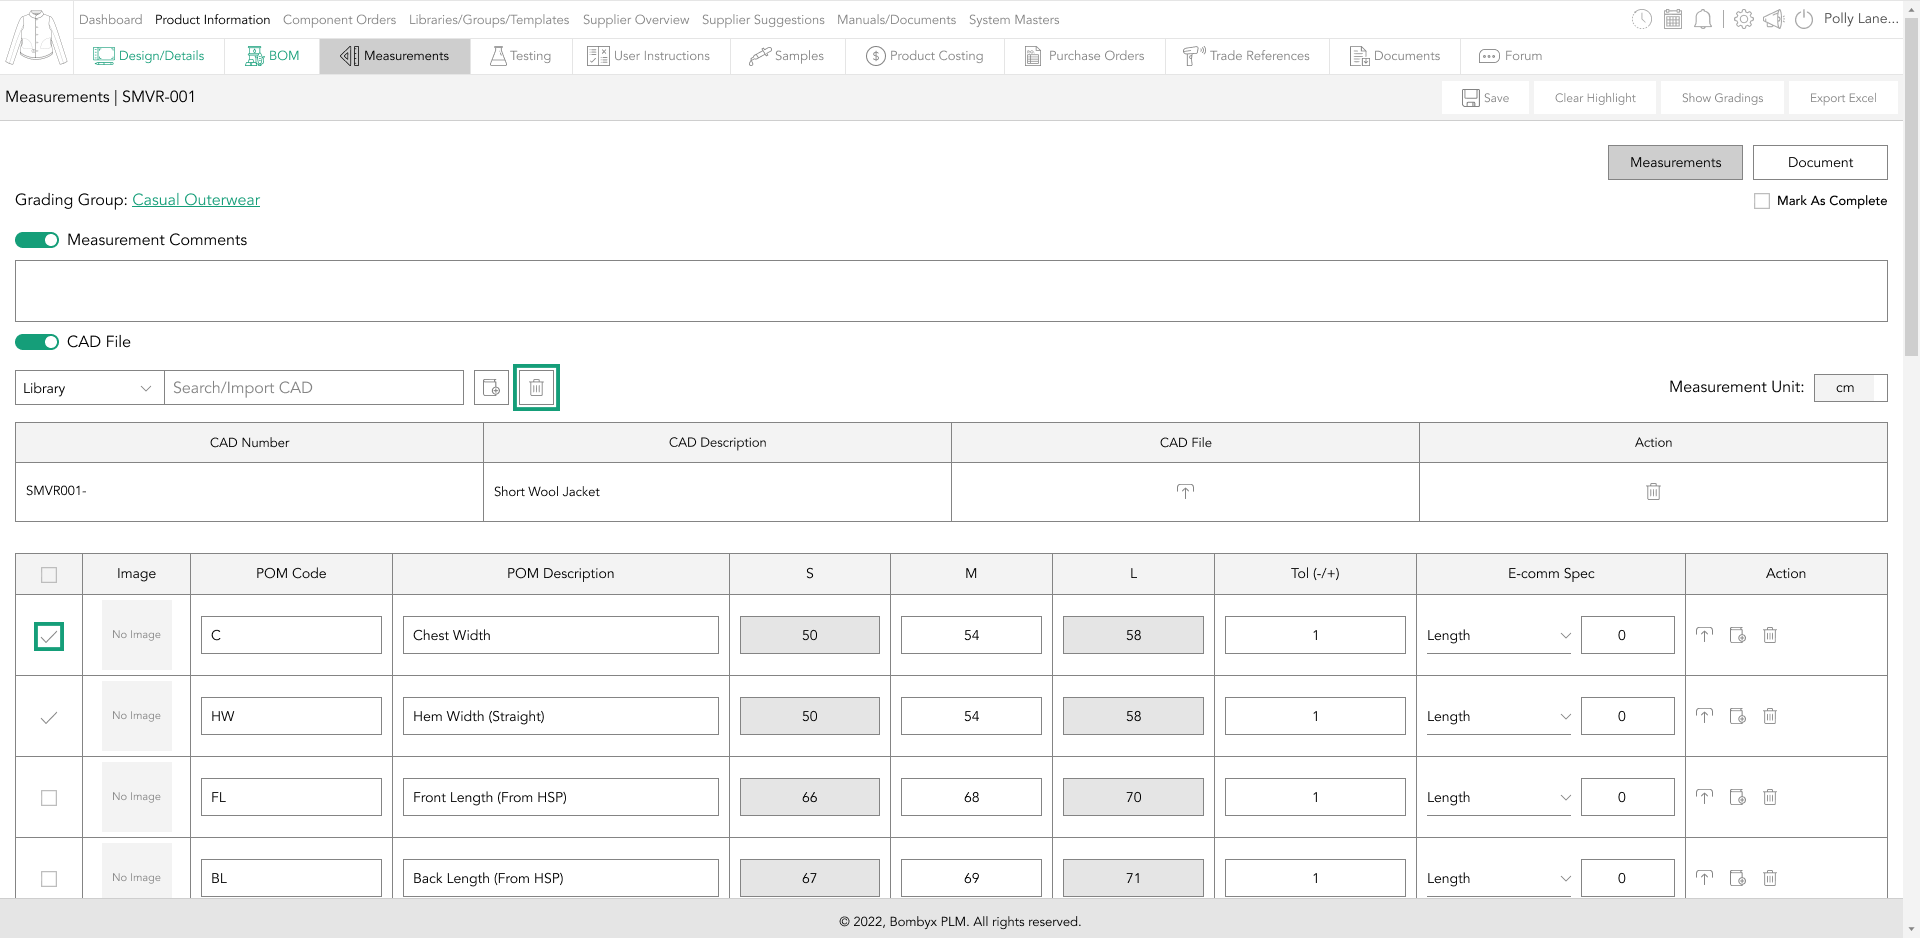
A popup will appear asking you if you’re sure you’d like to delete the selected POMs, if you select ‘Yes’, those POMs will disappear, if you select ‘No’ your POMs will remain.
highlighted gradings
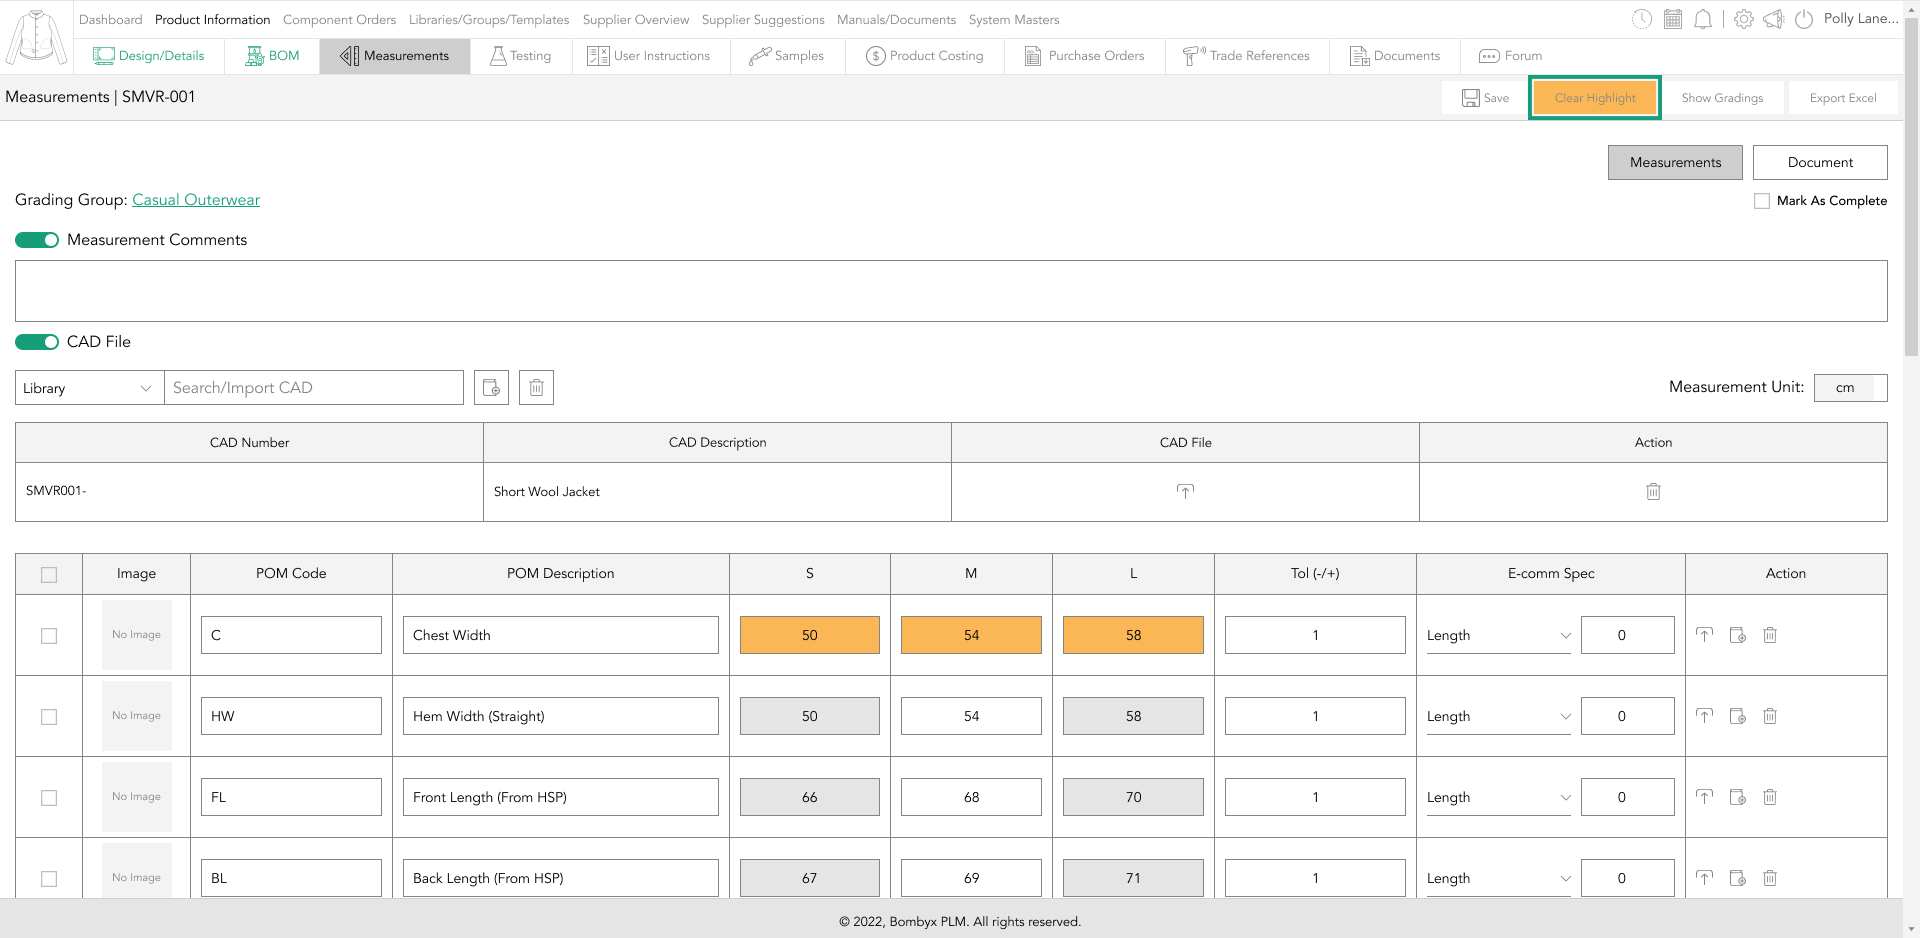
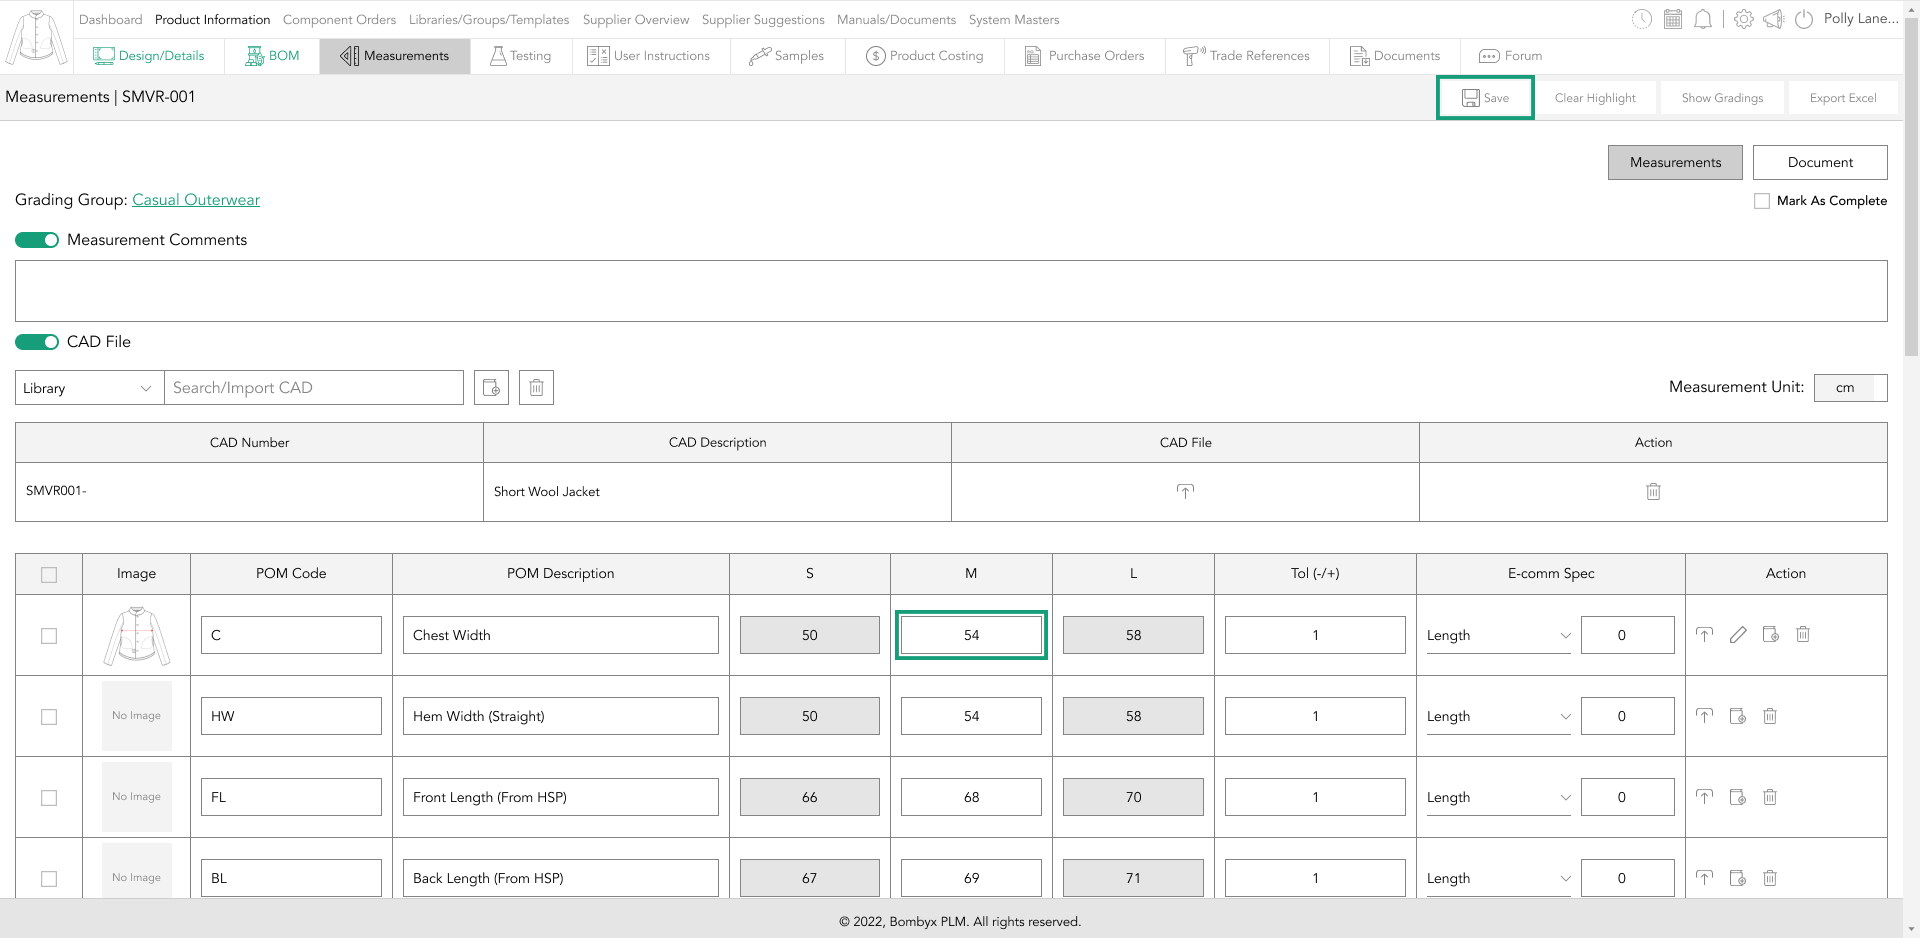
Once you’ve entered a measurement, all the cells in that row will become highlighted in an amber colour to show what has been changed.
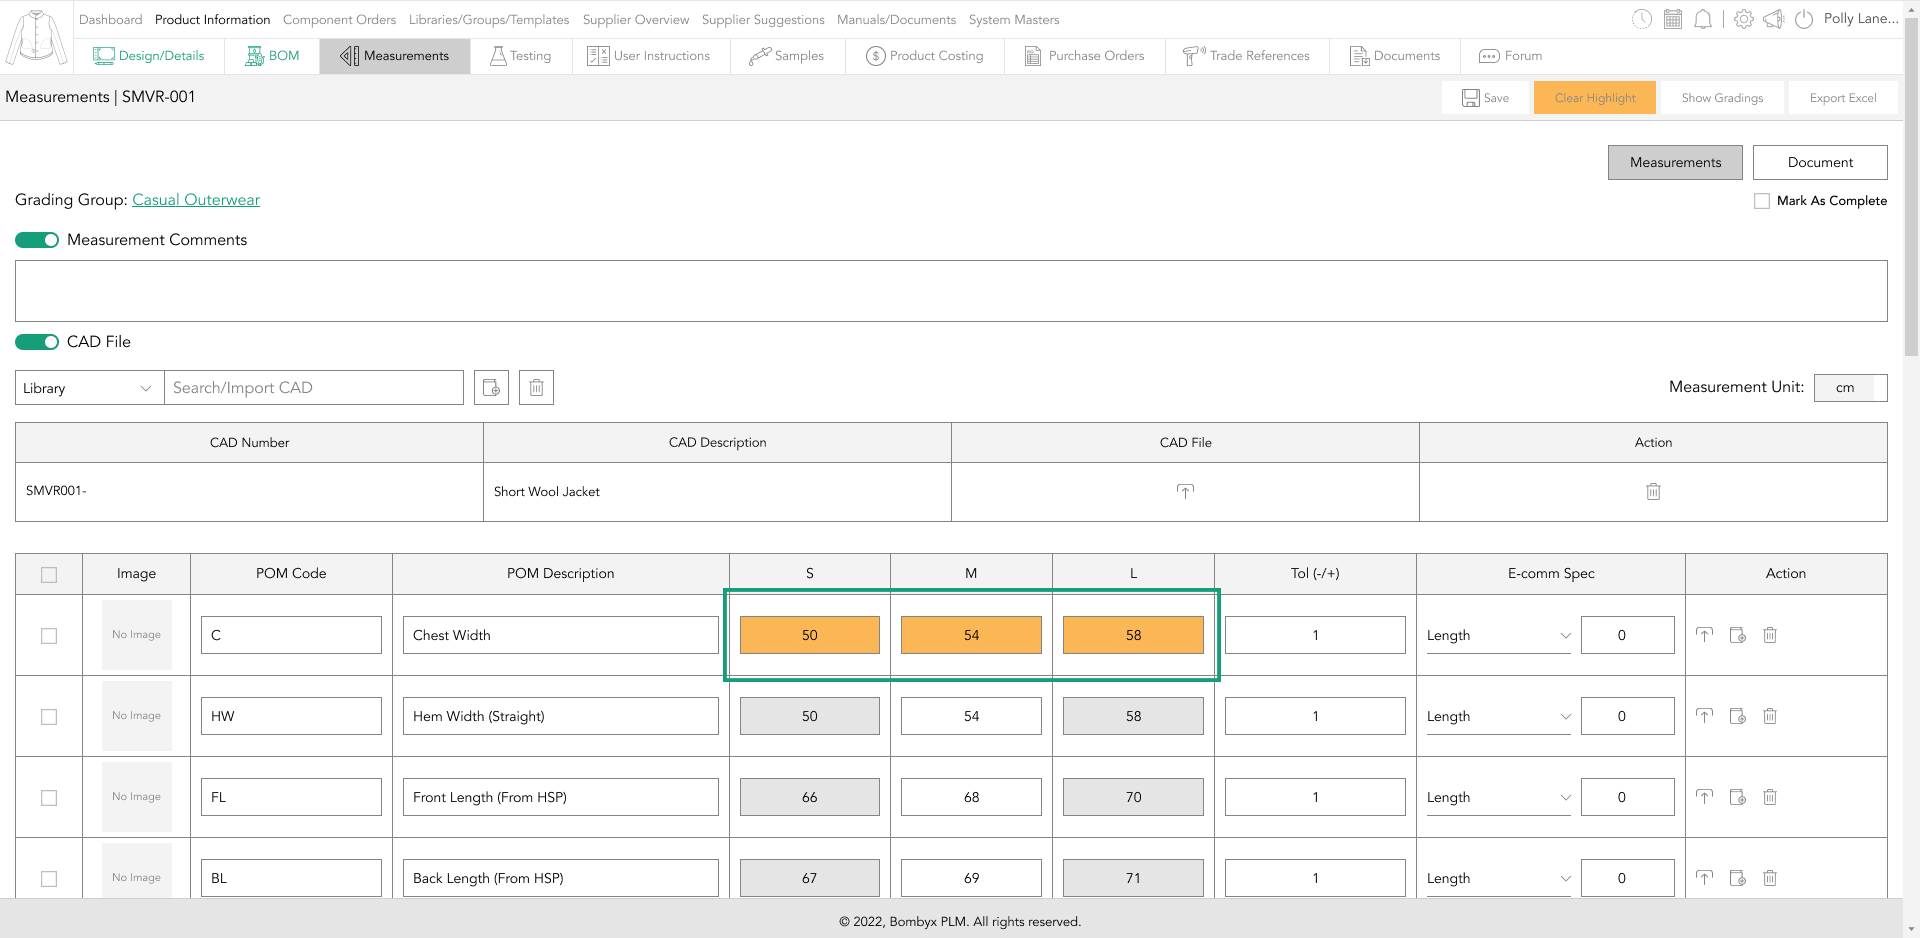
This is useful for your team and supply chain to follow the changes easily. If this is the first time you are setting this up, and submitting it to your suppliers, you may want to tap ‘Clear Highlight’.
show gradings
Once you’ve started to add in measurements, or if they have been imported from a spec template, you can review and edit your gradings within the product.
Tapping ‘Show Gradings’ will show the grading of each size surrounding the sample size.
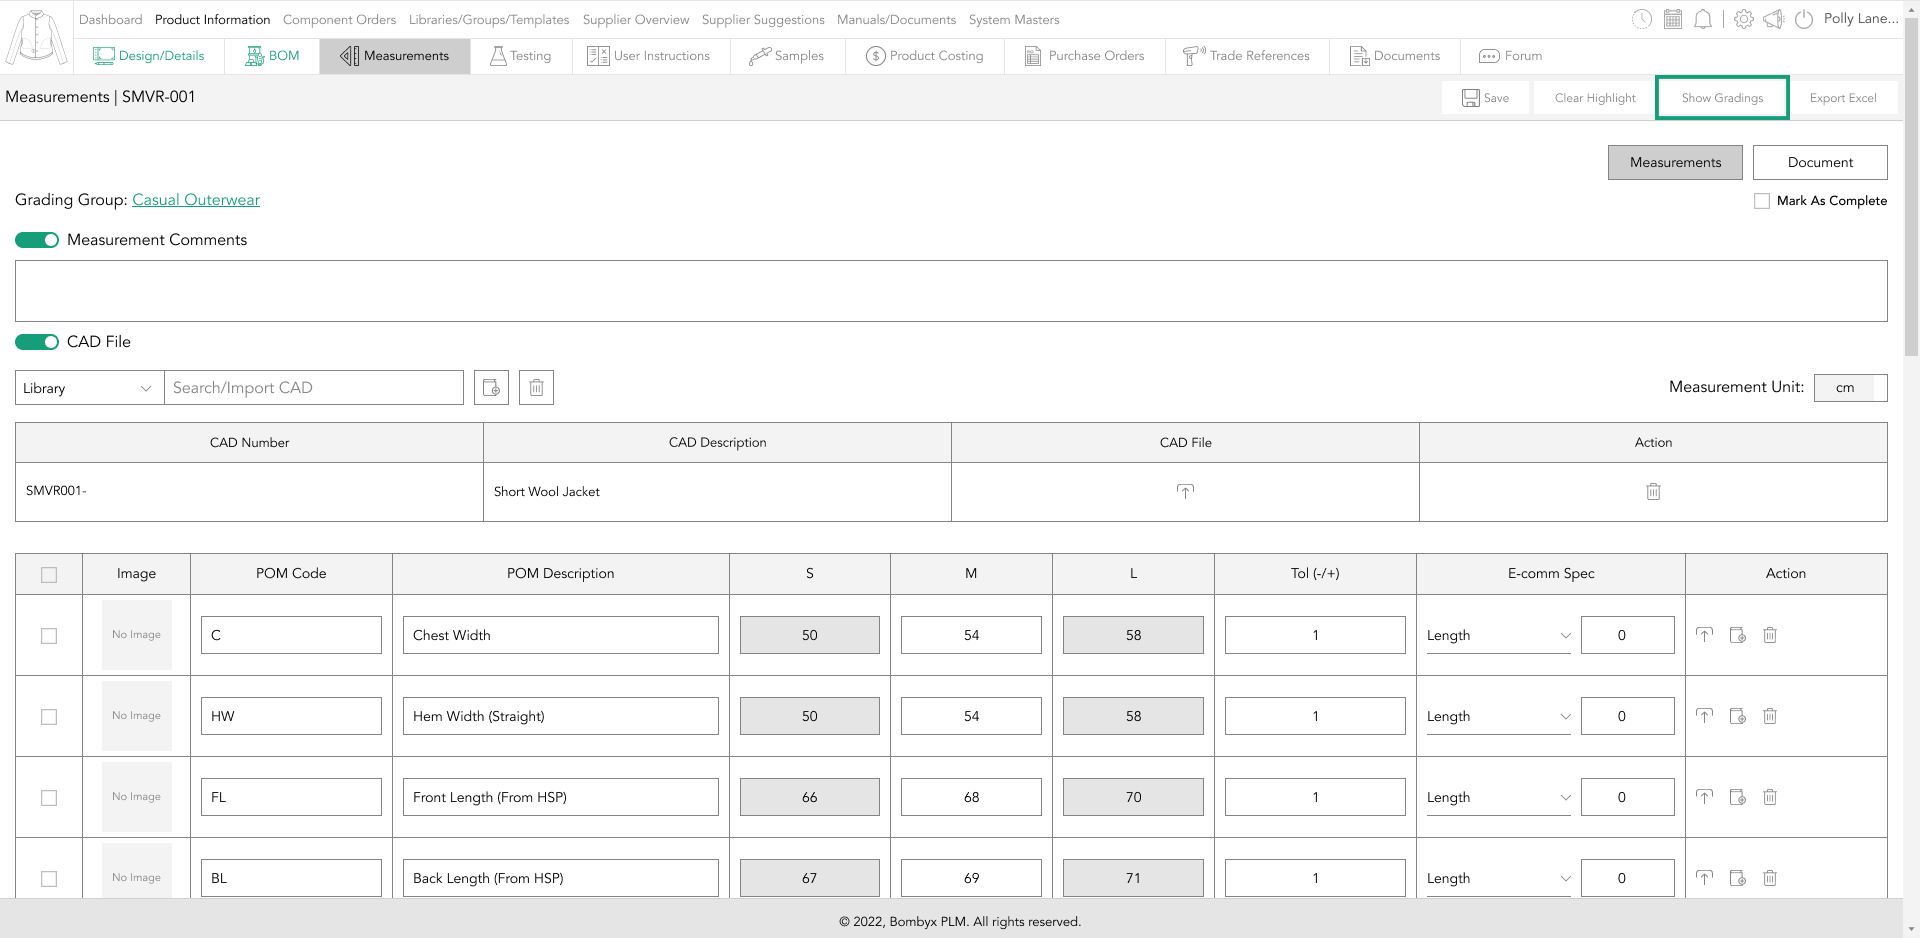
To hide them again just tap the ‘Hide Gradings’ button.
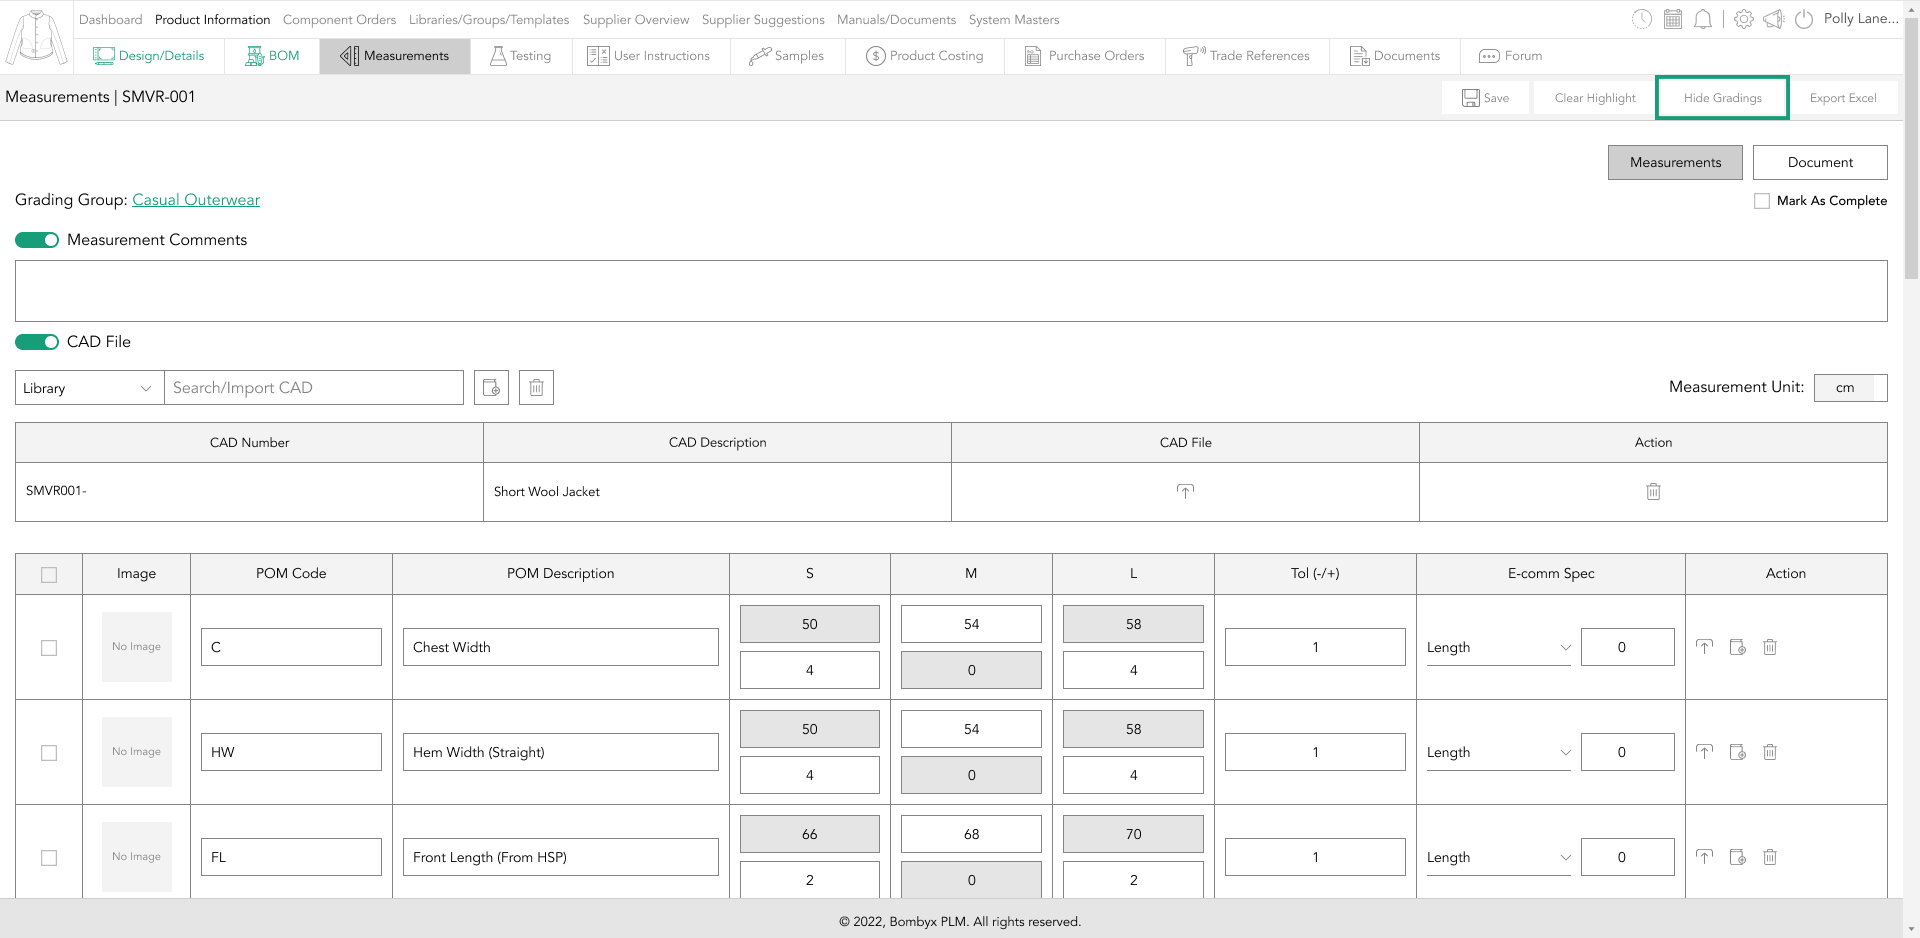
editing gradings
If you’ve made a mistake in your grading groups or spec templates, but have already imported them into your product, you can change the grading within that product and it will not be reflected anywhere else.
Maybe for this specific product, it has a slightly different grade because of how the material is reacting and it’s a one-time/rare occurrence so you are using a similar grade, and altering it just for this product, with no need to have it as a grading group in the future.
exporting excel sheets
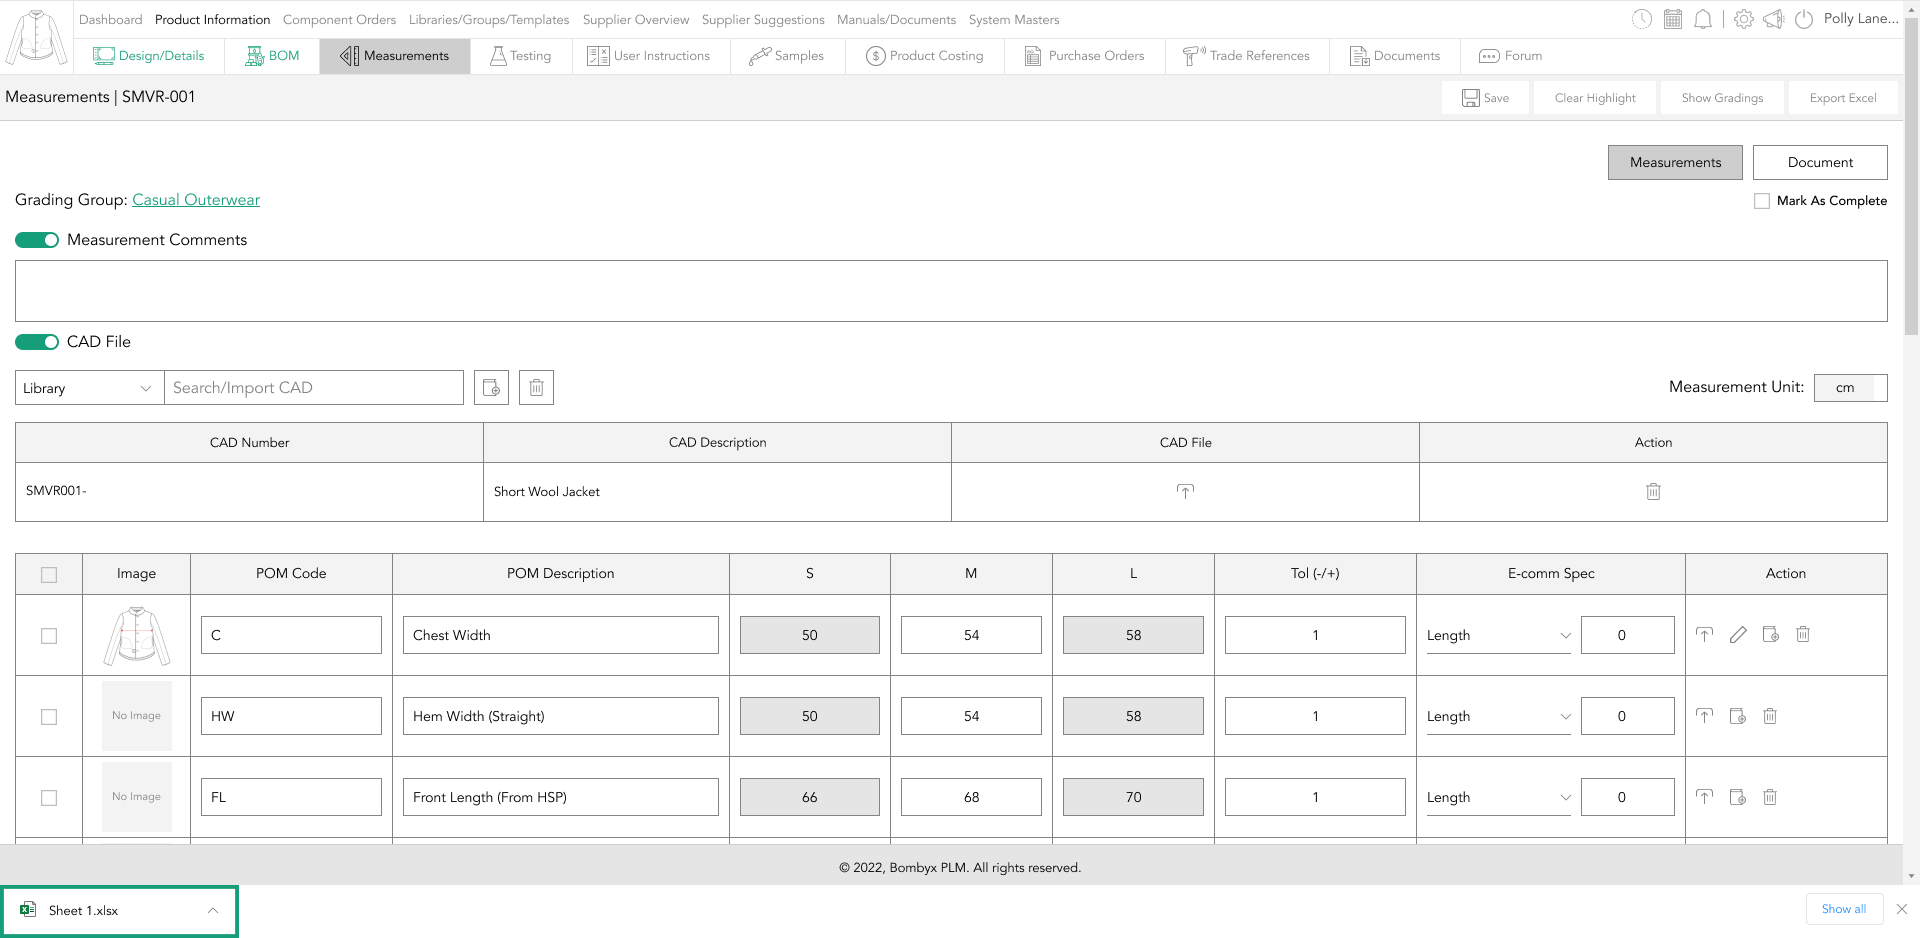
If for whatever reason you need to export your products specifications and/or its gradings,
Tap ‘Export Excel’, and this will download an excel document with the information shown on the system.
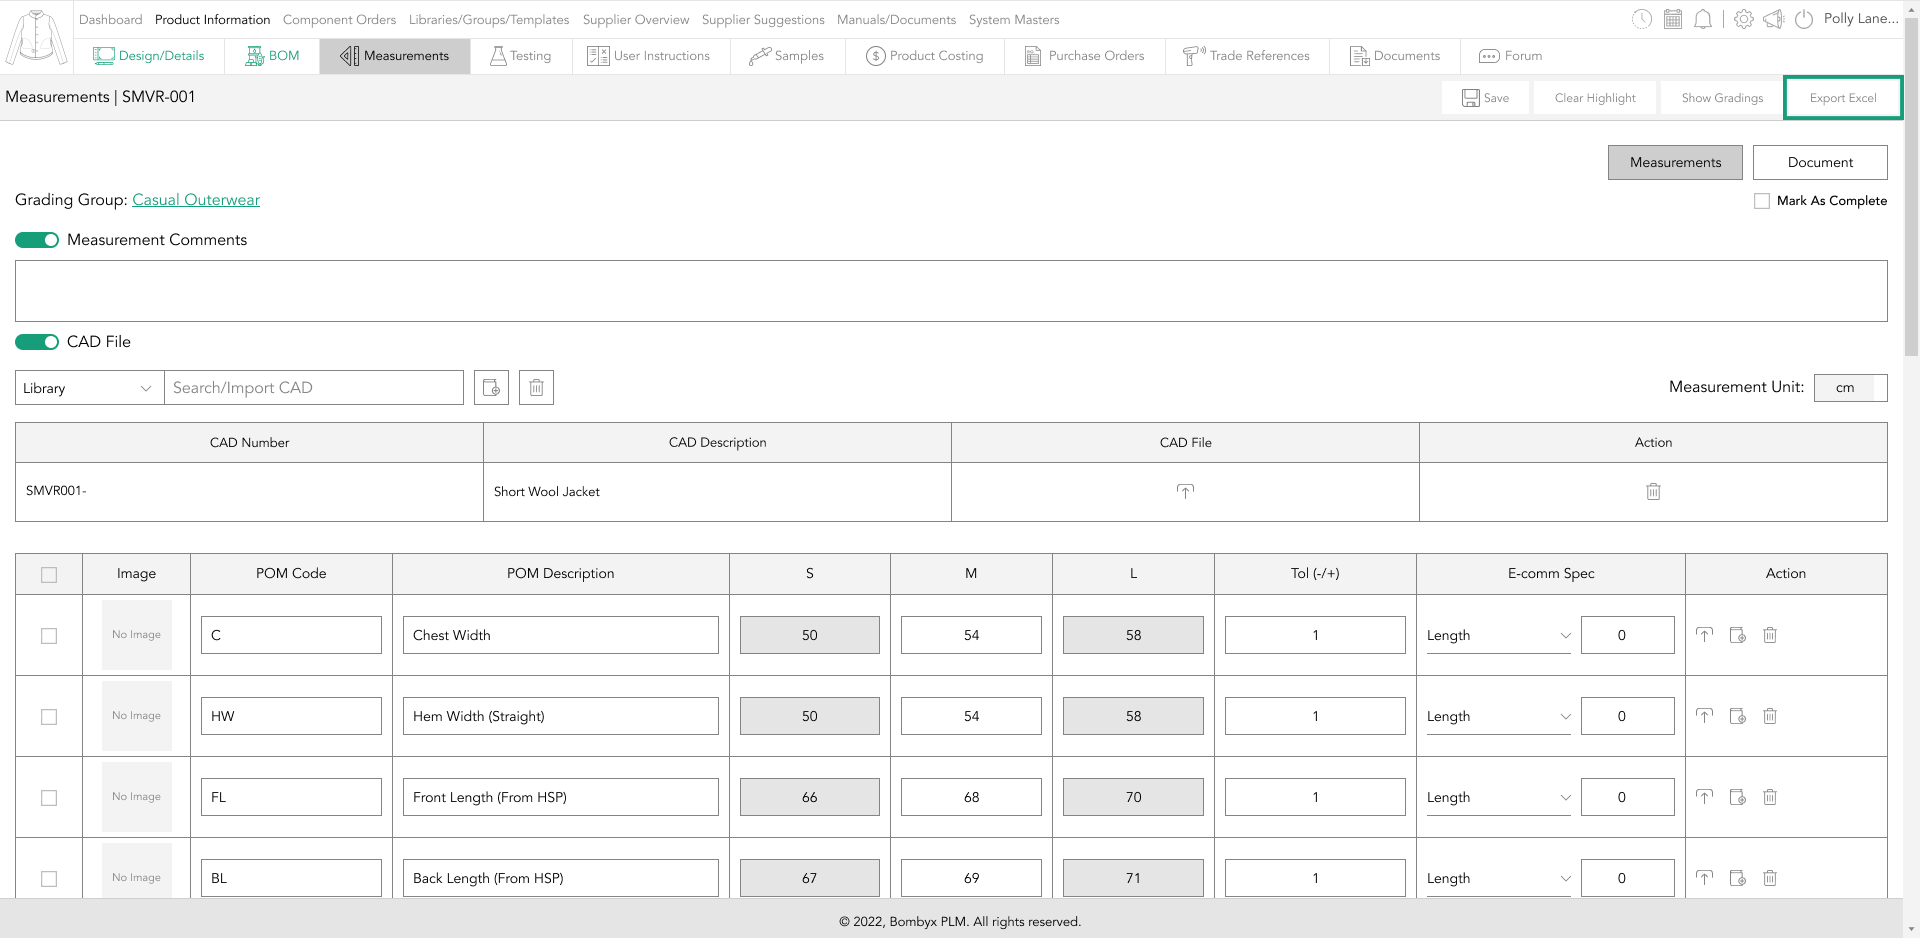
If grading is hidden, the excel sheet will not show any grading in the document, and if the grading is visible on the screen when you download the excel sheet, the gradings will also be applied to the excel document.
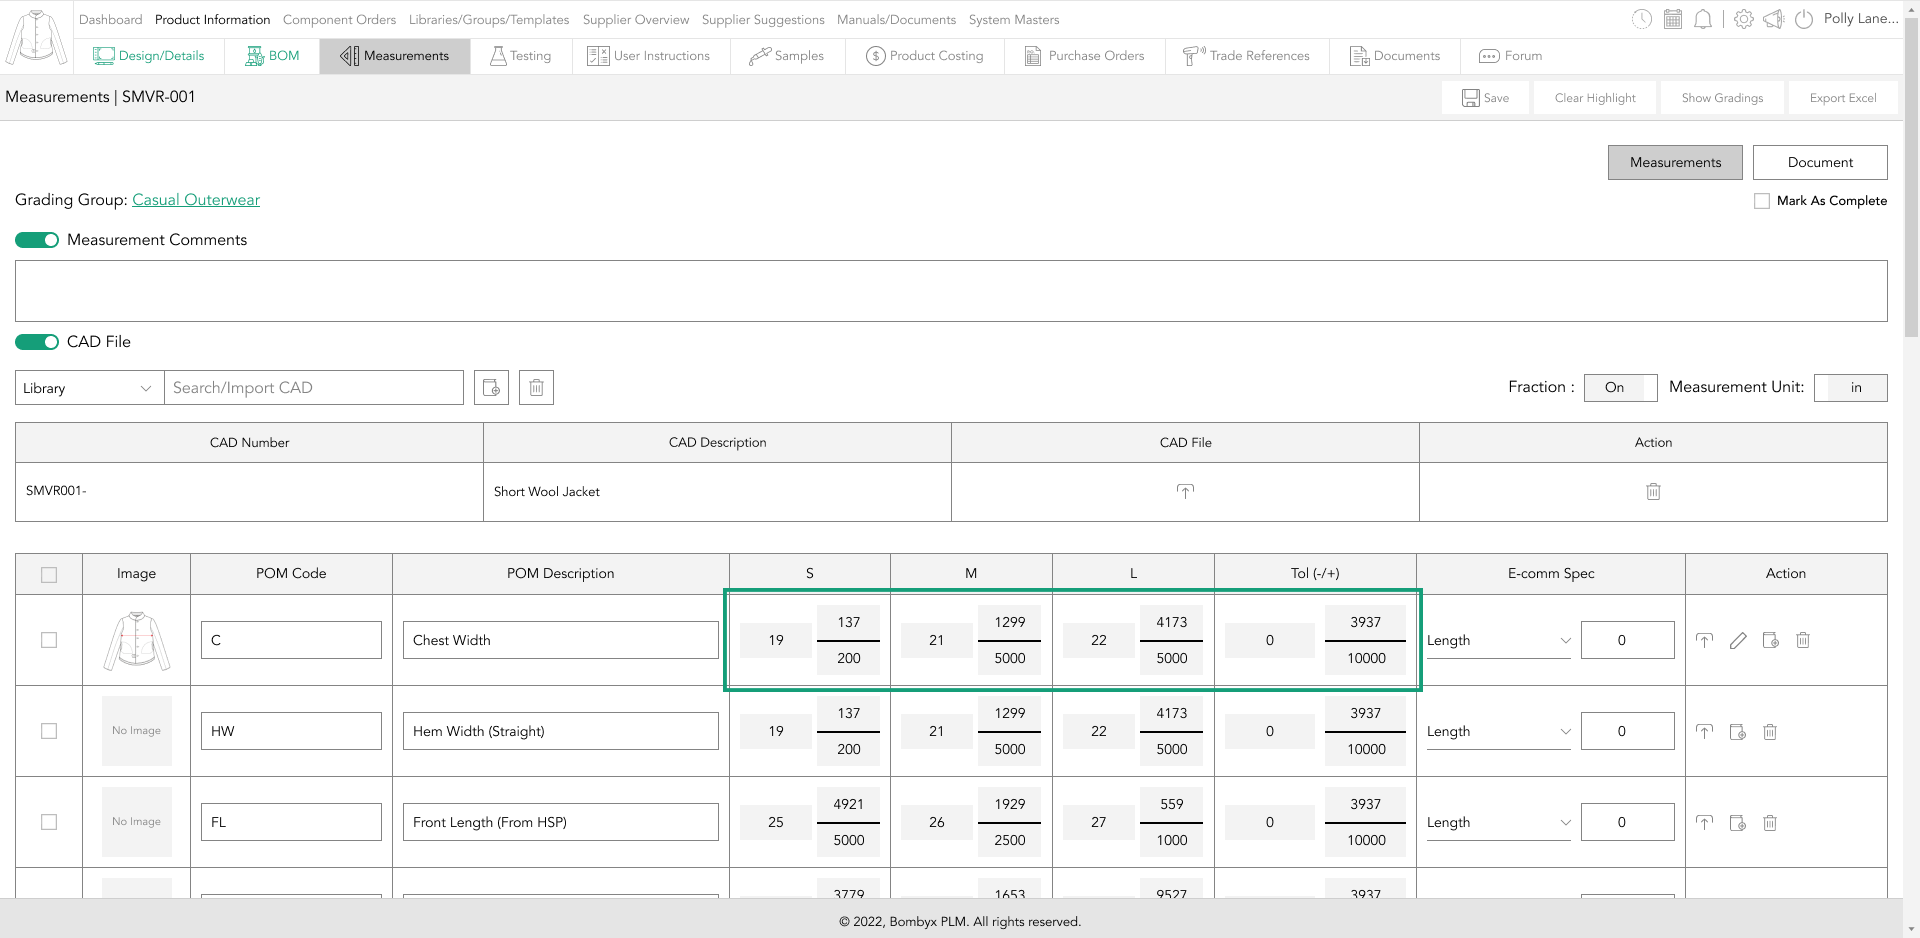
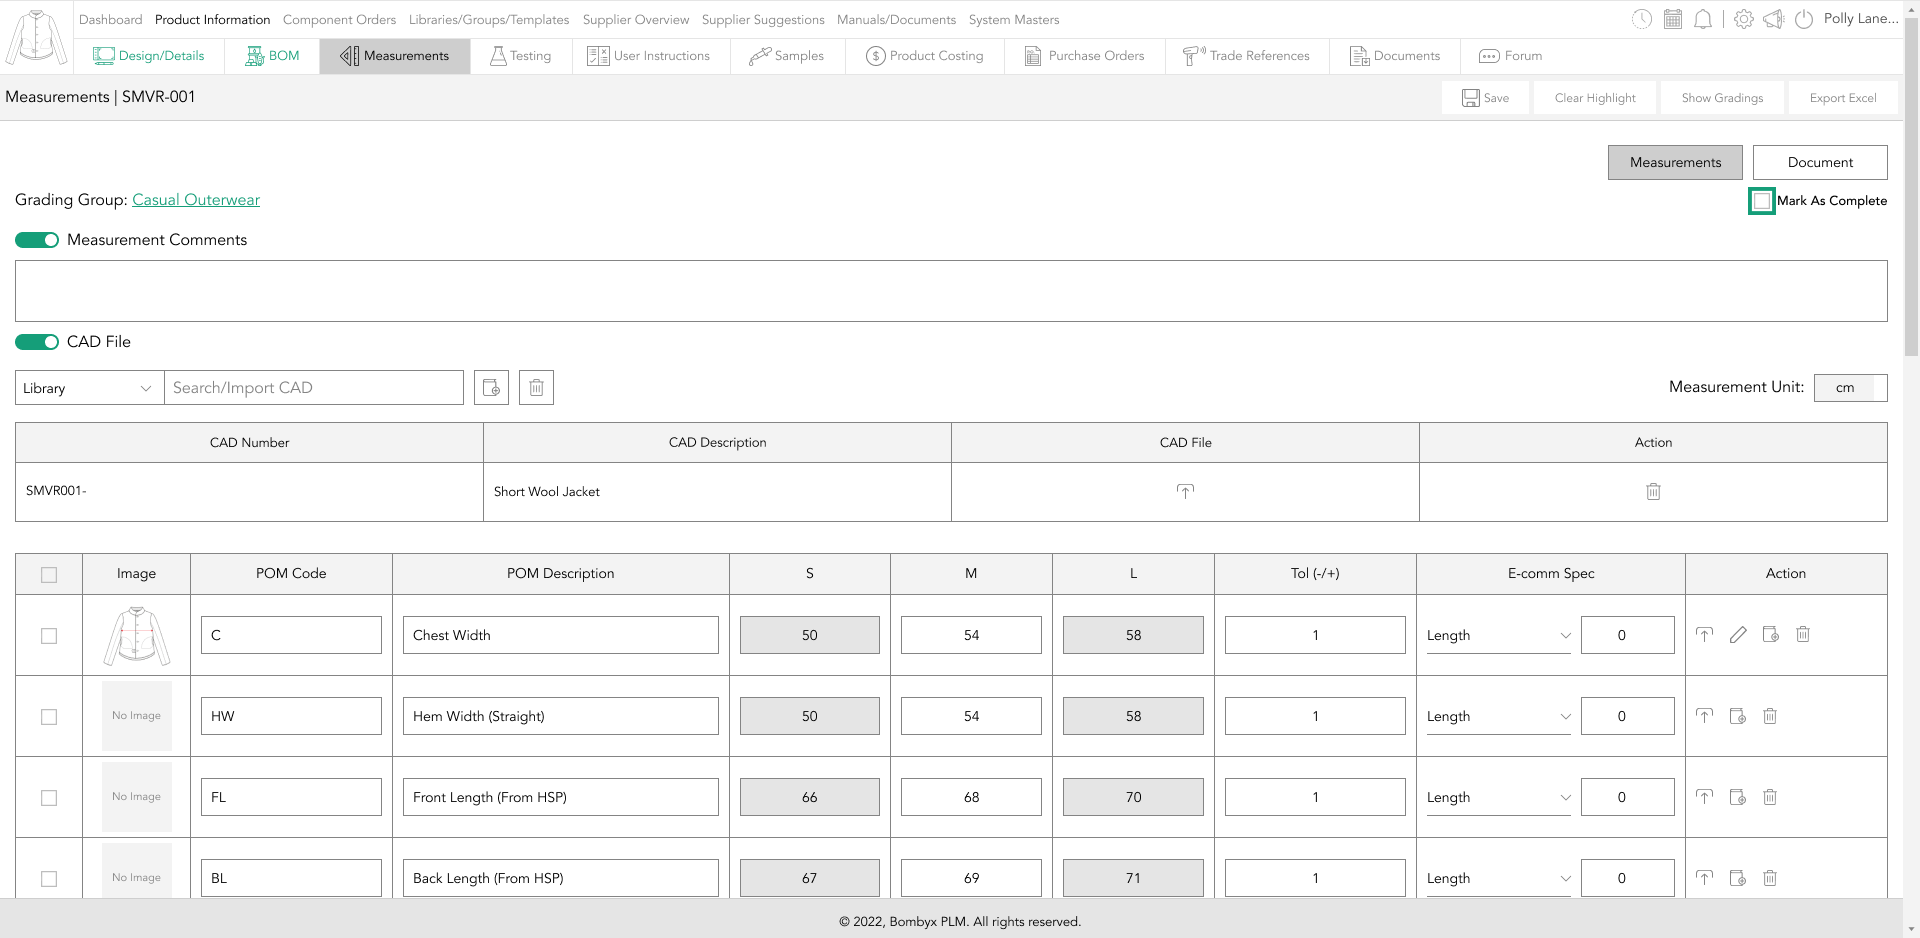
measurement unit
Although your measurement unit will be set to cm or inches by your company administrator, there may be times when you want to convert these measurements.
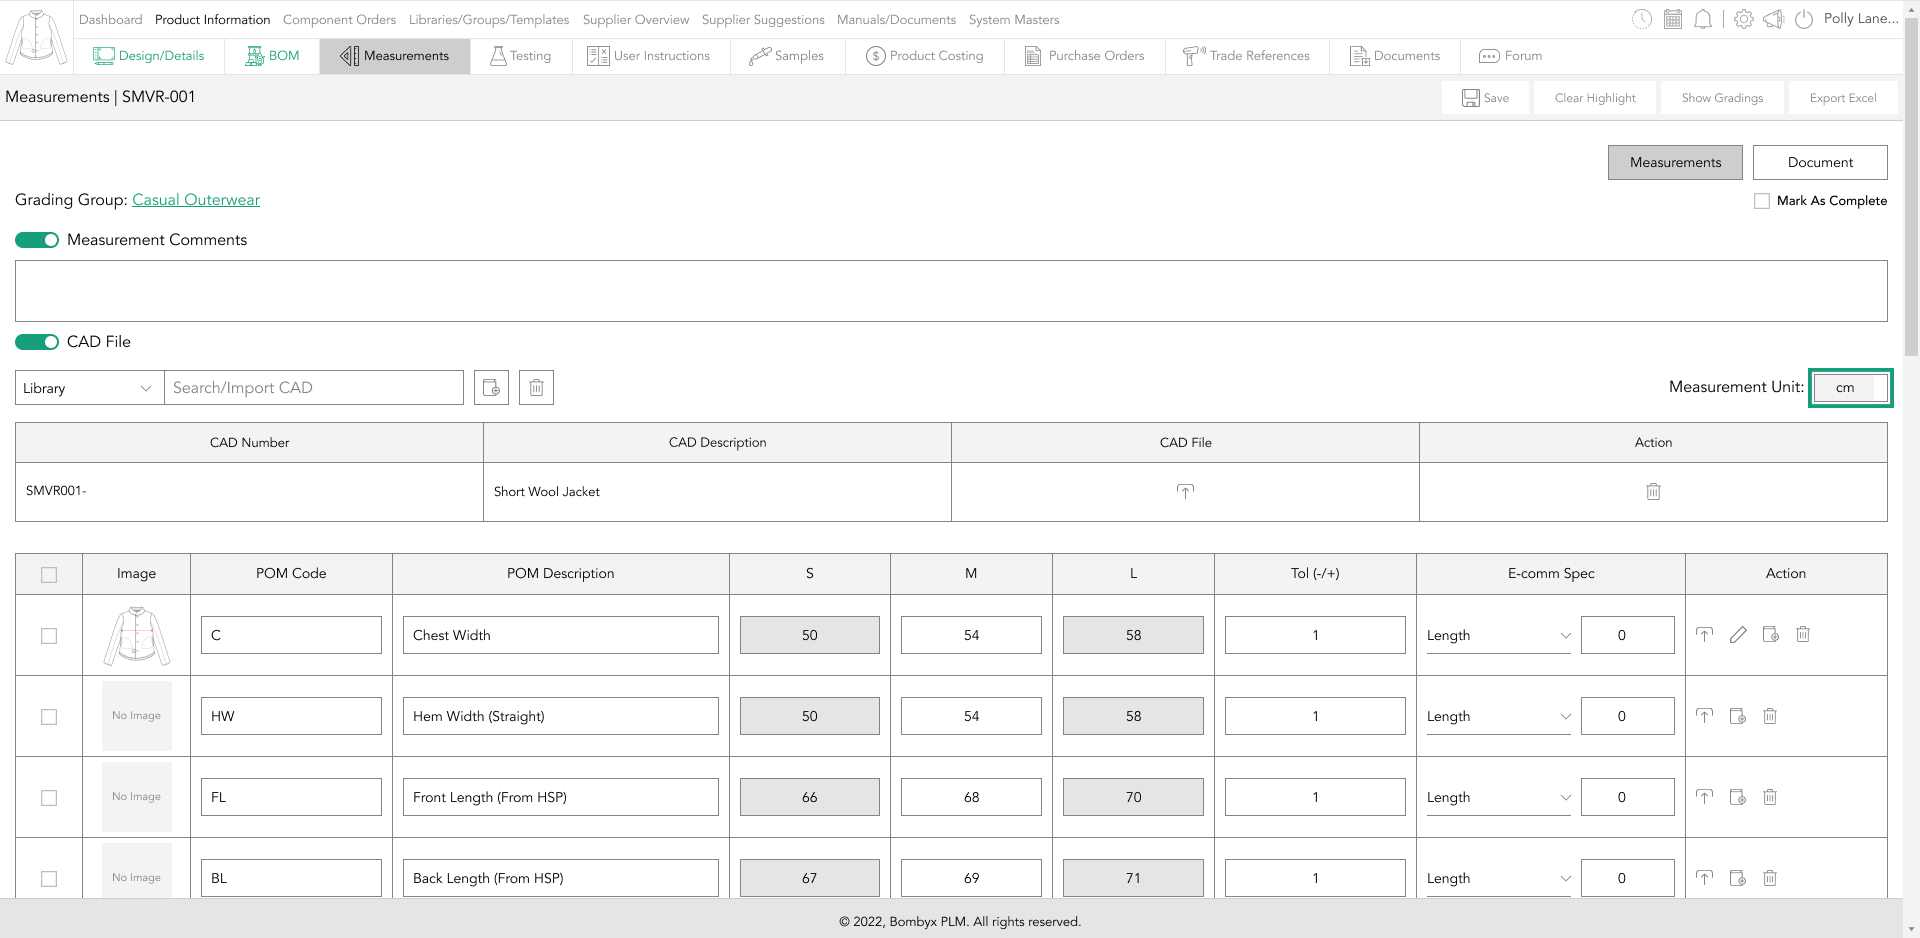
All you have to do is tap the sliding button and it will take you from centimetres to inches. When inches are selected, you have a further option to view your inches in decimals or fractions.
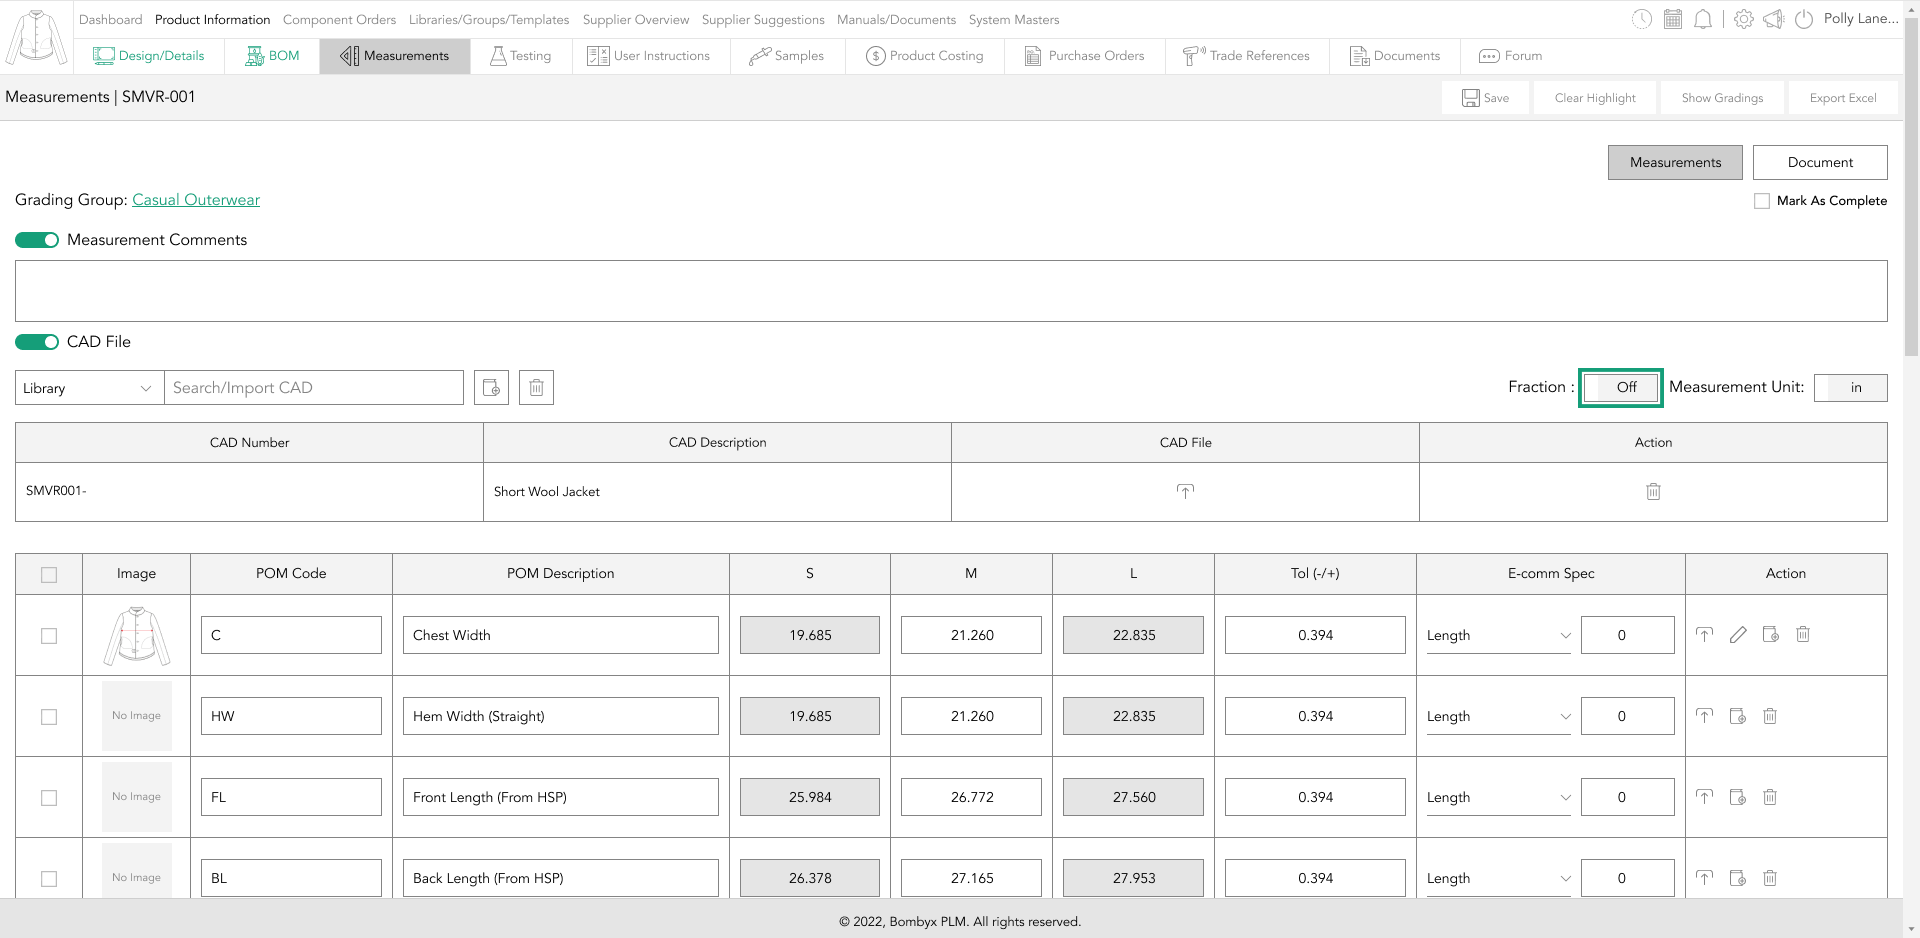
Tap the sliding button, and it will change the view of your measurements to the selected view.
weight/volume
The weight/volume section is not just for apparel, if your product is homeware/accessories etc, you can enter specifications for your products here
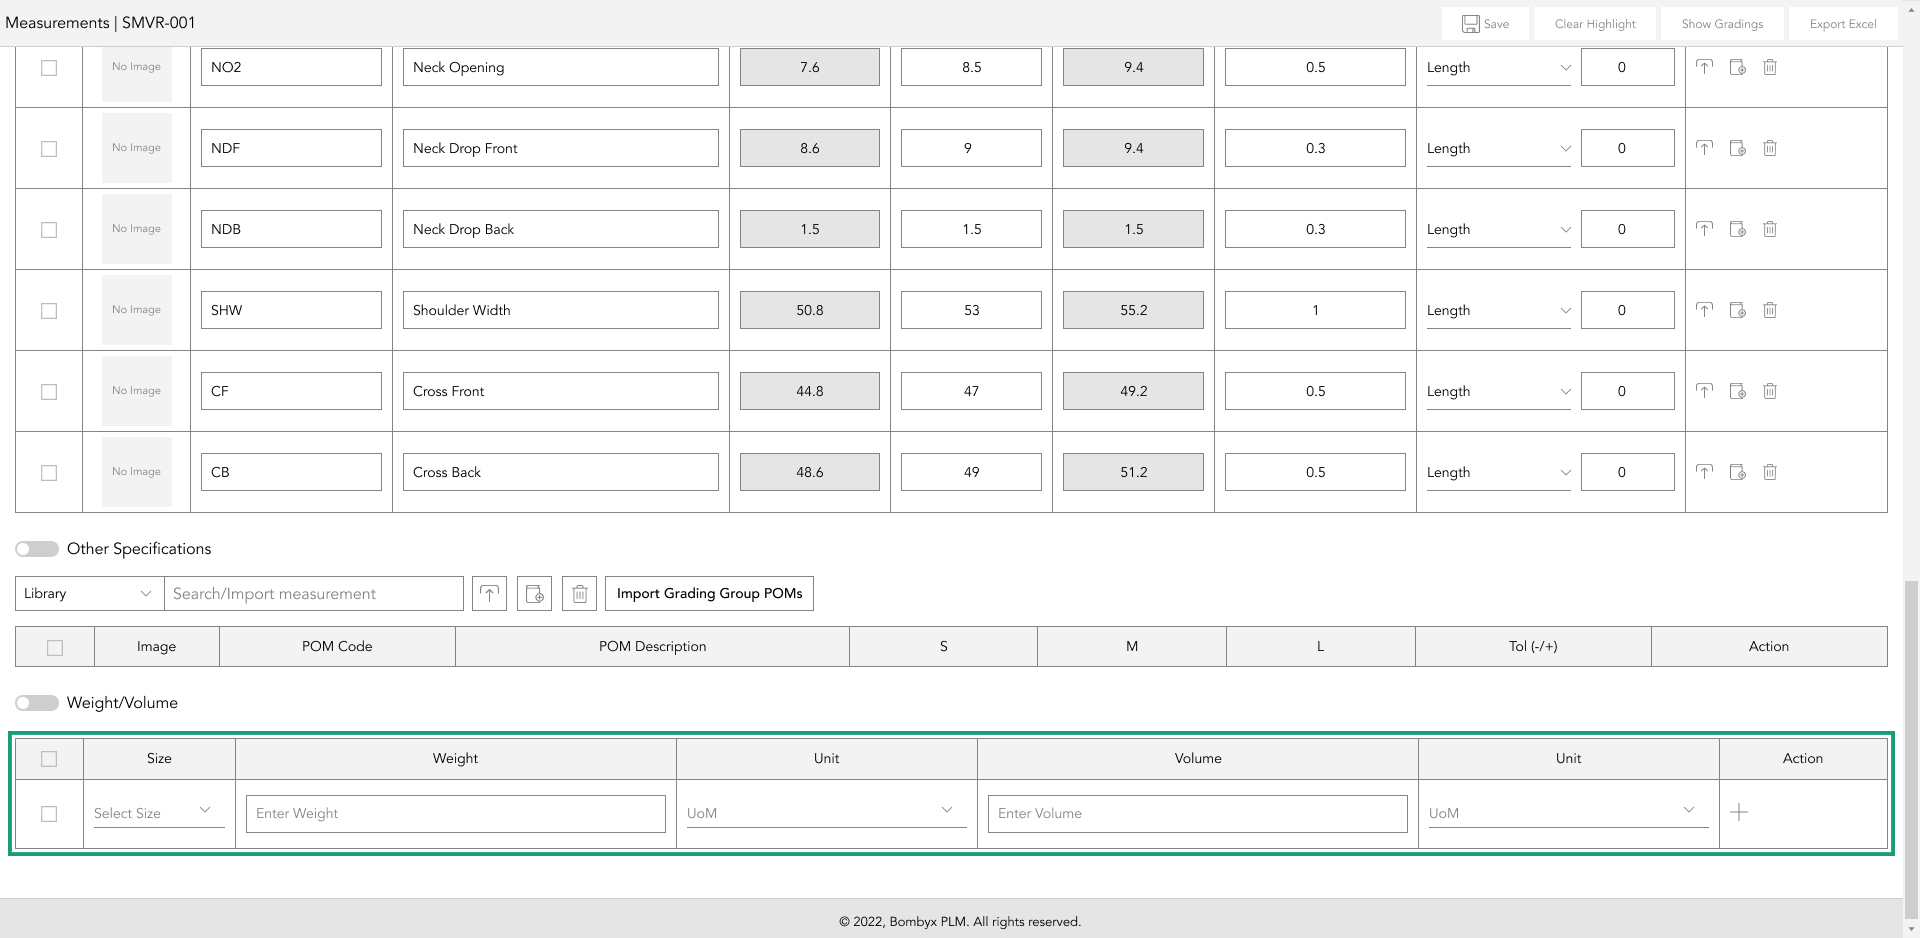
weight could be used for apparel, select your size from the dropdown, follow on to enter the weight, and the unit of measure from the dropdown.
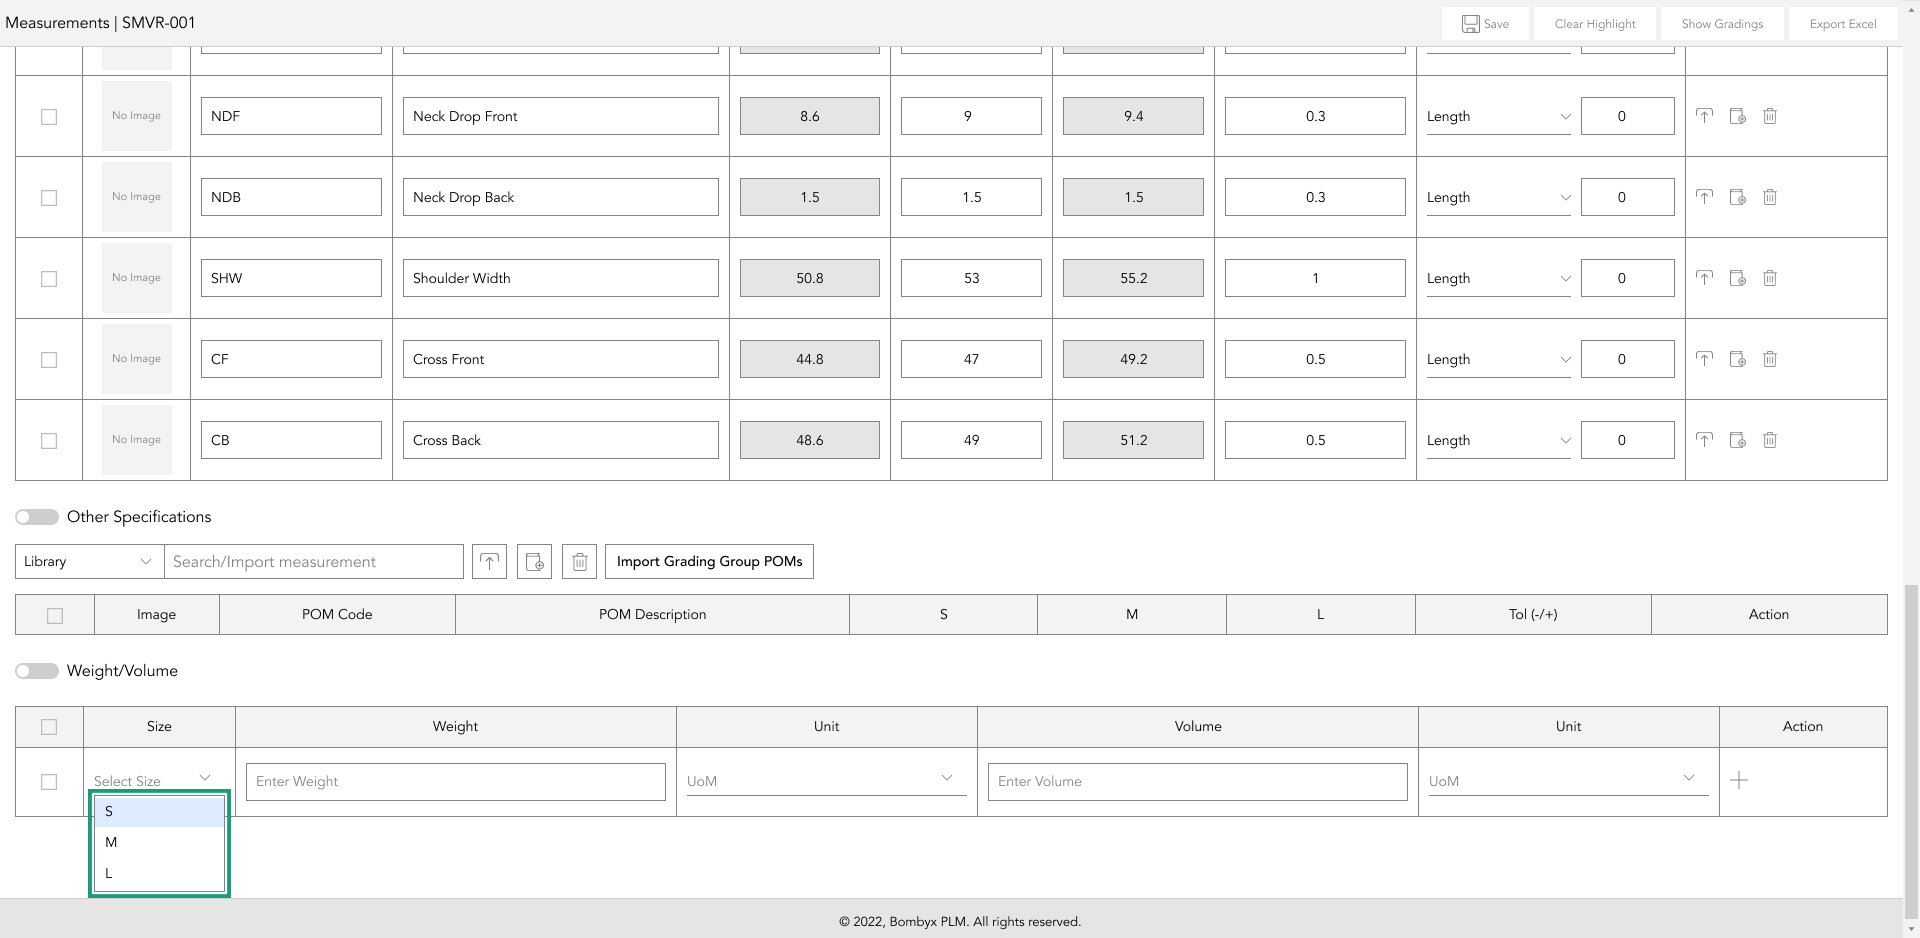
If your product is not apparel, you will enter the volume and unit for that product.
if you need to add multiple, tap the plus icon in the action panel. a new table will become visible underneath, once finished entering your products specifications, tap save
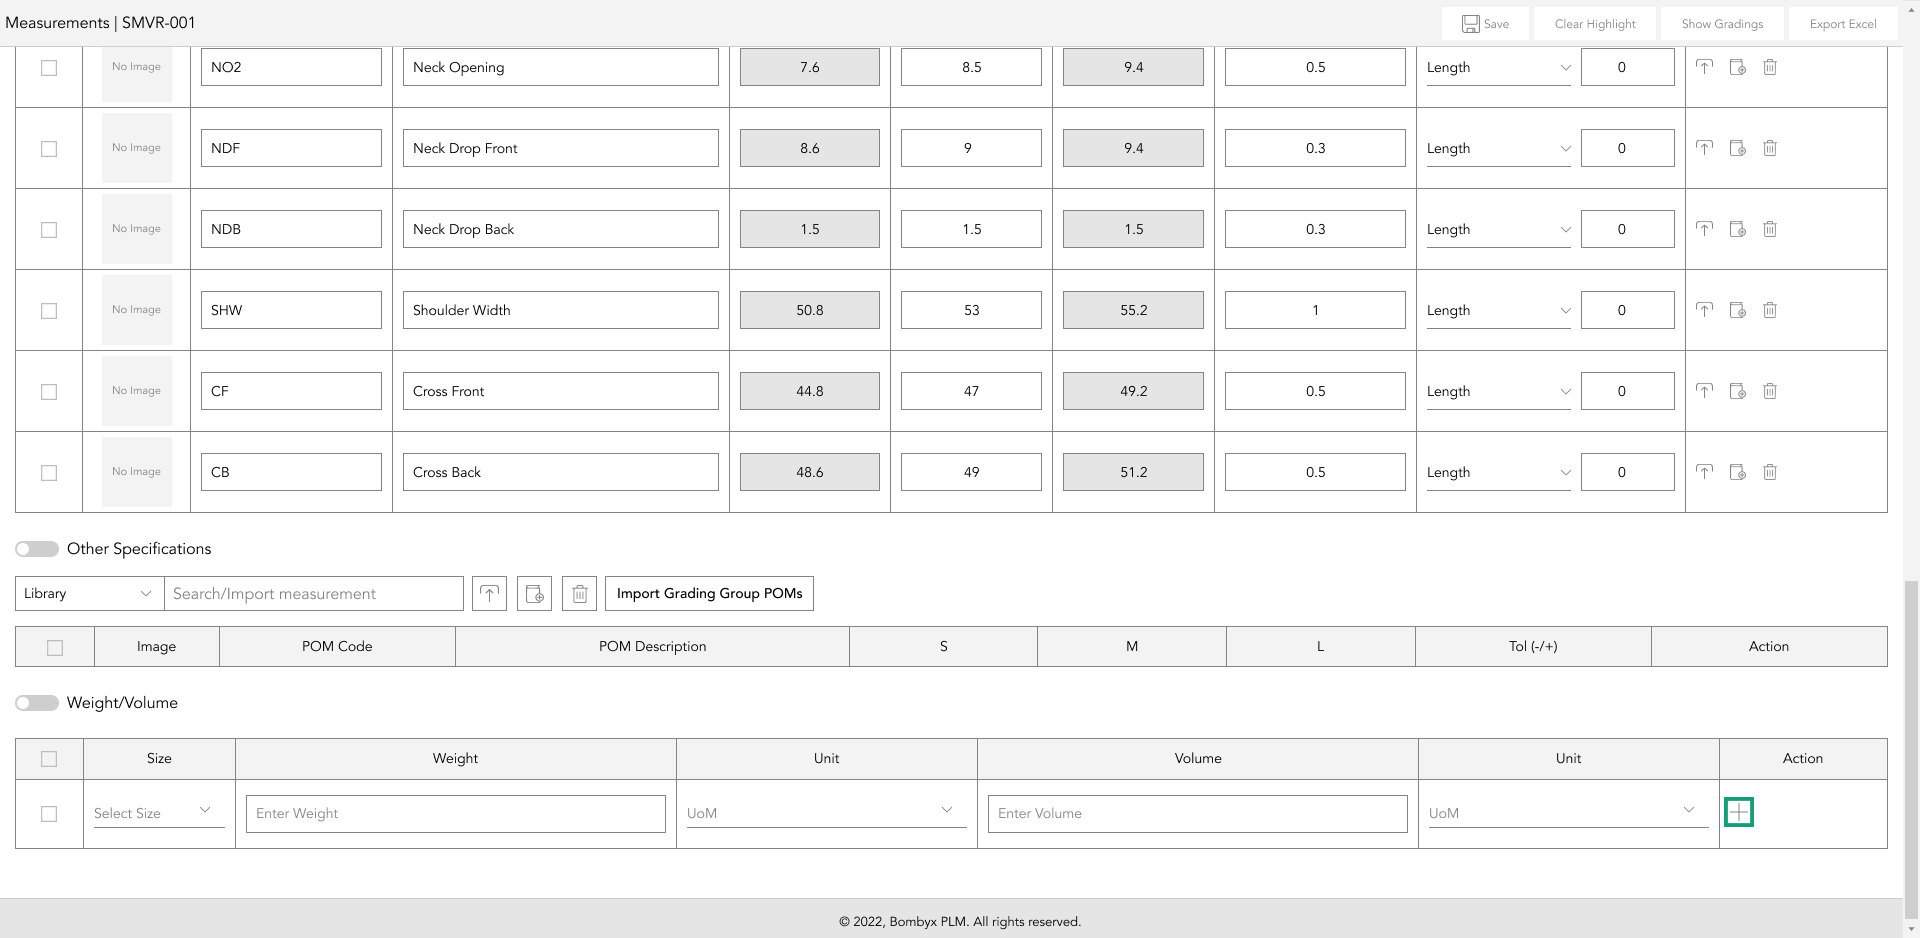
Or to delete the last imported table, tap the delete icon in the action panel.

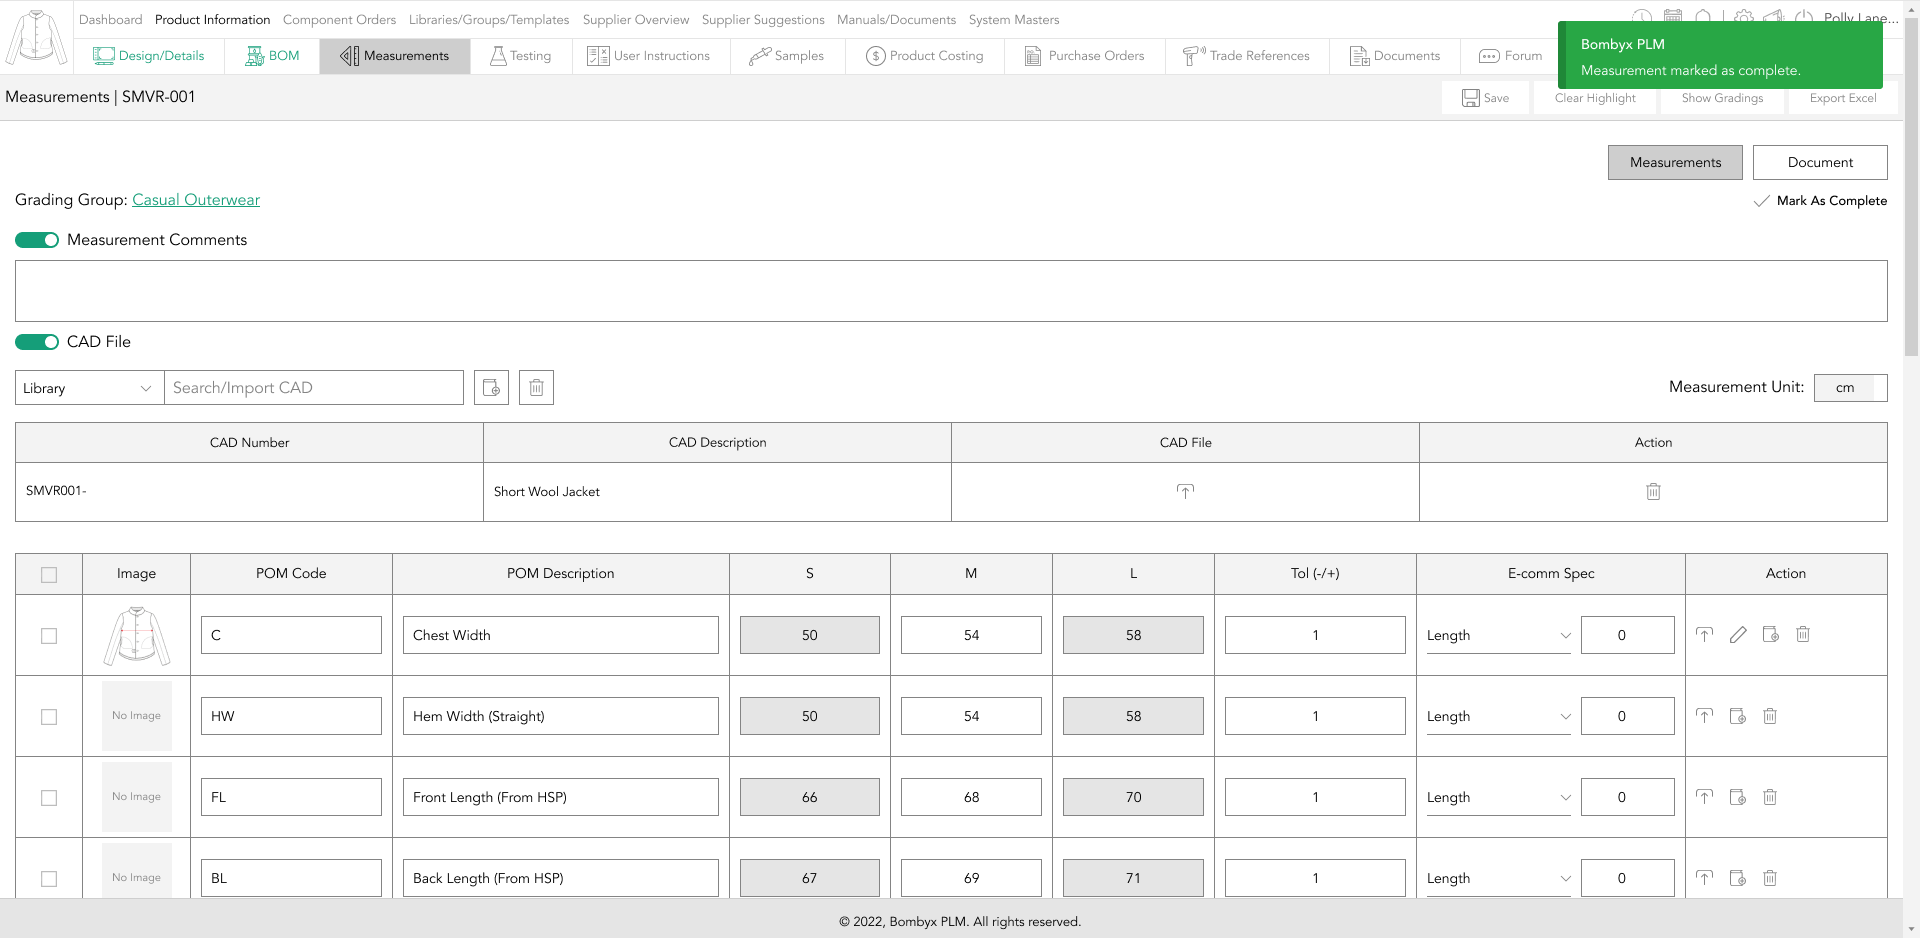
mark as complete
Marking it as complete is a simple action of checking the ‘Mark as Complete’ checkbox.
Doing this updates your product progress to give you and your team a clear understanding of where your product is at in its lifecycle, and to know where it is not complete and needs further action.
other specifications
If you have additional specifications that aren’t part of the CAD File or its specifications, you can add them to the ‘Other Specifications’ section.
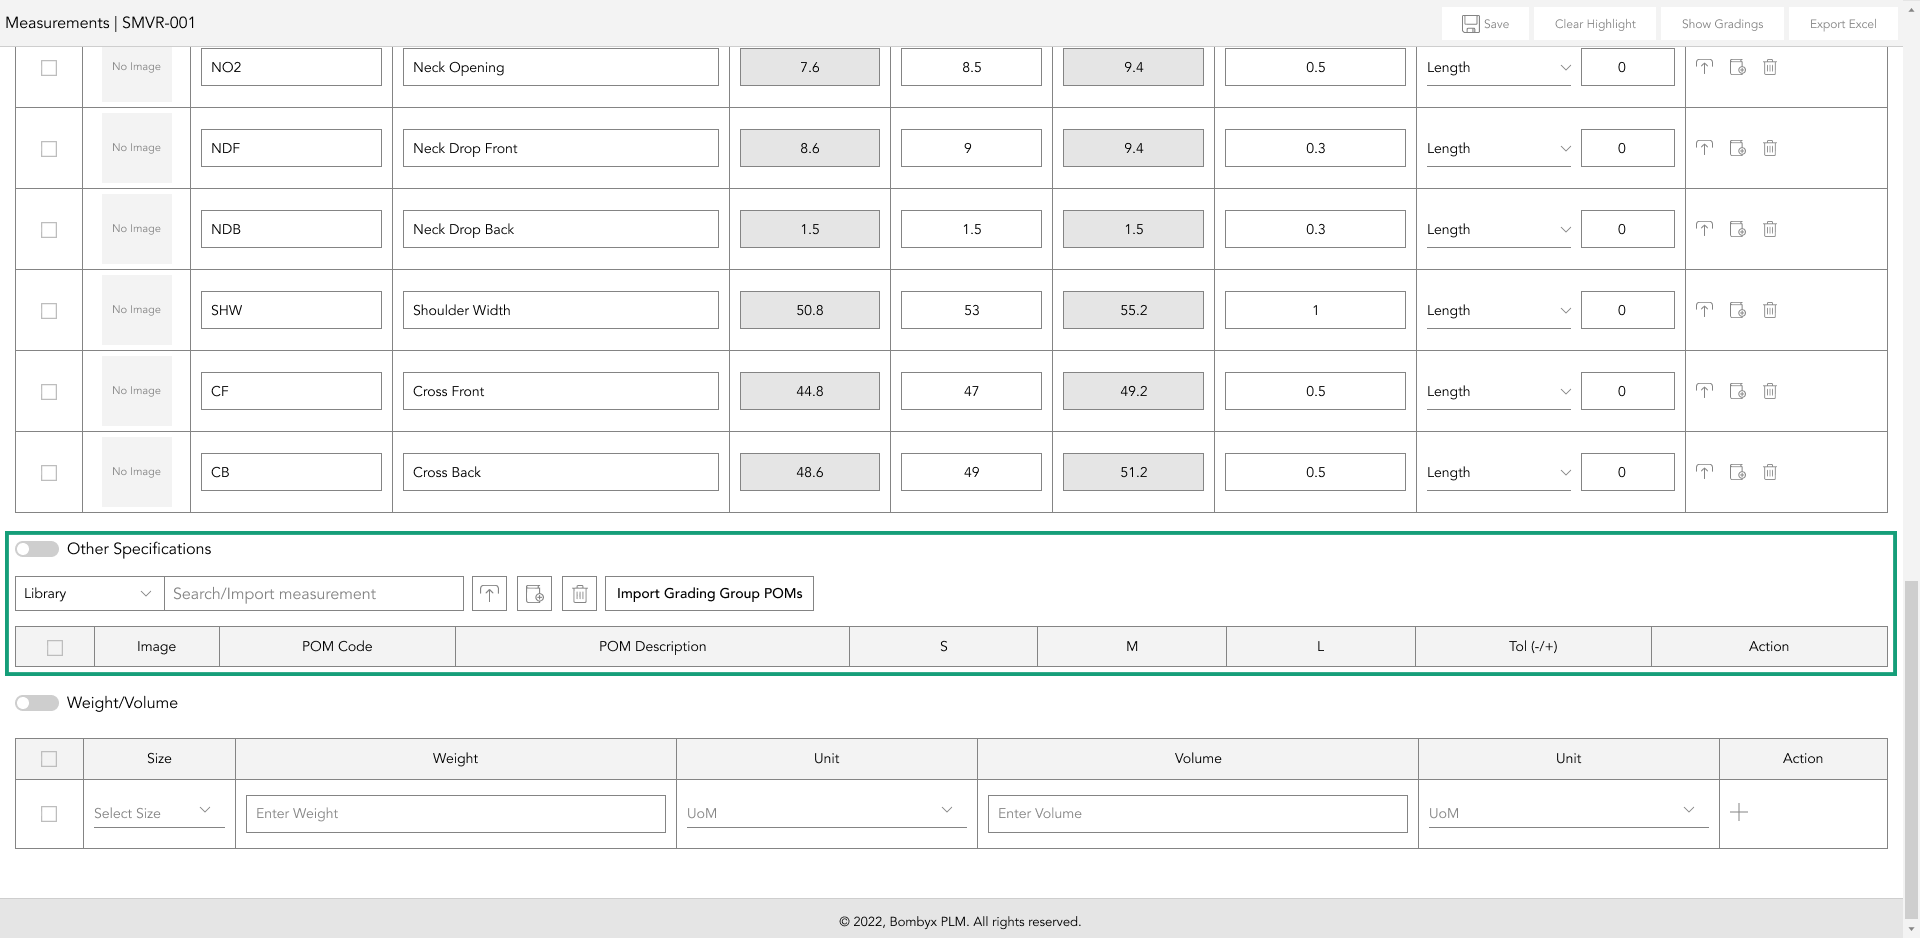
If you don’t have a CAD file, this section will simply be called ‘Specifications’, and its use is for manufacturers that don’t have a CAD file to create the product with, and are creating the product purely from the measurements provided in the ‘Specifications’ section.
importing from library
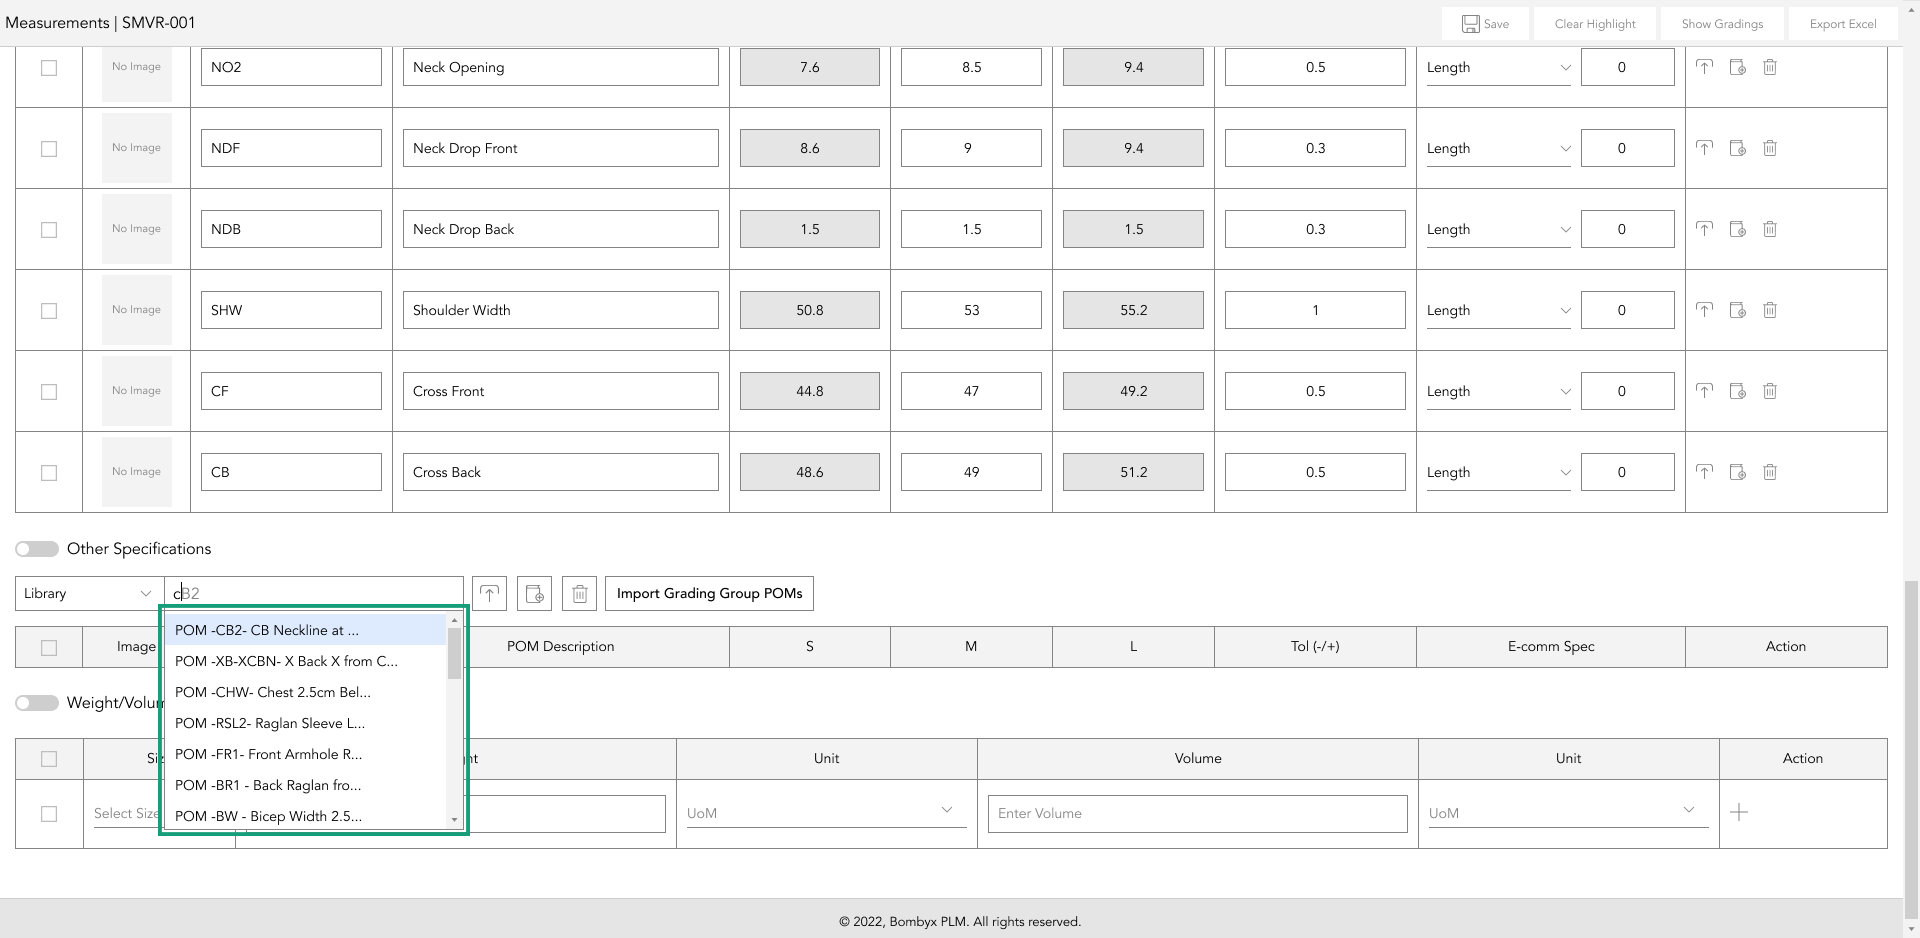
The library is the default selection, meaning that the item you’re importing is coming from the library.
Import is a simple function, all you have to do is to start typing the point of measure (POM) code/description in the search bar, and Bombyx will start to filter through the points of measure that have been assigned to the grading group that is selected for this product.
Note that you can’t bring in spec templates from another product with a different grading group. For example, if the product has been assigned grading for ‘Outerwear’, you can’t bring in a spec template with a grading group assigned for ‘dresses’.
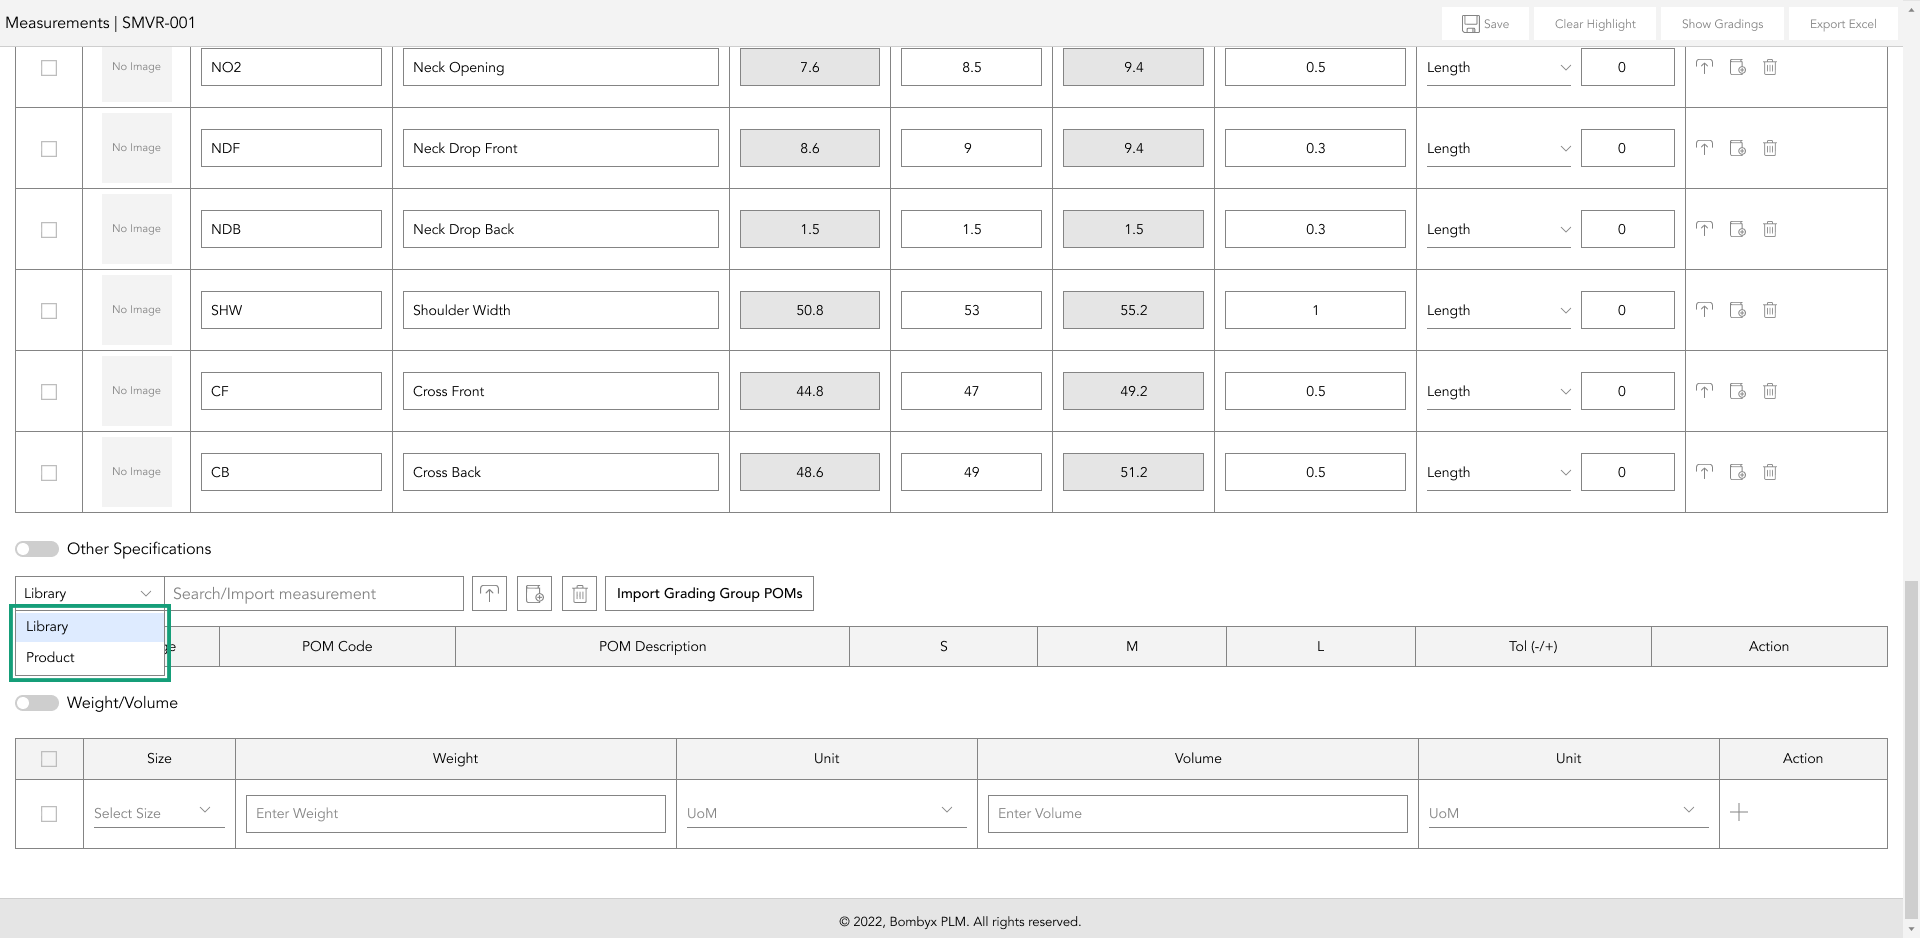
importing from a product
If you select ‘Product’ from the first dropdown, this will prompt the system to reveal another dropdown to the right of it, showing all of the products with the same grading group as the current product you’re working in.
As you type, Bombyx will start to filter out the results based on your search. Once you’ve found the product you want to bring the specifications from, tap the selection and all the POMs from that product will appear. Note that you can’t bring in the specifications of another product with a different grading group. For example, if the product has been assigned grading for ‘Outerwear’, you can’t bring in specifications from a product with grading for ‘dresses’.
Selecting a product from the dropdown will drop in all of the POMs from the selected product. Maybe it’s a very similar product and you want to add in the same POMs and then edit or delete anything you don’t need, or add in additional POMs that the previous product doesn’t have, but this product does.
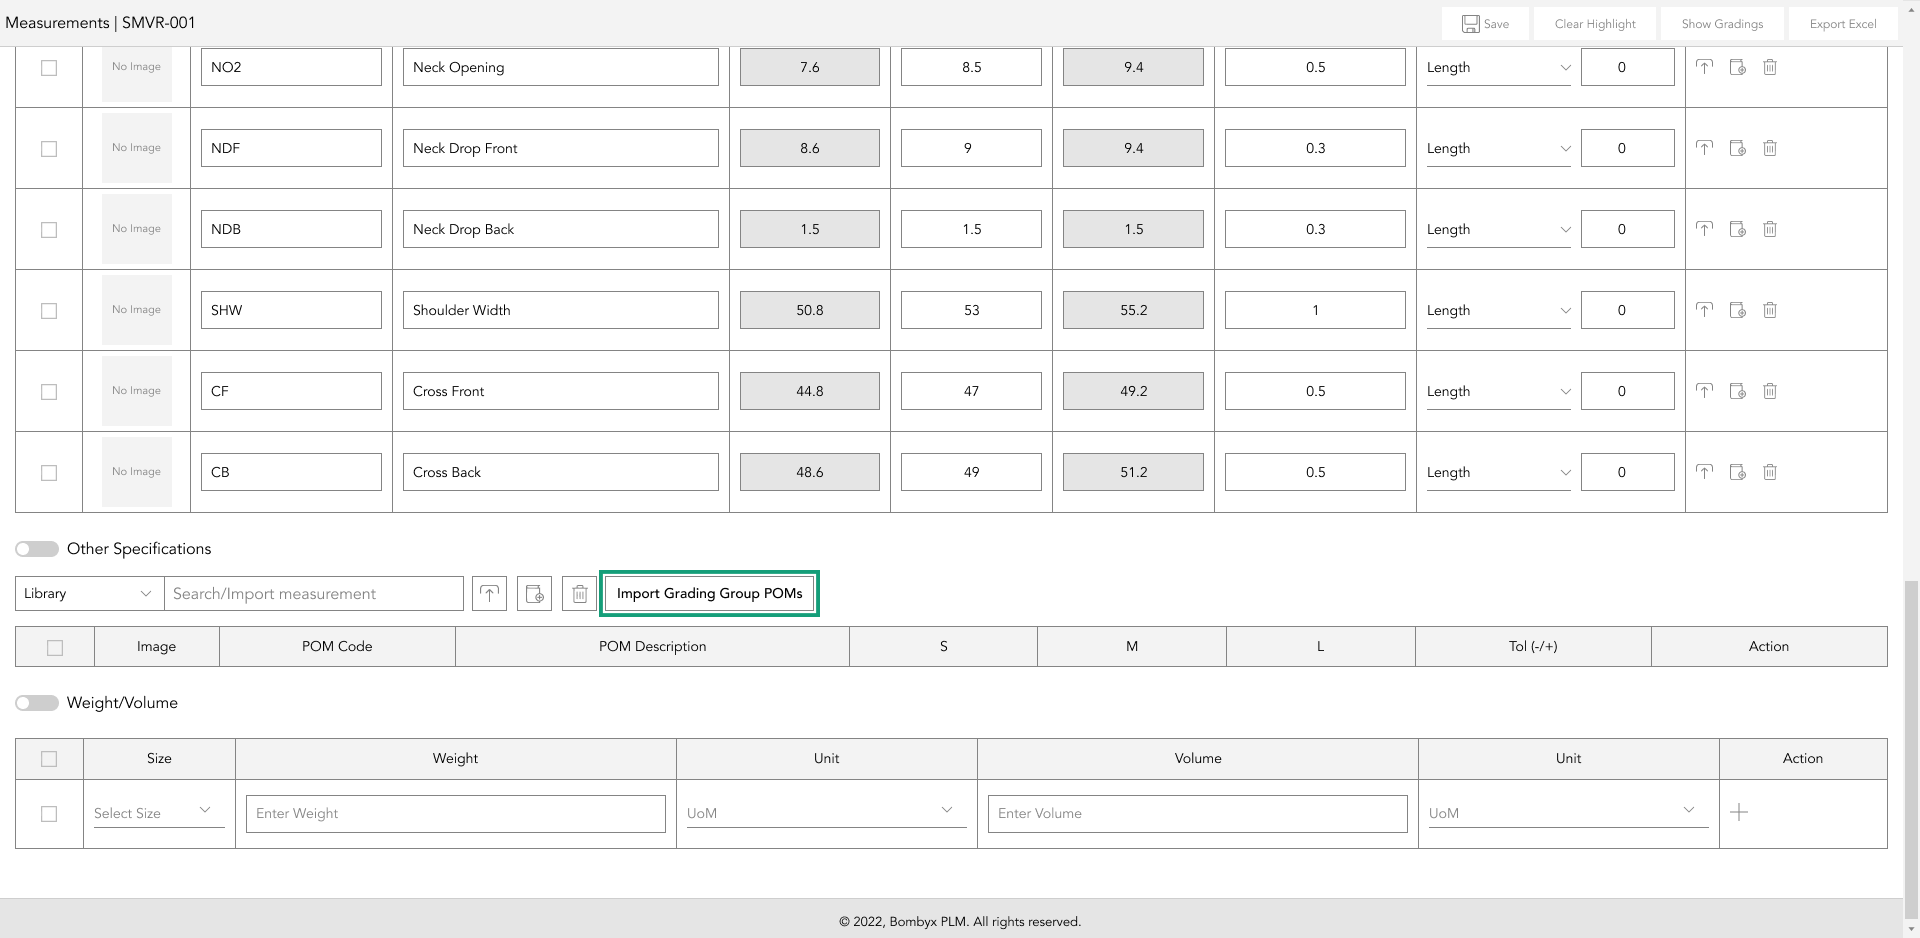
import grading group
Importing the grading group in (Other) Specifications will drop in all of the specifications applied to the grading group assigned to this product. By tapping ‘Import Grading Group’...
A pop-up will appear tapping 'yes' on the popup will make all of the specifications in that grading group appear.
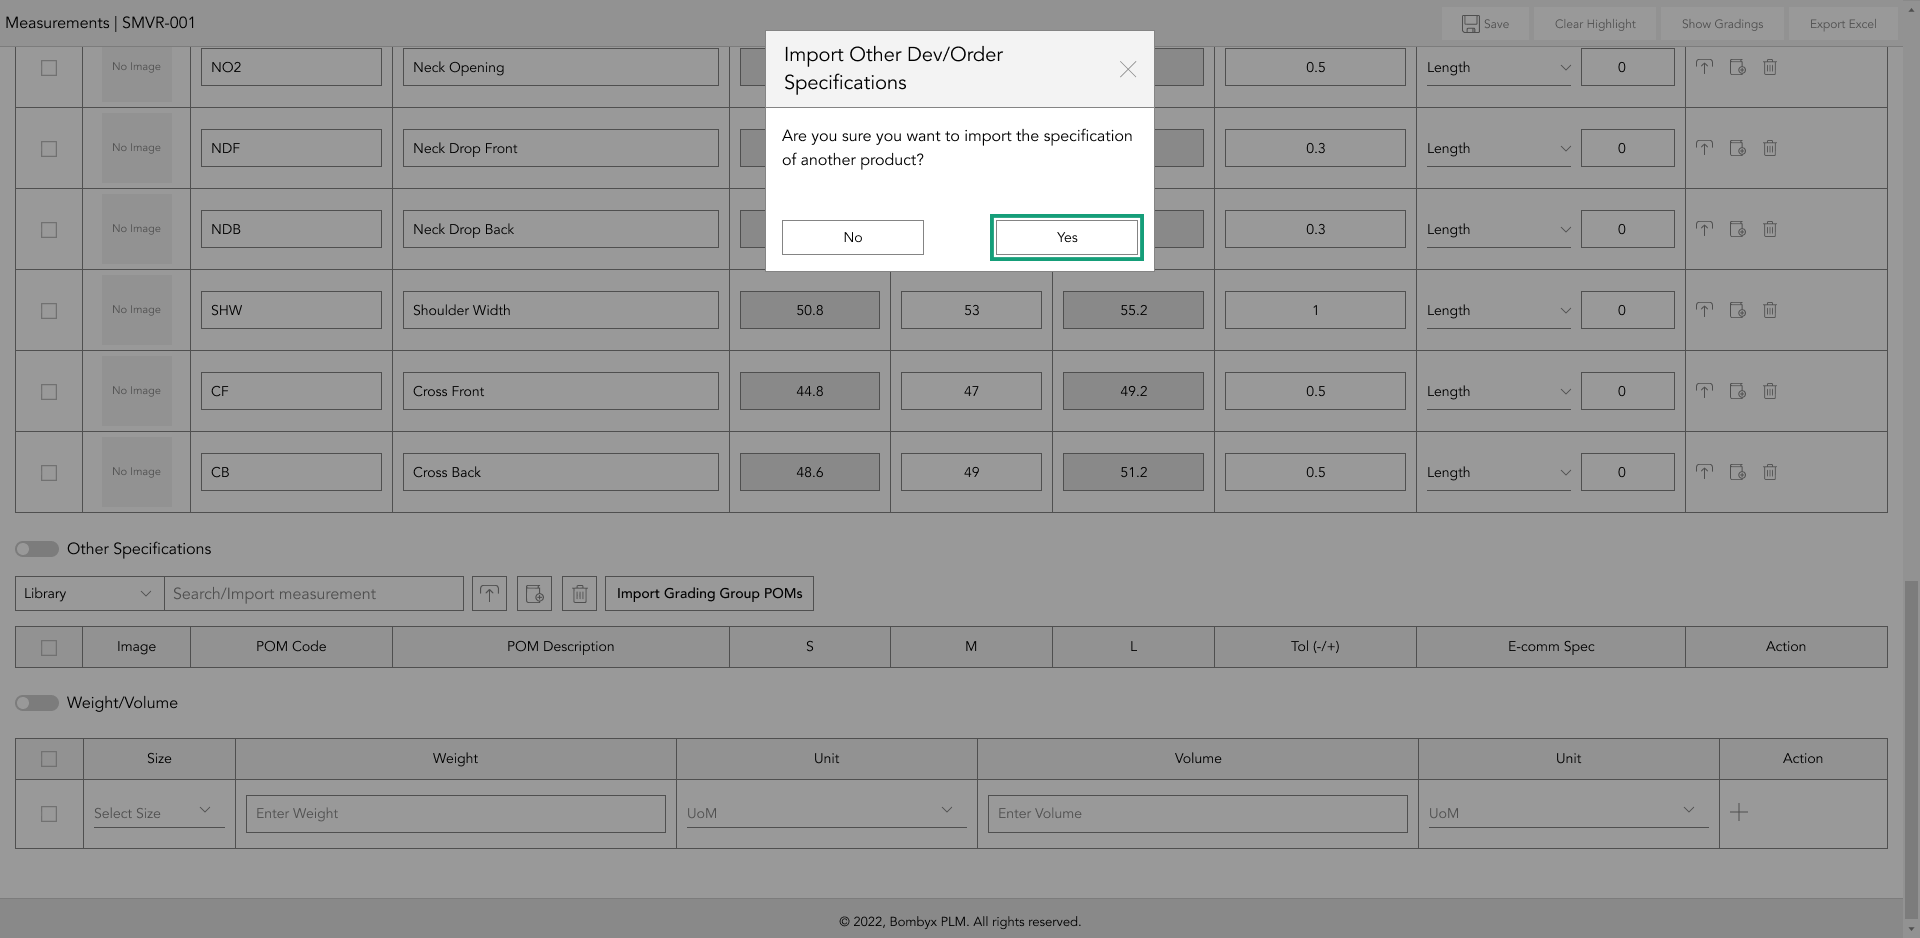
The sample size will have the measurement ‘0’, which can then be edited with the measurement of the product you are working on. Once that measurement has been entered, the measurements of the sizes surrounding the sample size will amend themselves accordingly with the increments and decrements originally entered in the grading group assigned to this product.
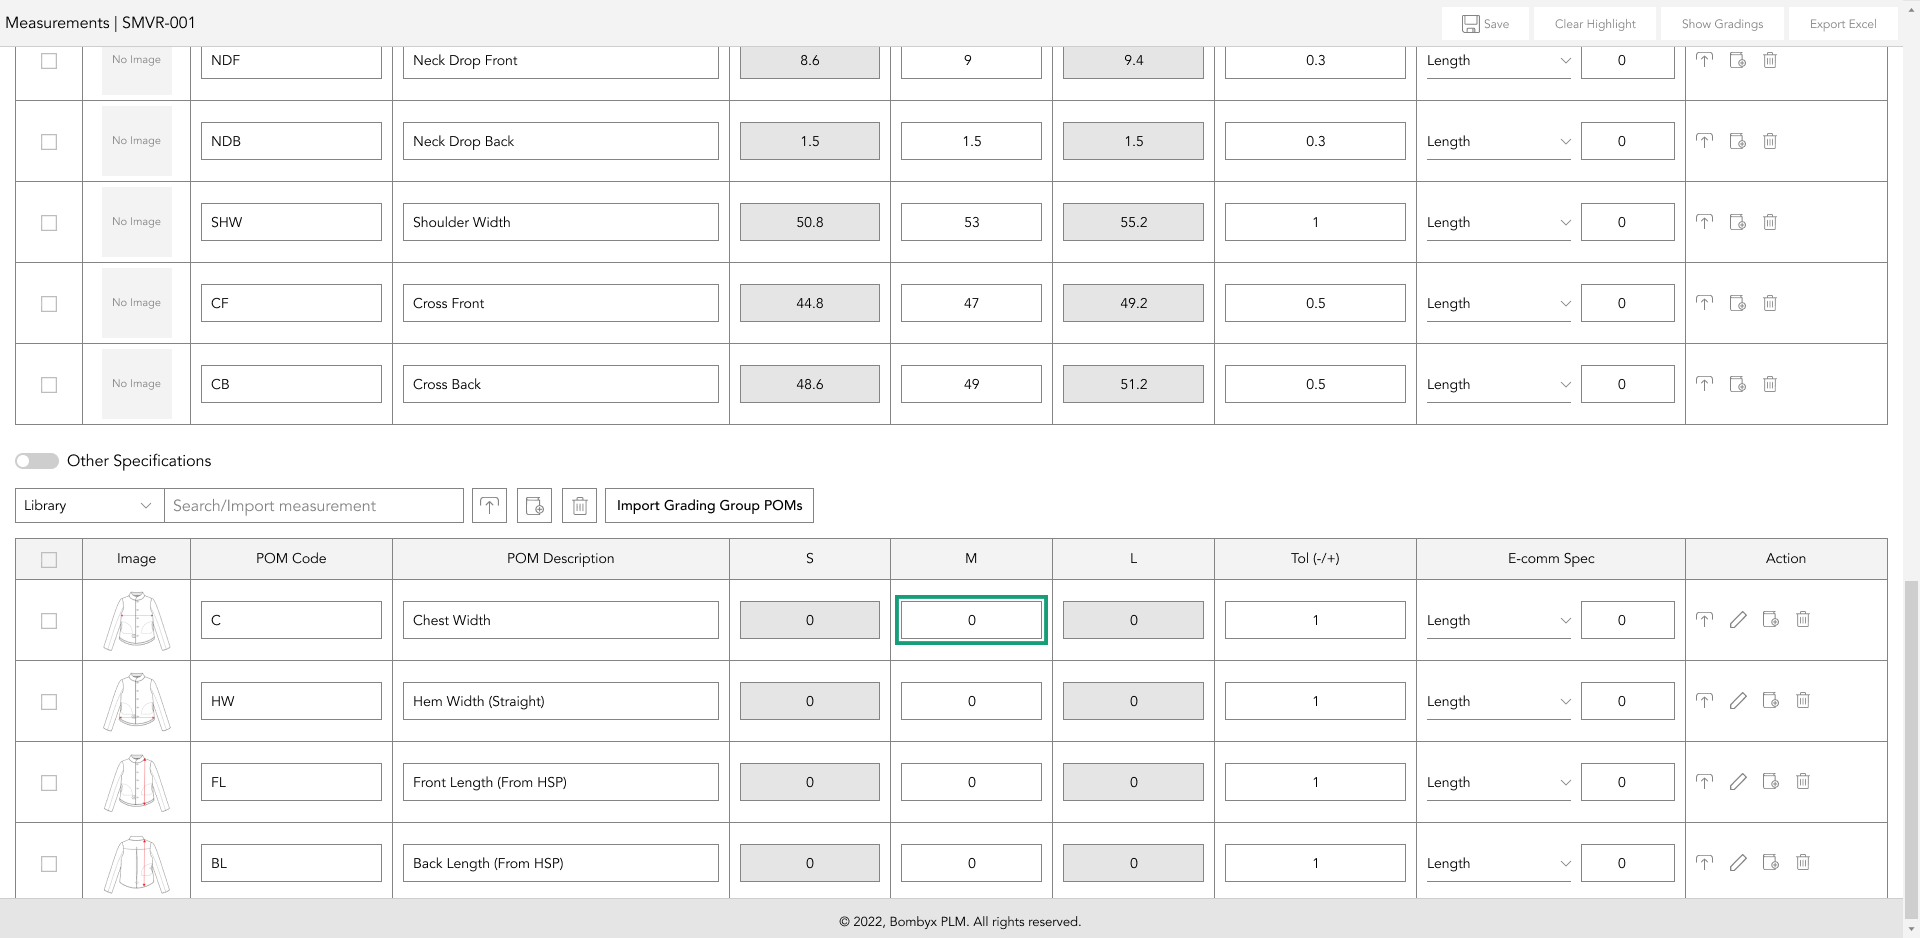
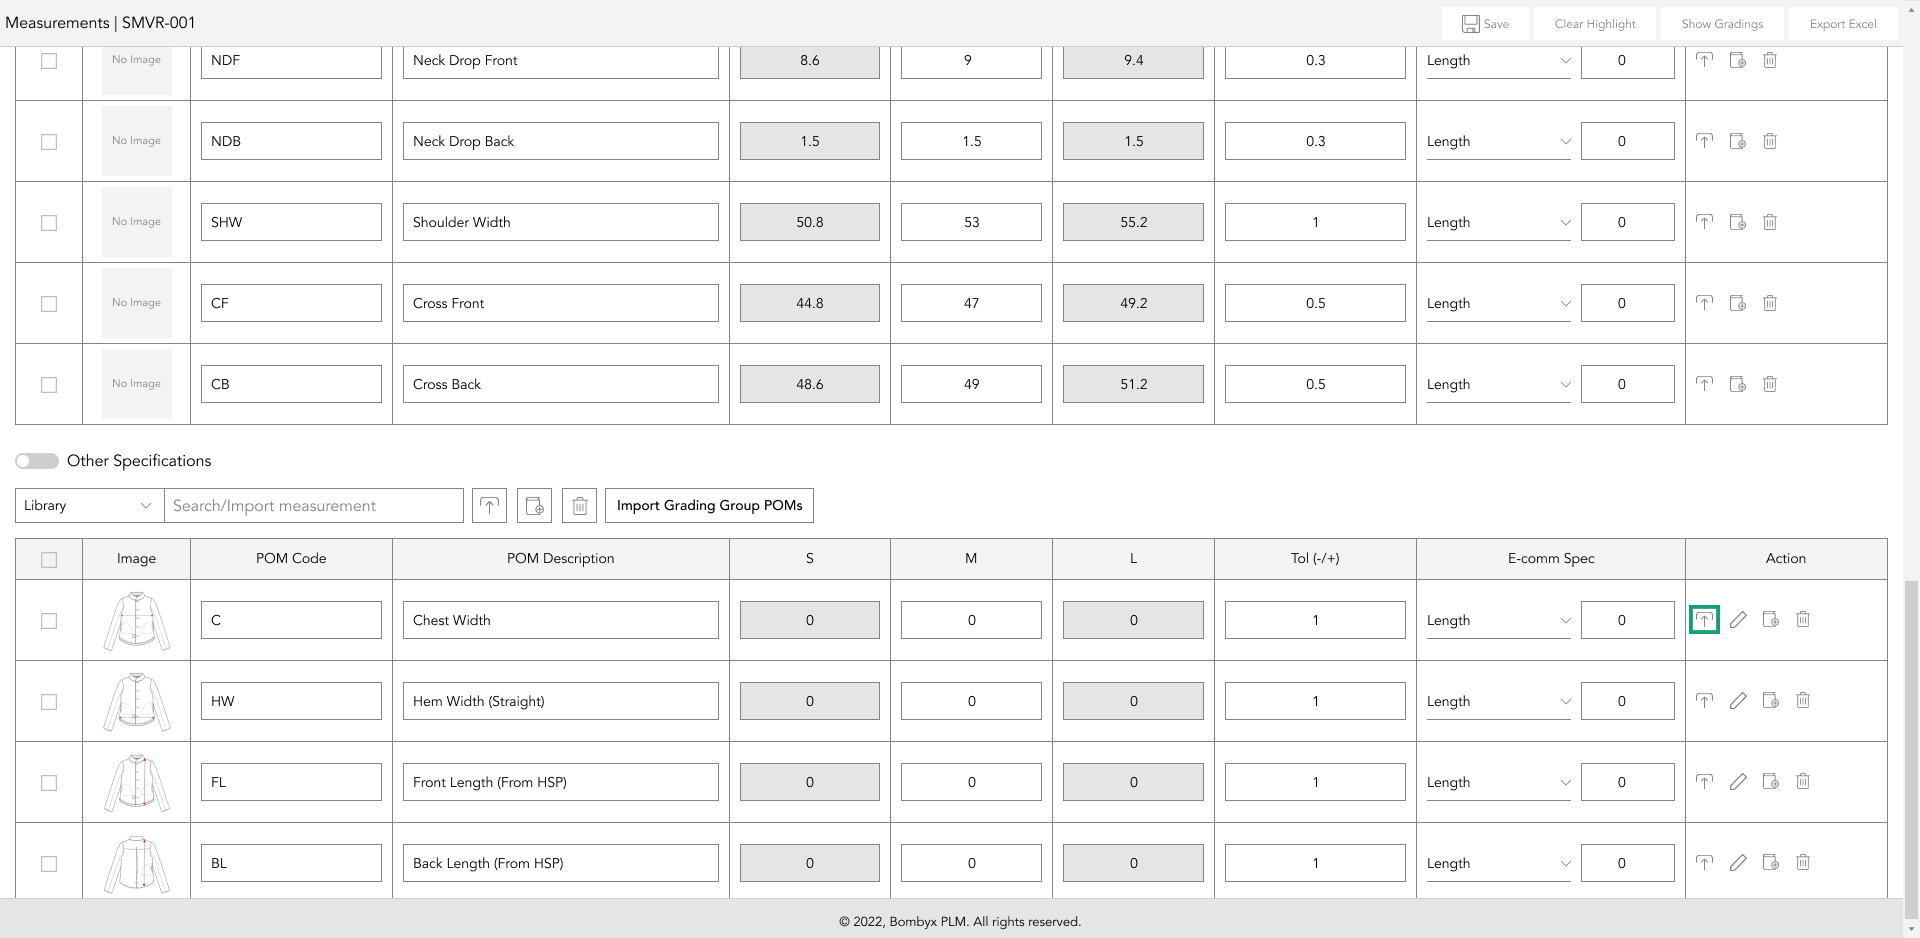
updating POM image
If something has changed on your point of measure and a POM image needs updating, in the action panel at the far right of the row, tap the upload icon button.
A popup will appear in which you can drag and drop the image into the grey box, or you can tap the upload icon in the bottom right corner of the grey pop, and select the image from your computer.
Once the image has been selected, a preview of that image will be displayed in the ‘Uploaded Image and Crop Preview’ area where you can then crop the image to focus on a preferred area by dragging one of the square crop handles in the corners of the crop area.
Once you’re happy with the cropping position, tap the ‘Upload Image’ button.
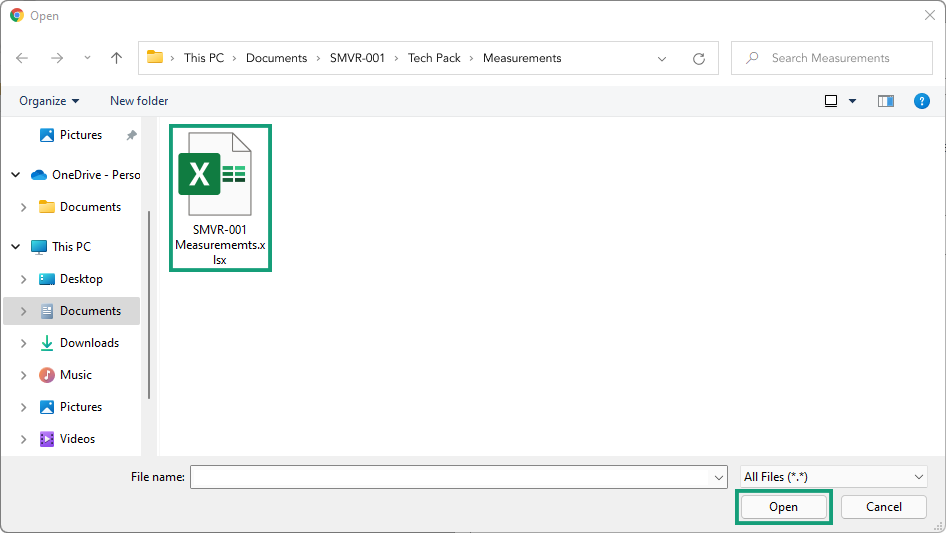
upload measurements from an excel document in (other) specifications
If you’ve previously been developing your products via excel documents, you can quickly upload that data into (Other) Specifications of the product by tapping the upload icon button next to the search bar function.
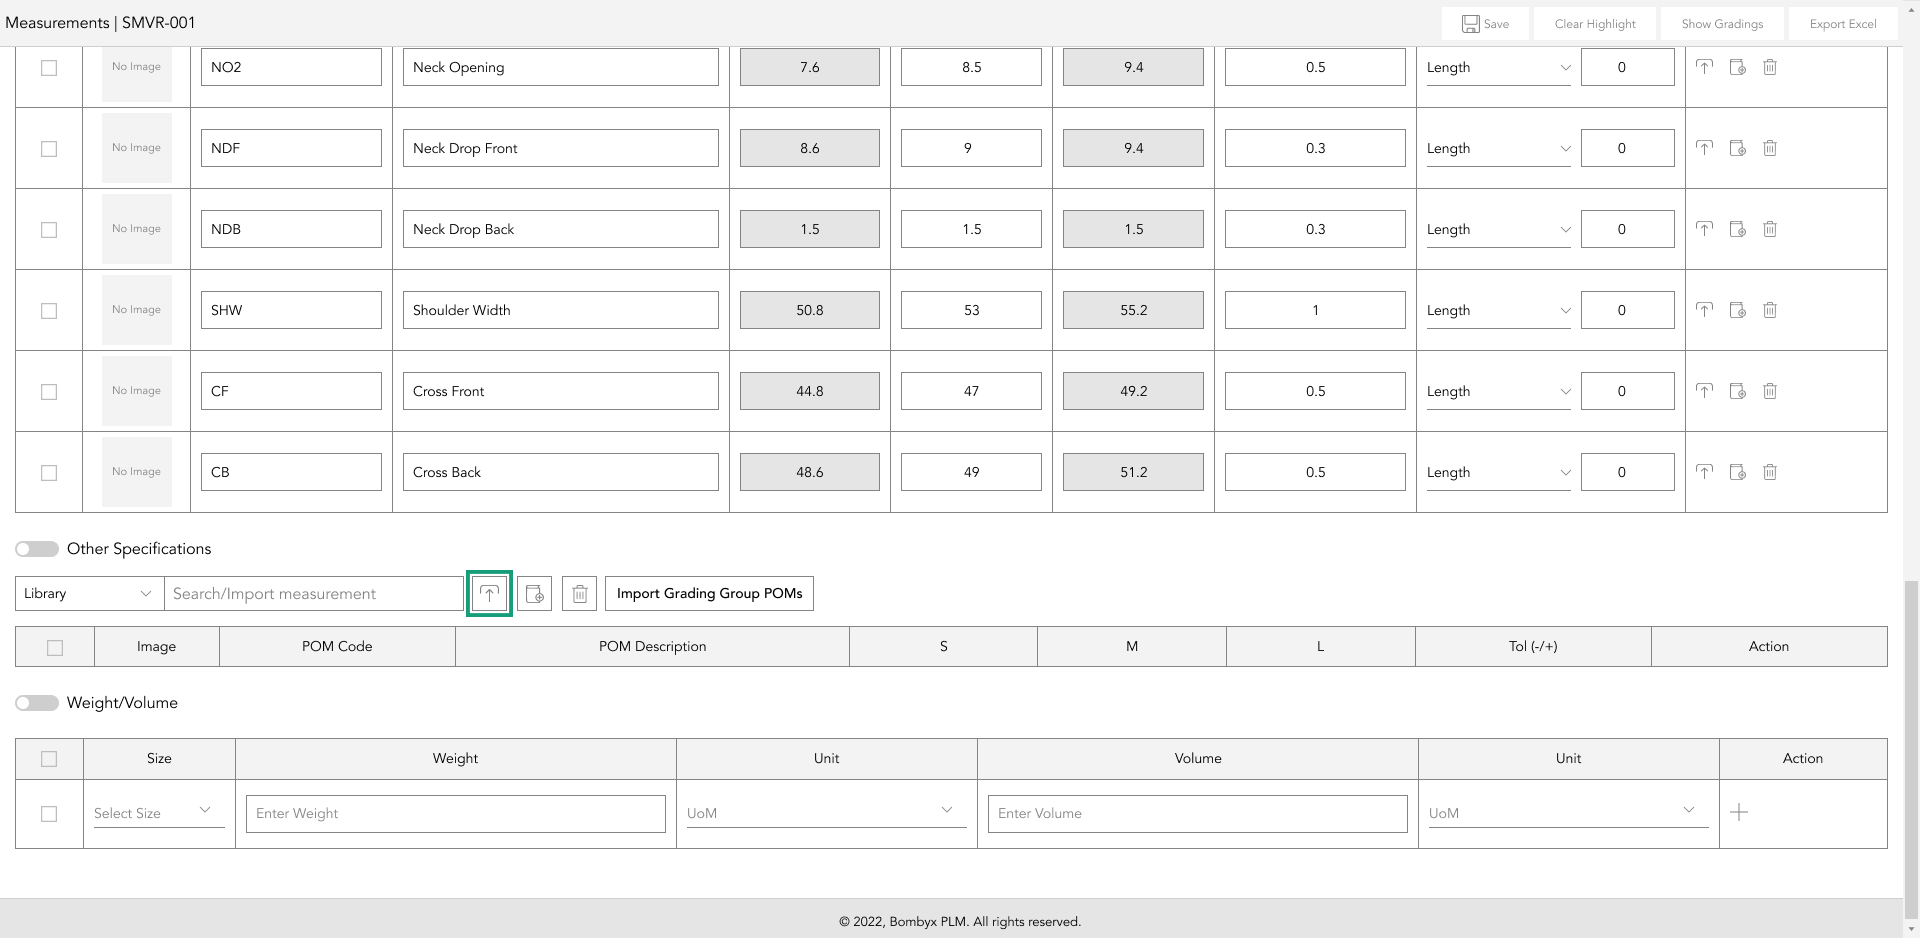
Note that your grading group and POM’s must already be added to the POM Library and a Grading Group formed in the Libraries/Groups/Templates, and assigned to your product in order for the system to upload the data from your excel document.
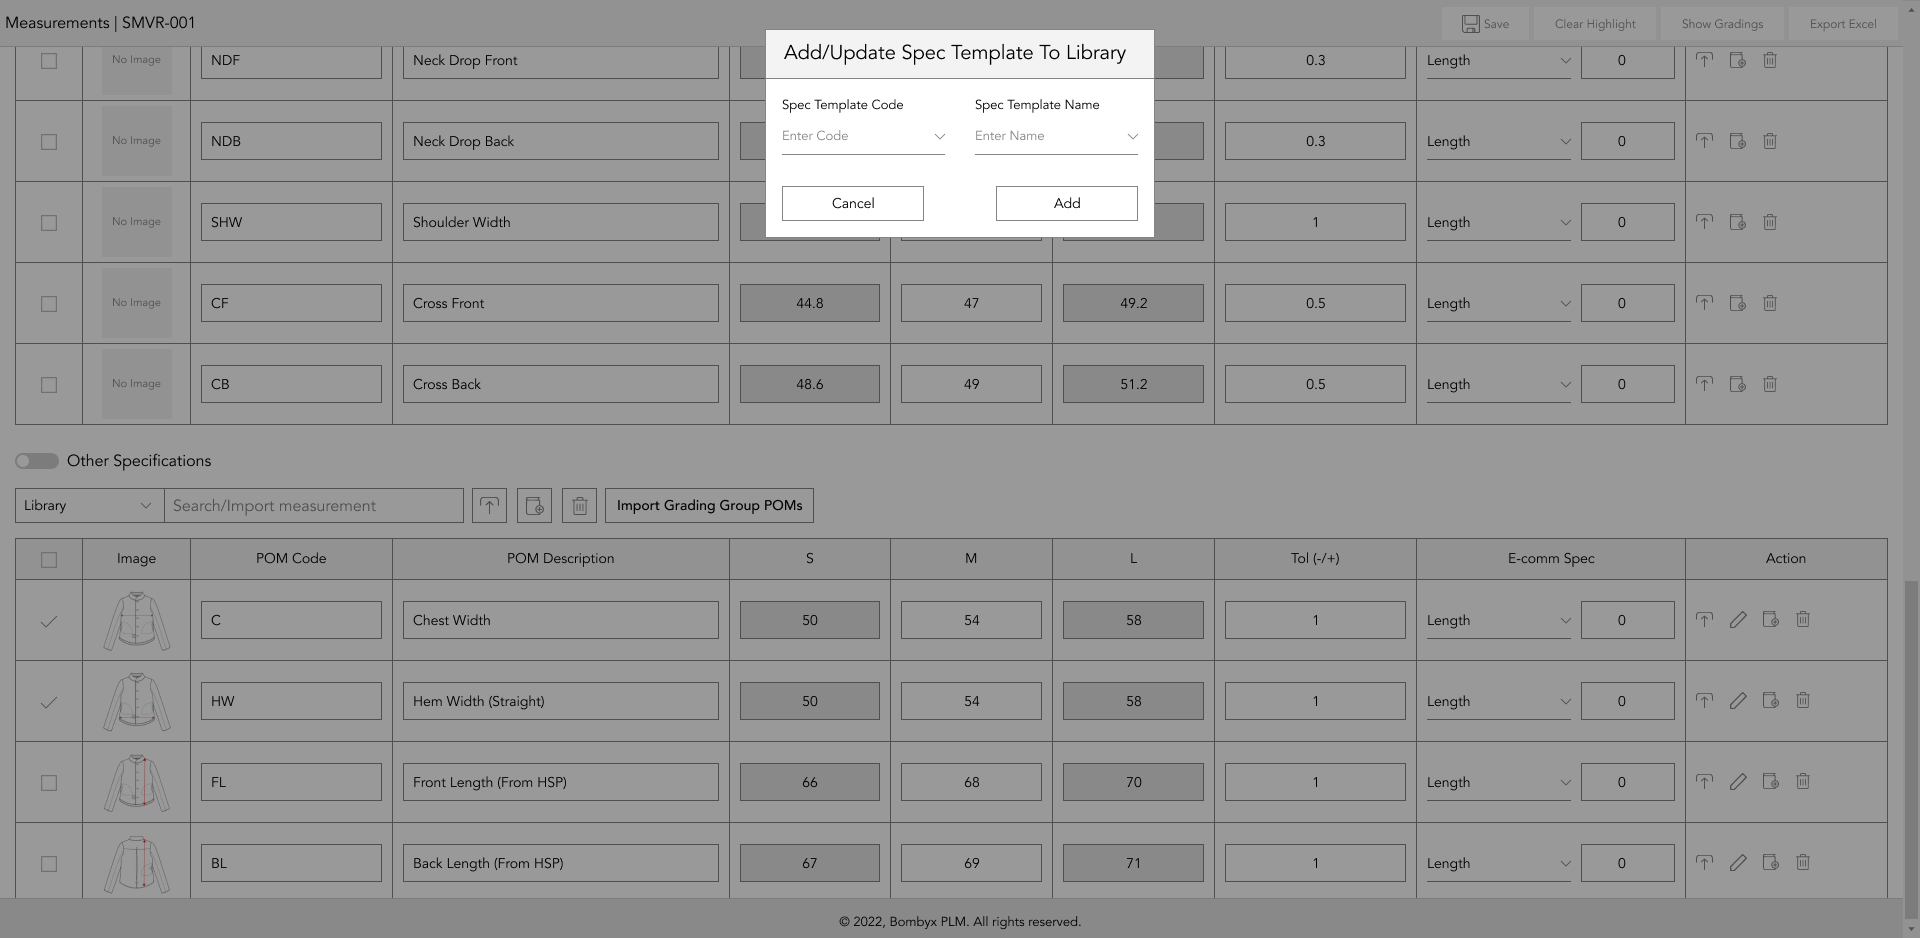
add/update to spec template library
If you want to reuse the specifications and images for another product at a later date, select the checkboxes you’d like to reuse, and tap the ‘Add/Update to Library button’, positioned two buttons away from the search bar function.
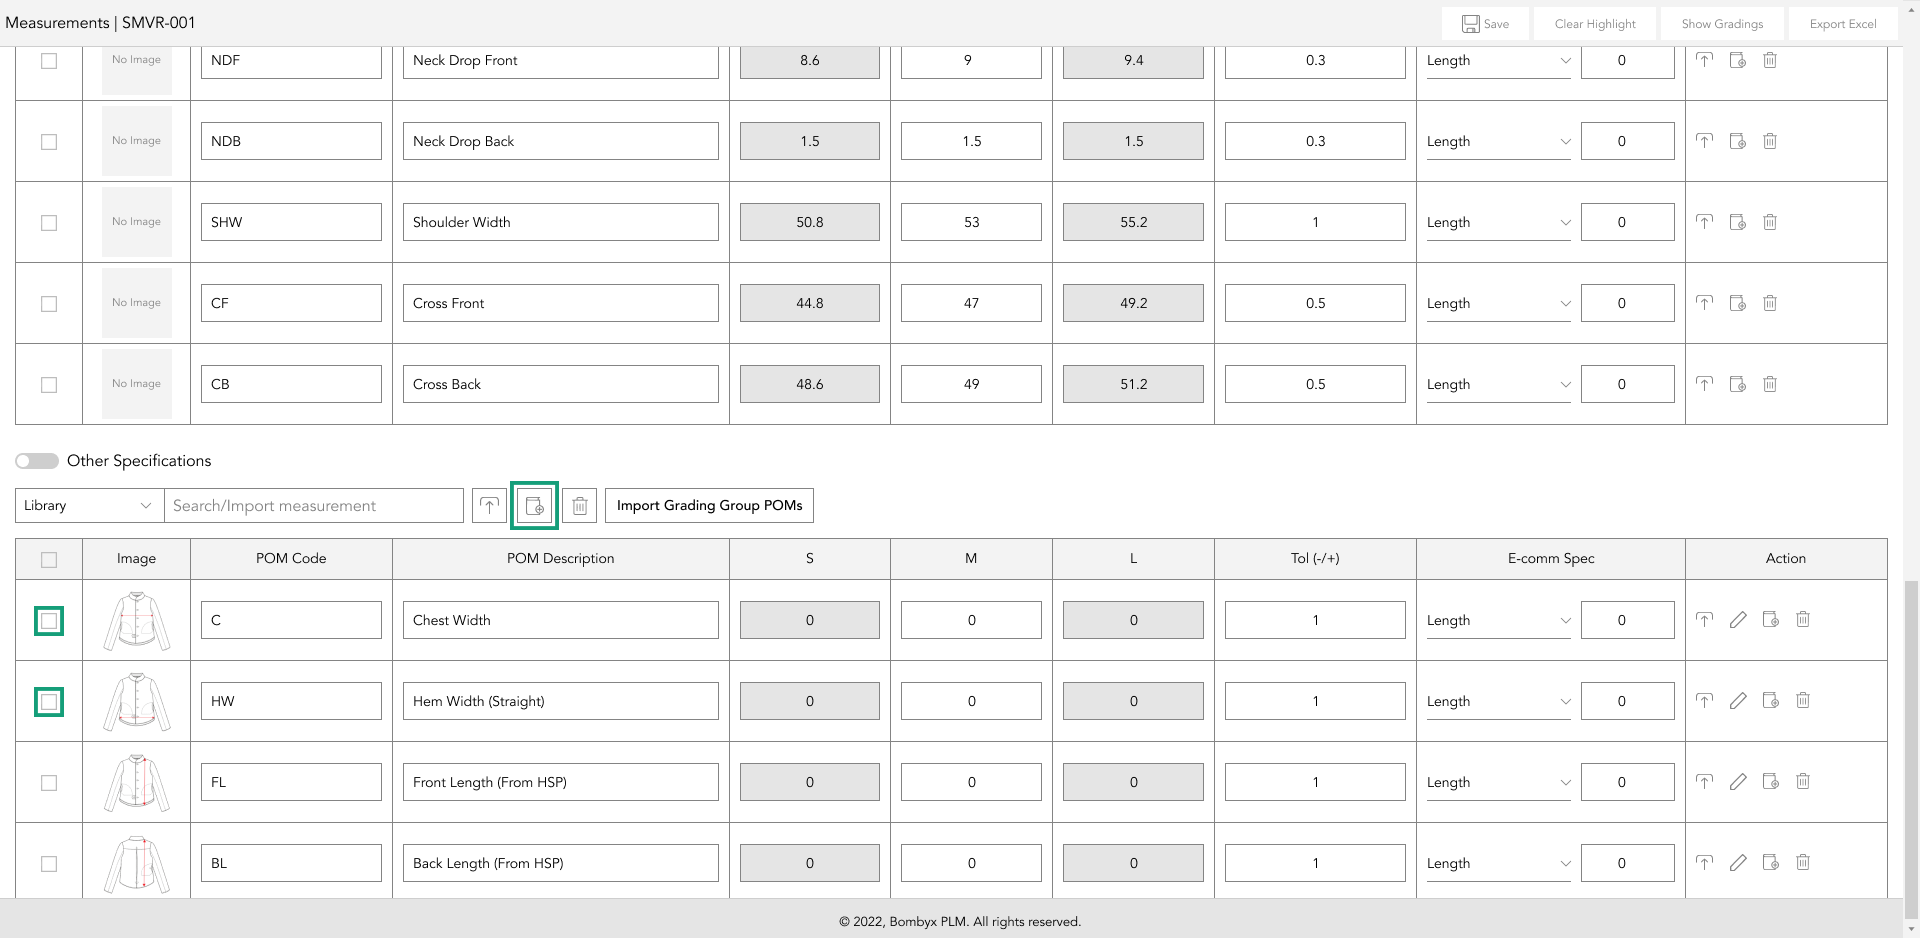
A popup will appear asking you for a Spec Template Code and Description. This spec template will then be added to the Spec Template Library in Libraries/Groups/Templates, and you’ll be able to import this set of specifications into future products that have the same grading group association.
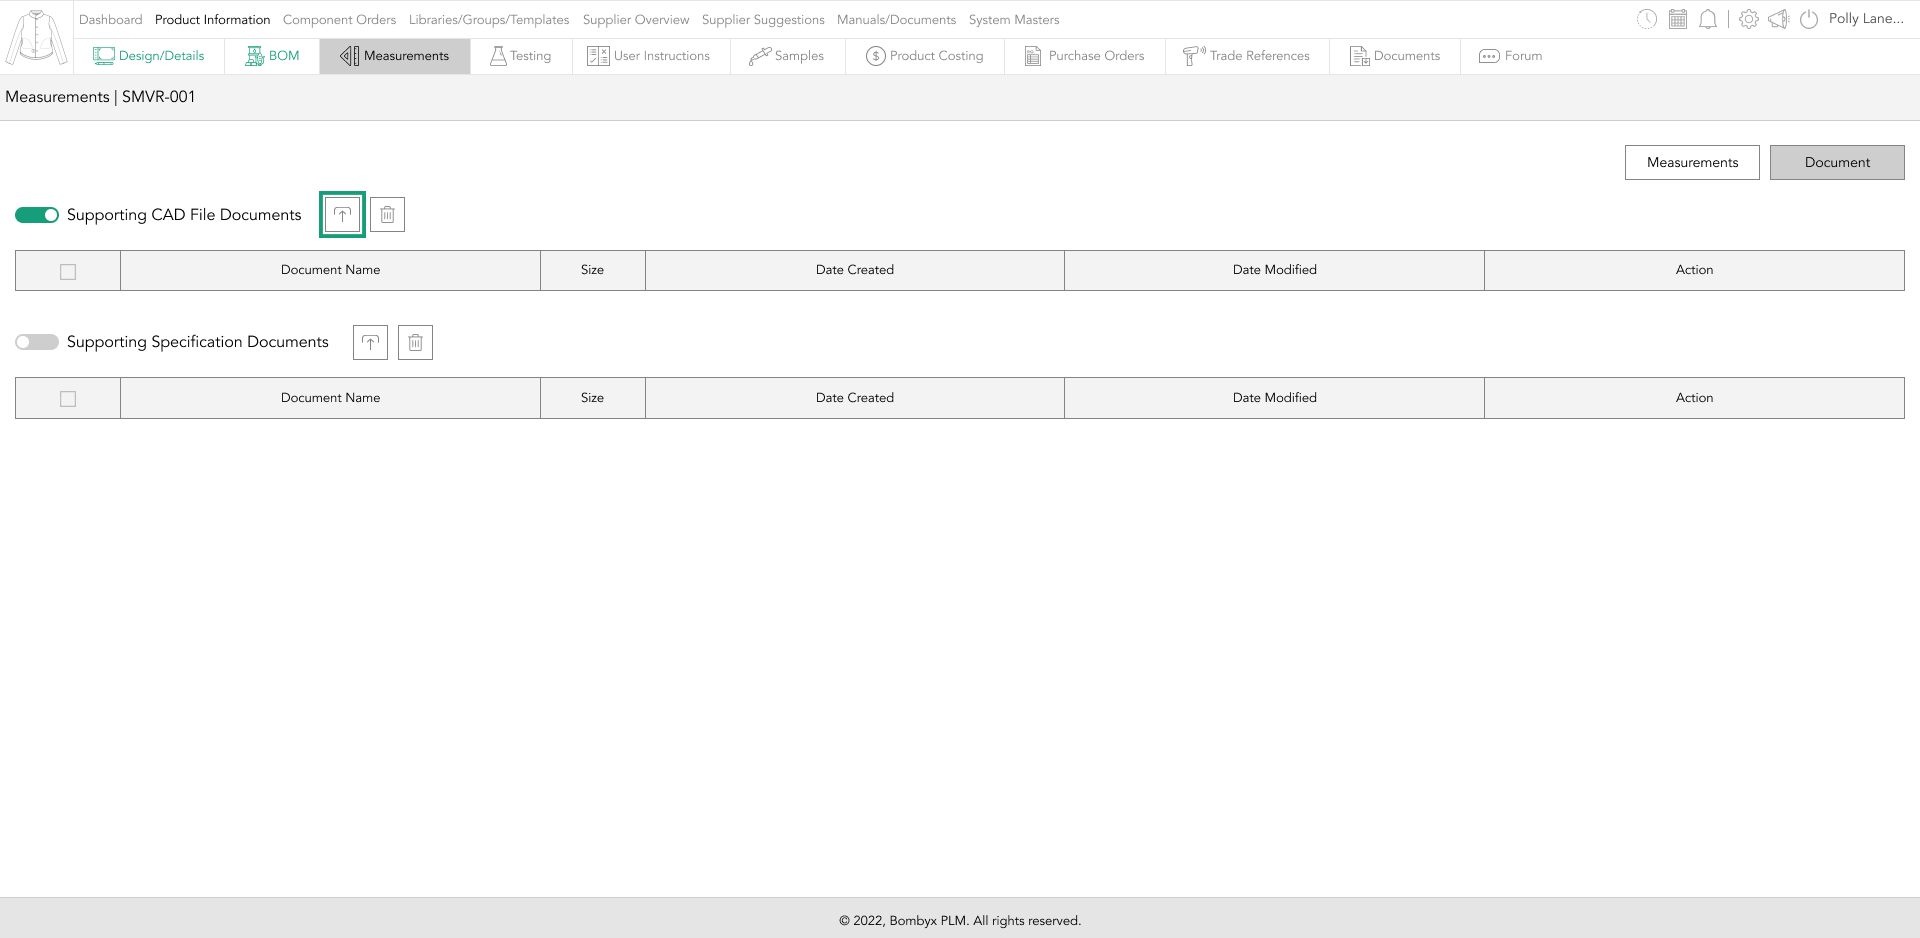
navigating to documents
The final area in the specifications section is the supporting document. The supporting document is a document that supports the information you’re entering in the specifications area. It can be absolutely anything that helps support that component and be of useful reference to companies and their suppliers.

adding documents
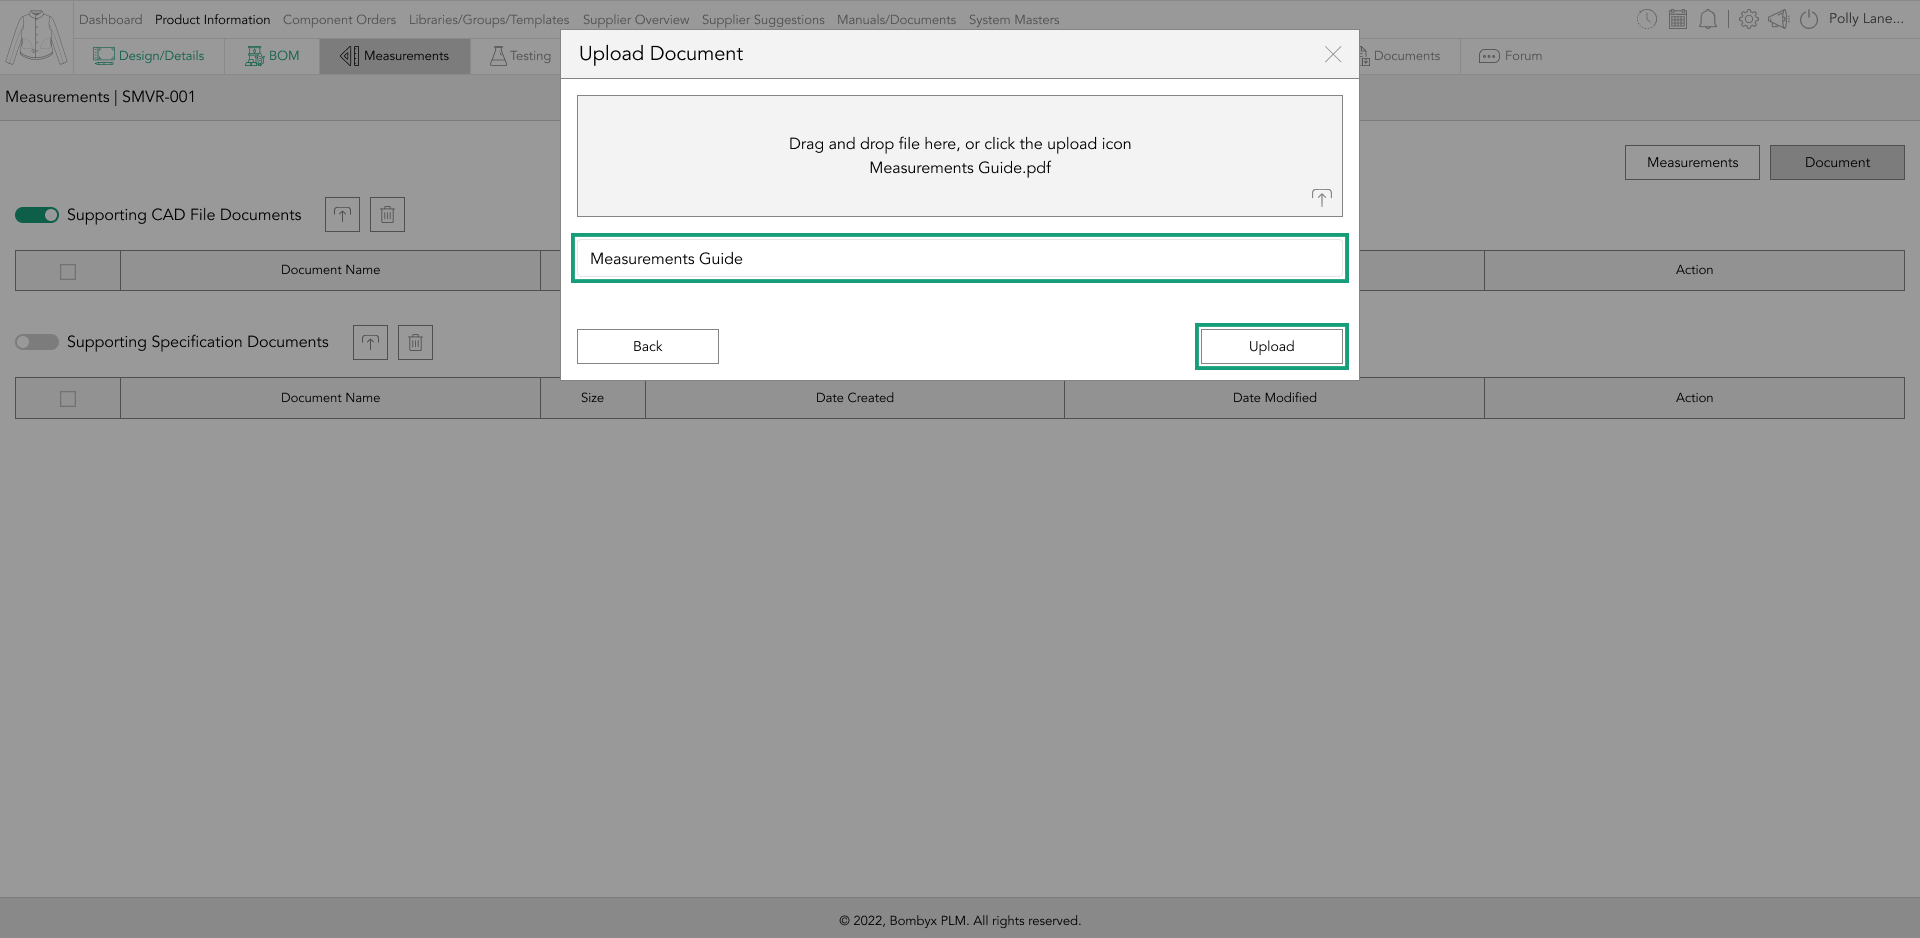
To upload an item all you have to do is tap the upload icon next to the ‘CAD File Supporting Documents’ subheading…
and a popup will appear. There are two ways of uploading a file, you can either drag and drop the file into the grey box or tap the upload icon at the bottom right of the grey box.
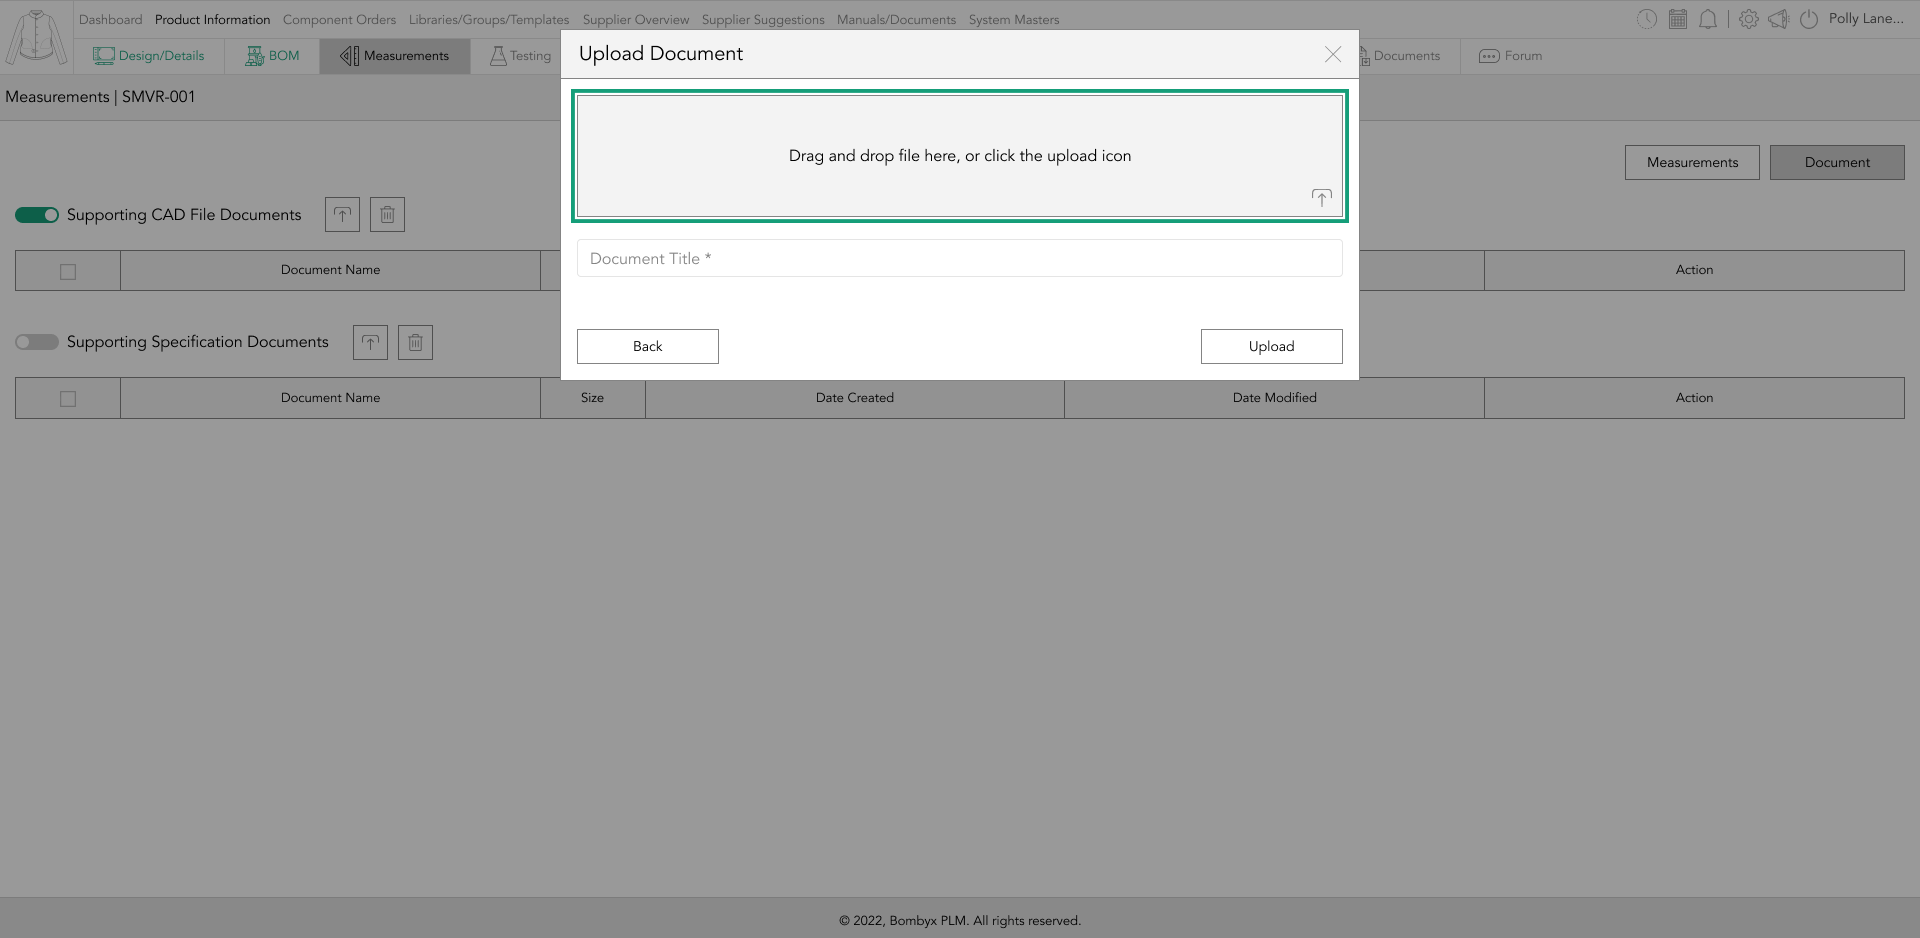
Once you’ve uploaded the file, give the document a title and tap ‘Add’.
editing document names
In the action panel on the right-hand side of the tables, there is an edit icon that allows you to rename the document. Tap the icon…
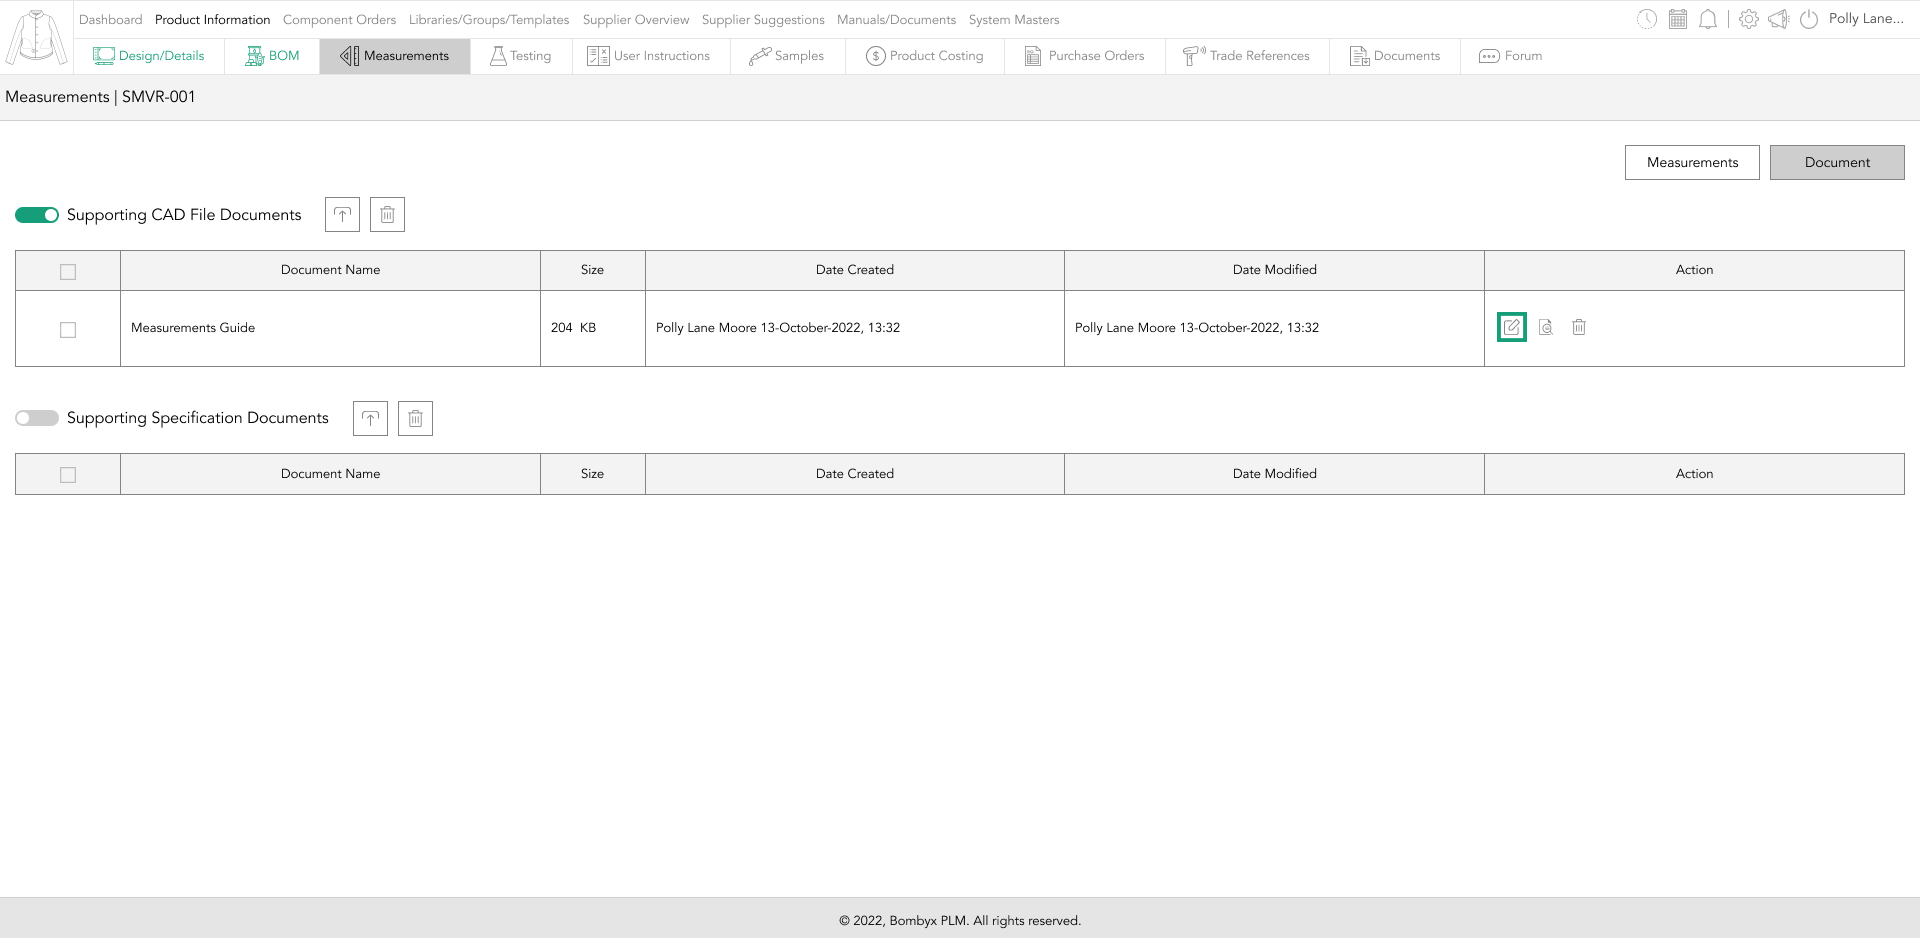
and a popup will appear with the name given, which can be edited and then saved.
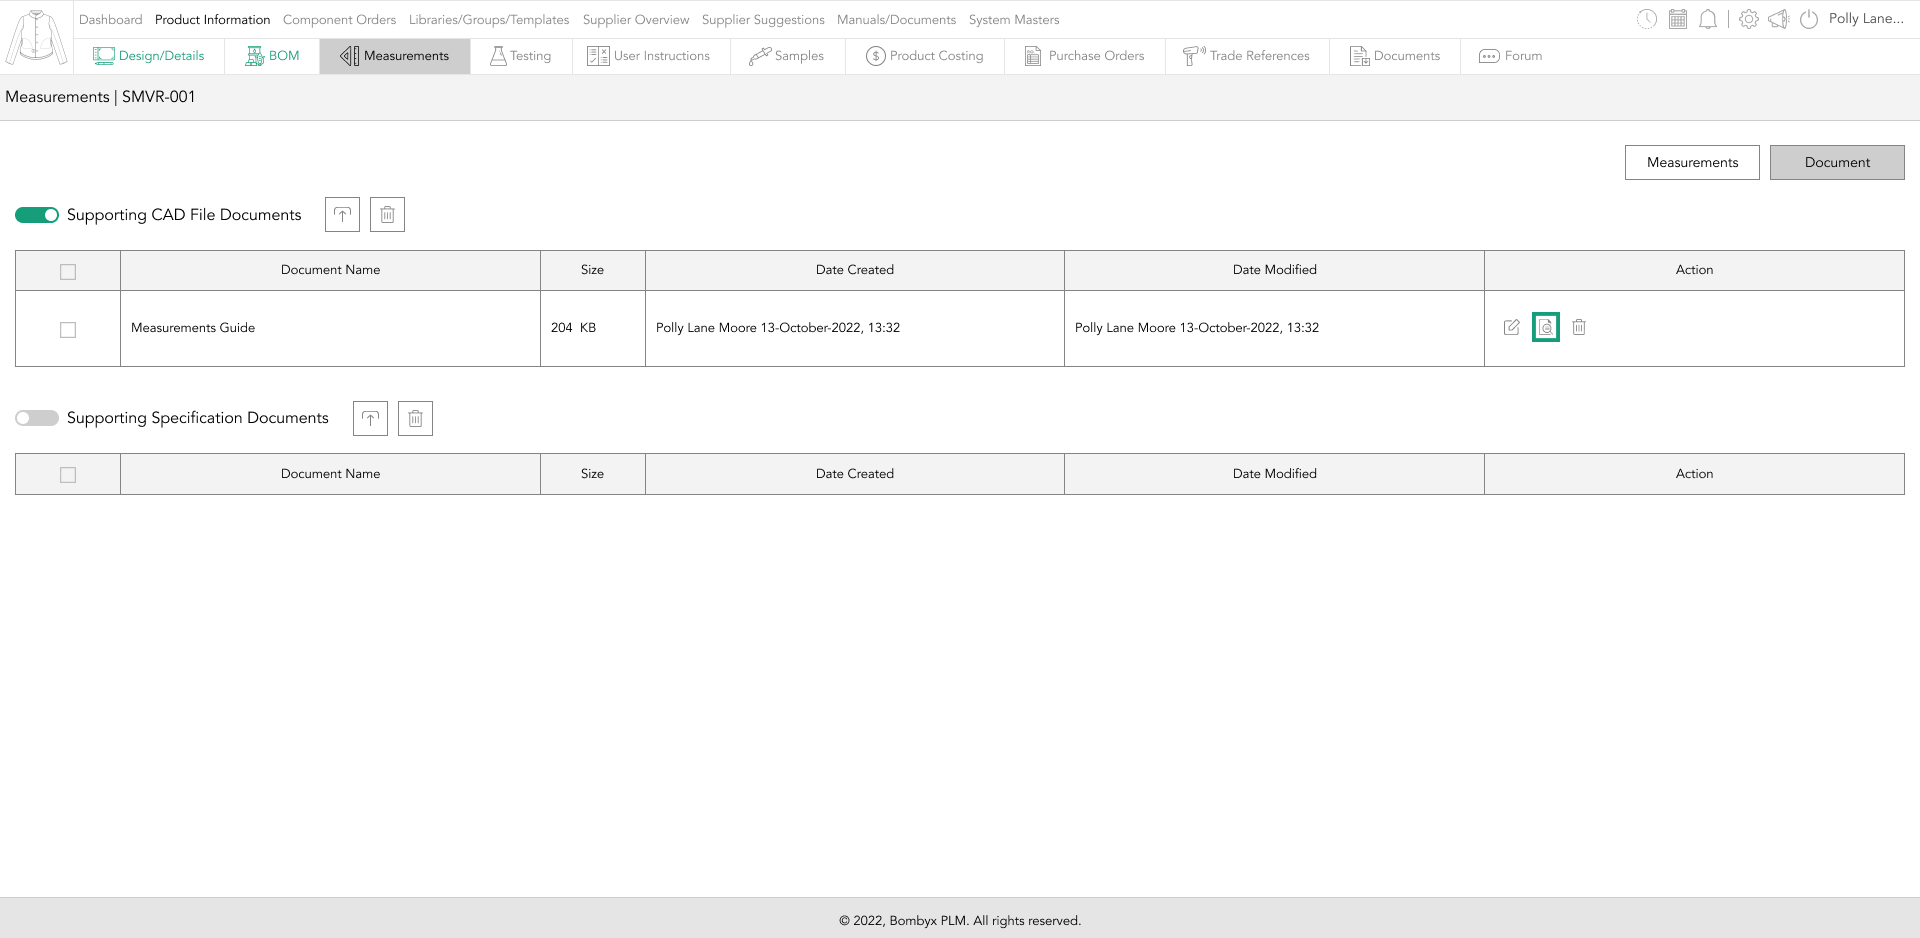
previewing documents
The preview icon allows you to view the uploaded document. It’s as simple as tapping on the preview icon and a preview popup appearing.
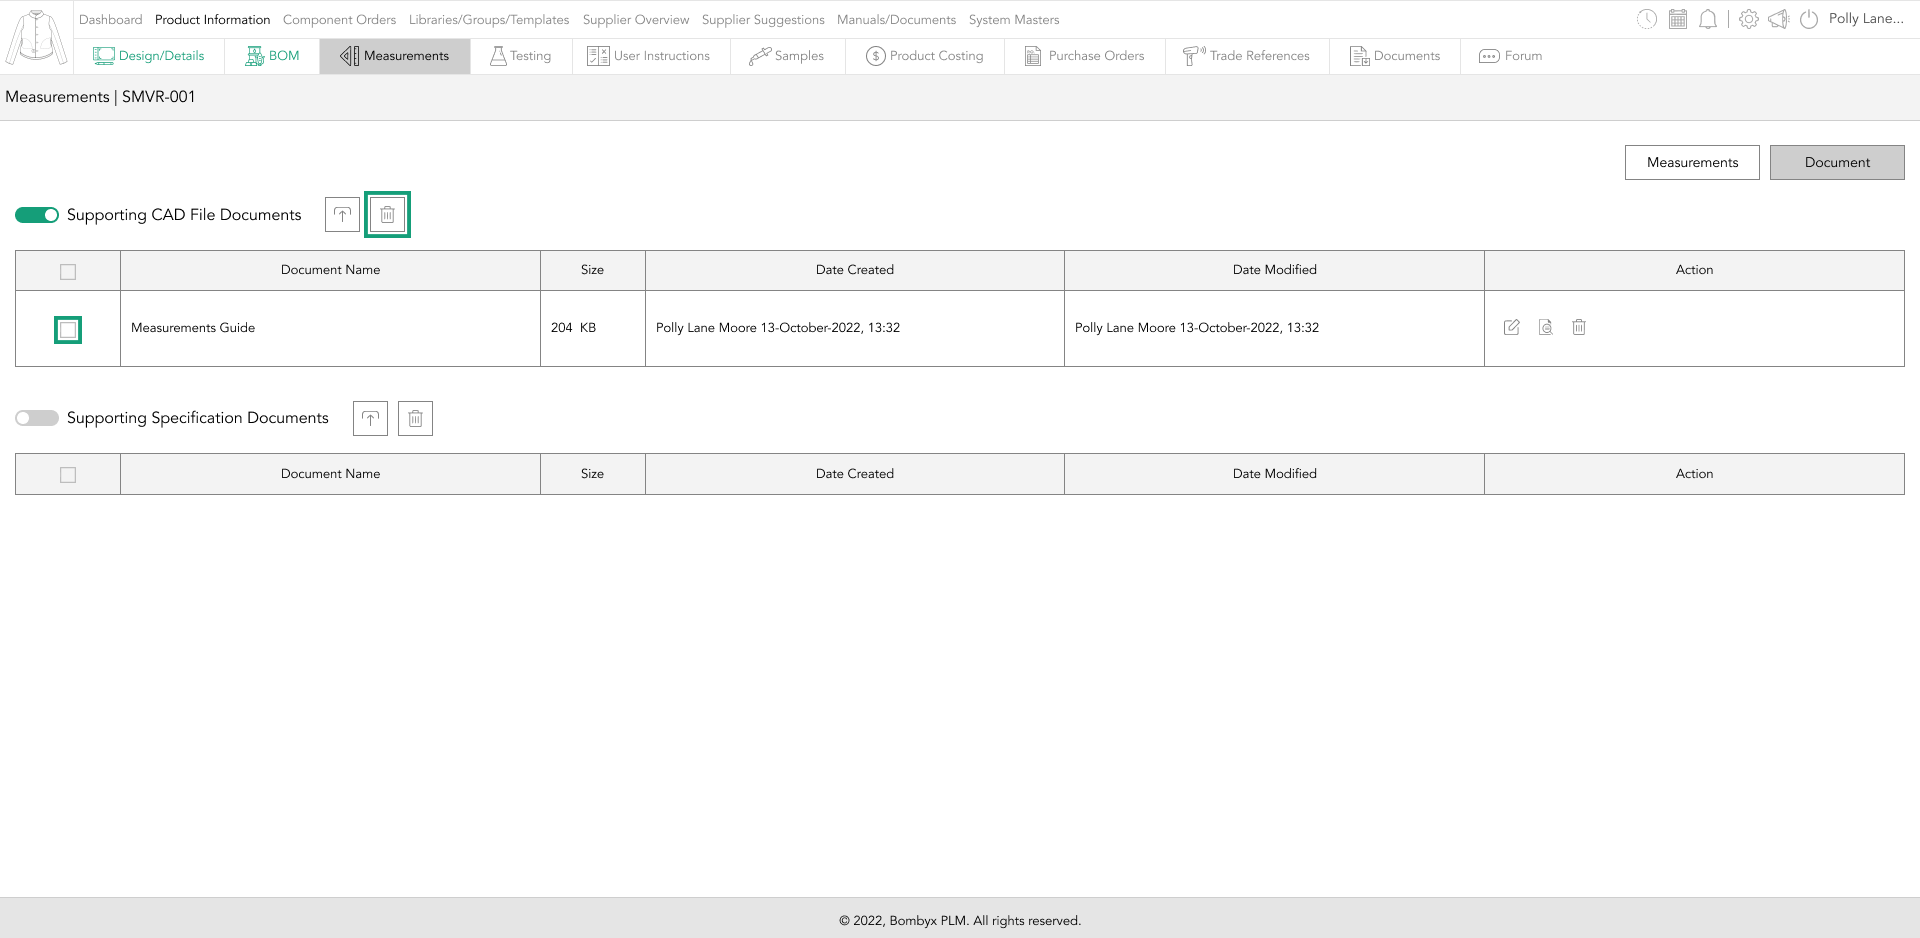
deleting documents
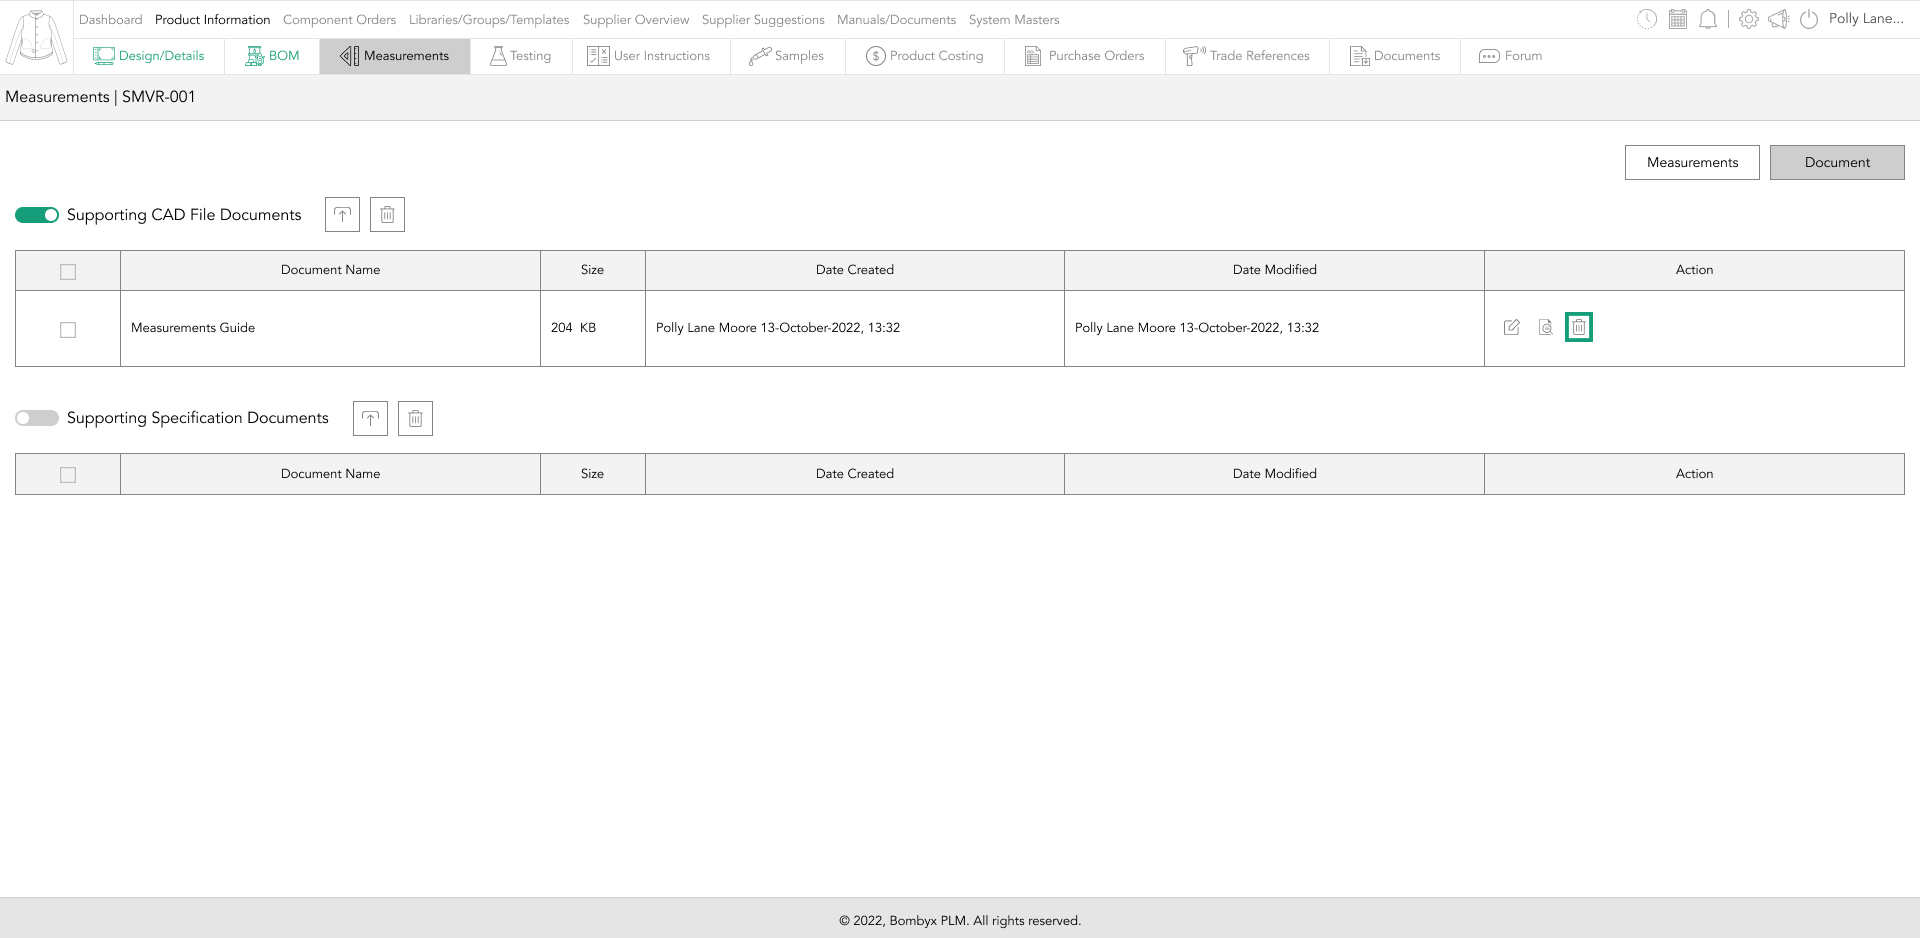
There are two ways of deleting your specification supporting documents, and that’s one-by-one, or multiple at once.
To single delete on the right-hand side of the supporting document row, you’d like to delete, tap the delete icon to remove this document.
If you want to delete multiple supporting documents at once, select the checkboxes down the left side of the documents table, tap the ‘delete’ button, and position two buttons away from the sub-headings.
A popup will appear asking you if you’re sure you’d like to delete the selected supporting documents, if you select ‘Yes’, those documents will disappear, if you select ‘No’ your documents will remain.
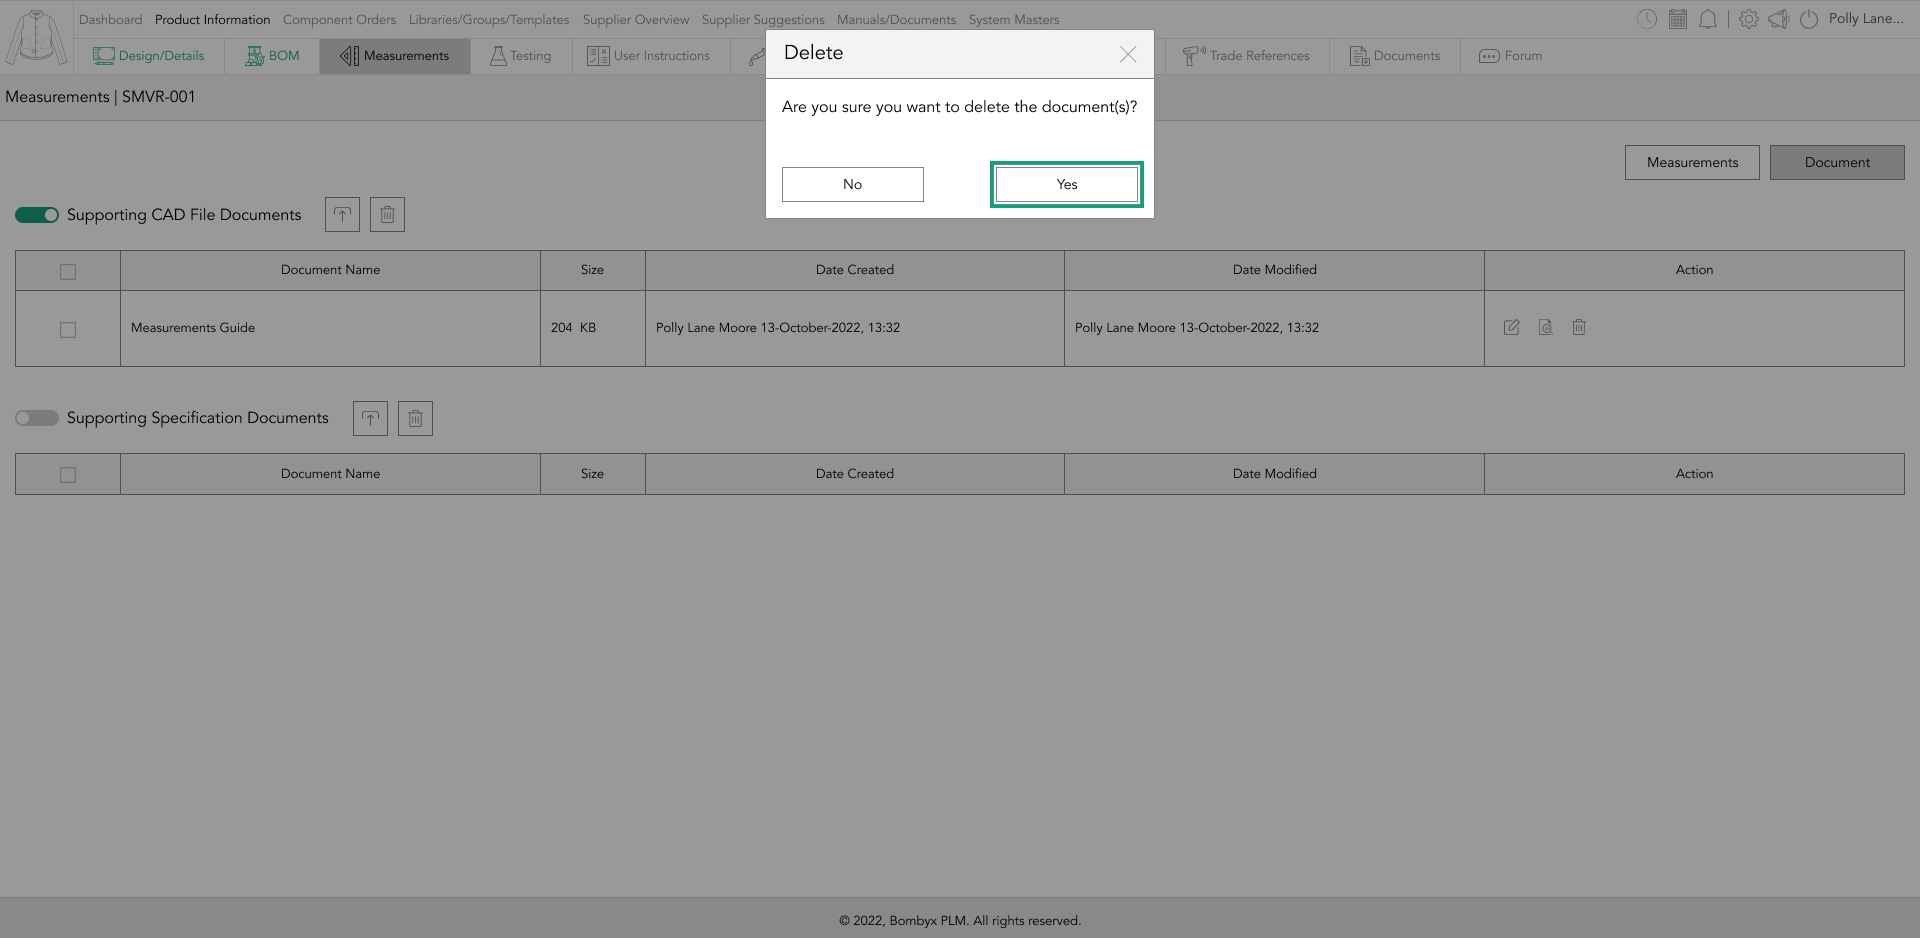
Note that you can only use the multi-delete function for one section at a time. You can’t check the boxes of both sections and delete them all together. The multi-delete button in each section will only work for that section.

Beyond the Label: Diving into the Sustainable Story with Digital Product Passports
Consumers today are increasingly concerned about the environmental and social impact of their purchases. From the food they eat.

Bombyx’s AI Integration: Advancing Business Excellence in PLM, PIM, and DAM Systems
Let's delve into the exciting realm of Artificial Intelligence (AI) undergoing a transformative evolution. As we Enter the year 2024.

Beyond Baubles: A Stylish Dive into Christmas Fashion Trends.
e explore the latest Christmas fashion trends, with a focus on achieving a harmonious balance between sophistication and comfort. From luxurious velvets to cosy knits

Streamlining Winter Fashion with PLM: Managing Seasonal Changes
Winter fashion production demands meticulous planning and execution. PLM serves as a guiding force in production management, aiding in resource allocation, scheduling

Christmas Experience through Digital Transformation
During the Autumn/Winter months in Europe and the USA, are marked by heightened activity. The festive season introduces an atmosphere of joy and unity. Amidst the era of digital in

Demanding Trends & The Transformative Power of Product Lifecycle Management
Explore how strategic Product Lifecycle Management (PLM) empowers fashion to navigate trends sustainably. This post delves into the symbiosis of trends and sustainability,

The Power of Product Information Management (PIM) With a PLM System.
In today's fast-paced business environment, effective product information management is crucial for success. Product Information Management (PIM) is a powerful tool.

Fashion and the Power of Product Lifecycle Management
In recent years, the fashion industry has witnessed a surge in fashion, a phenomenon characterised by the rapid production and consumption of inexpensive clothing... and a whole l

Supply Chain Management has Forever Changed
Brands make use of product lifecycle data analysis to help them work out price points, marketing and advertising strategies, packaging, growth and expansion… and a whole lot more