
adding partners
Click the add icon at the top right to add a new partner.

A popup will appear for you to input the necessary information.
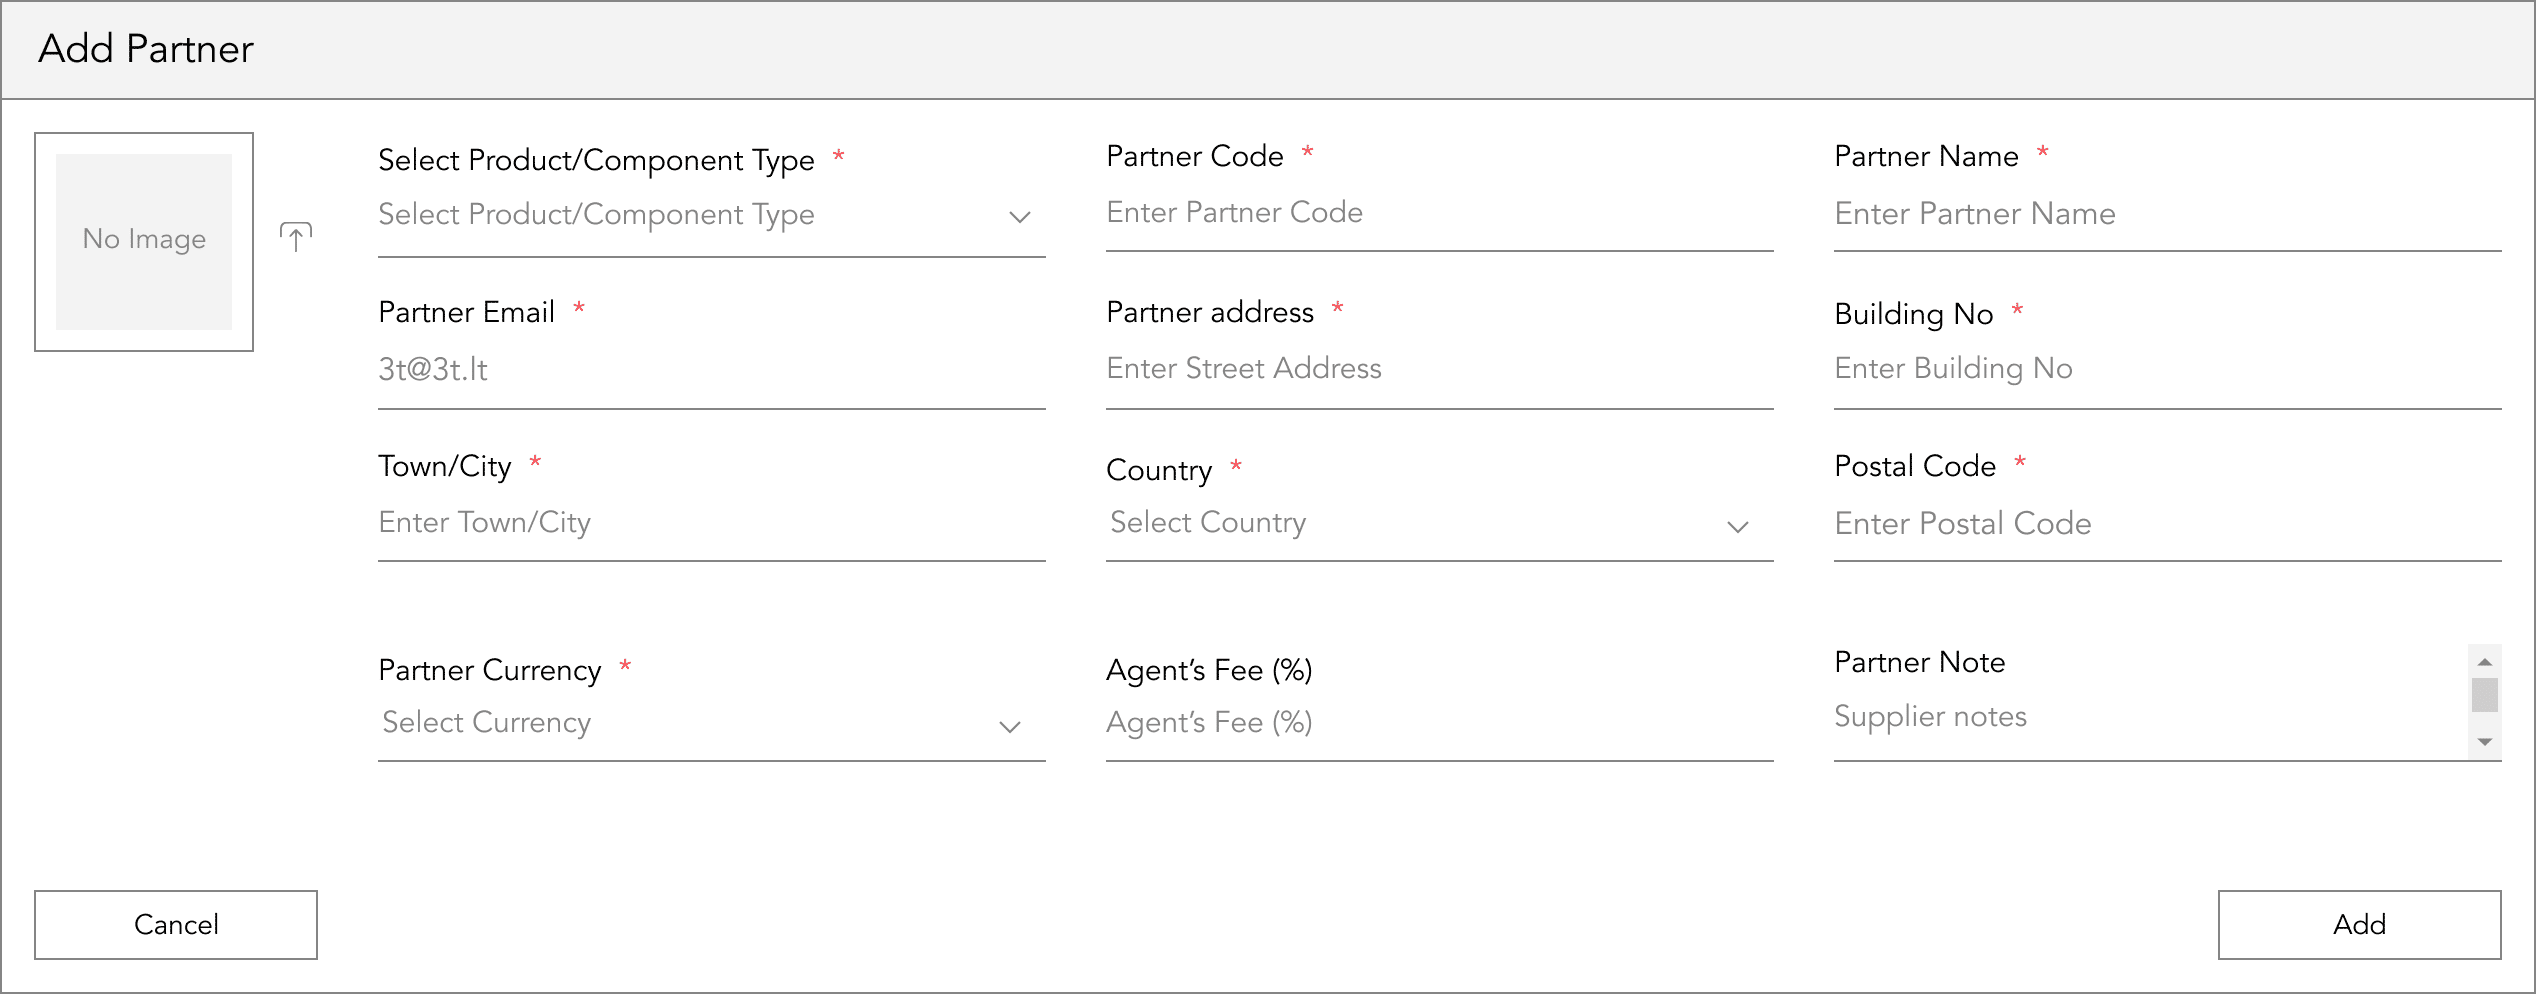
After entering the required details, review for accuracy, then click “Add” to confirm and save.
upload an image
To upload an image while adding or editing the partner’s information, simply tap the upload icon.
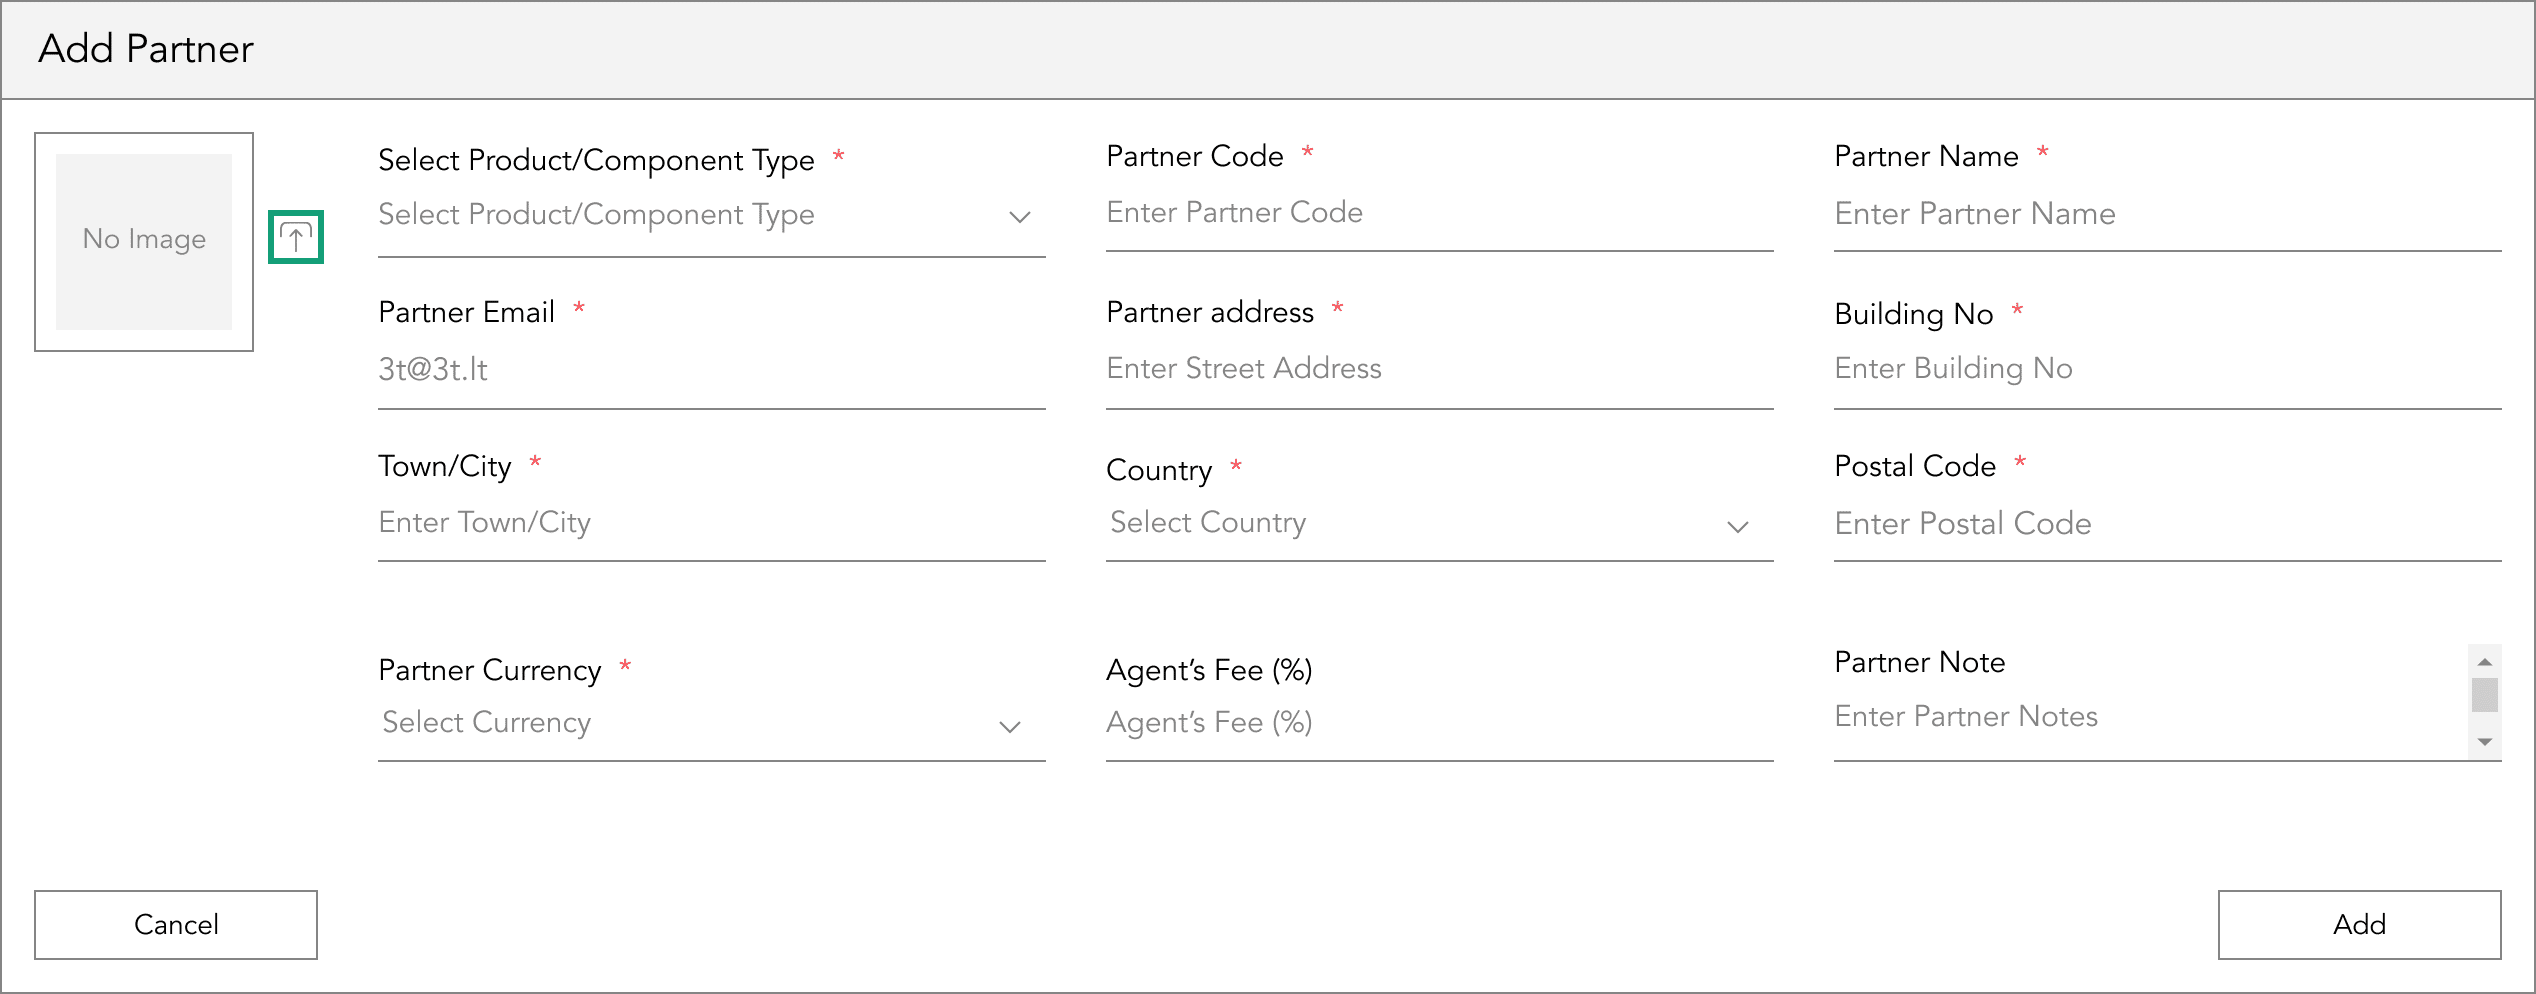
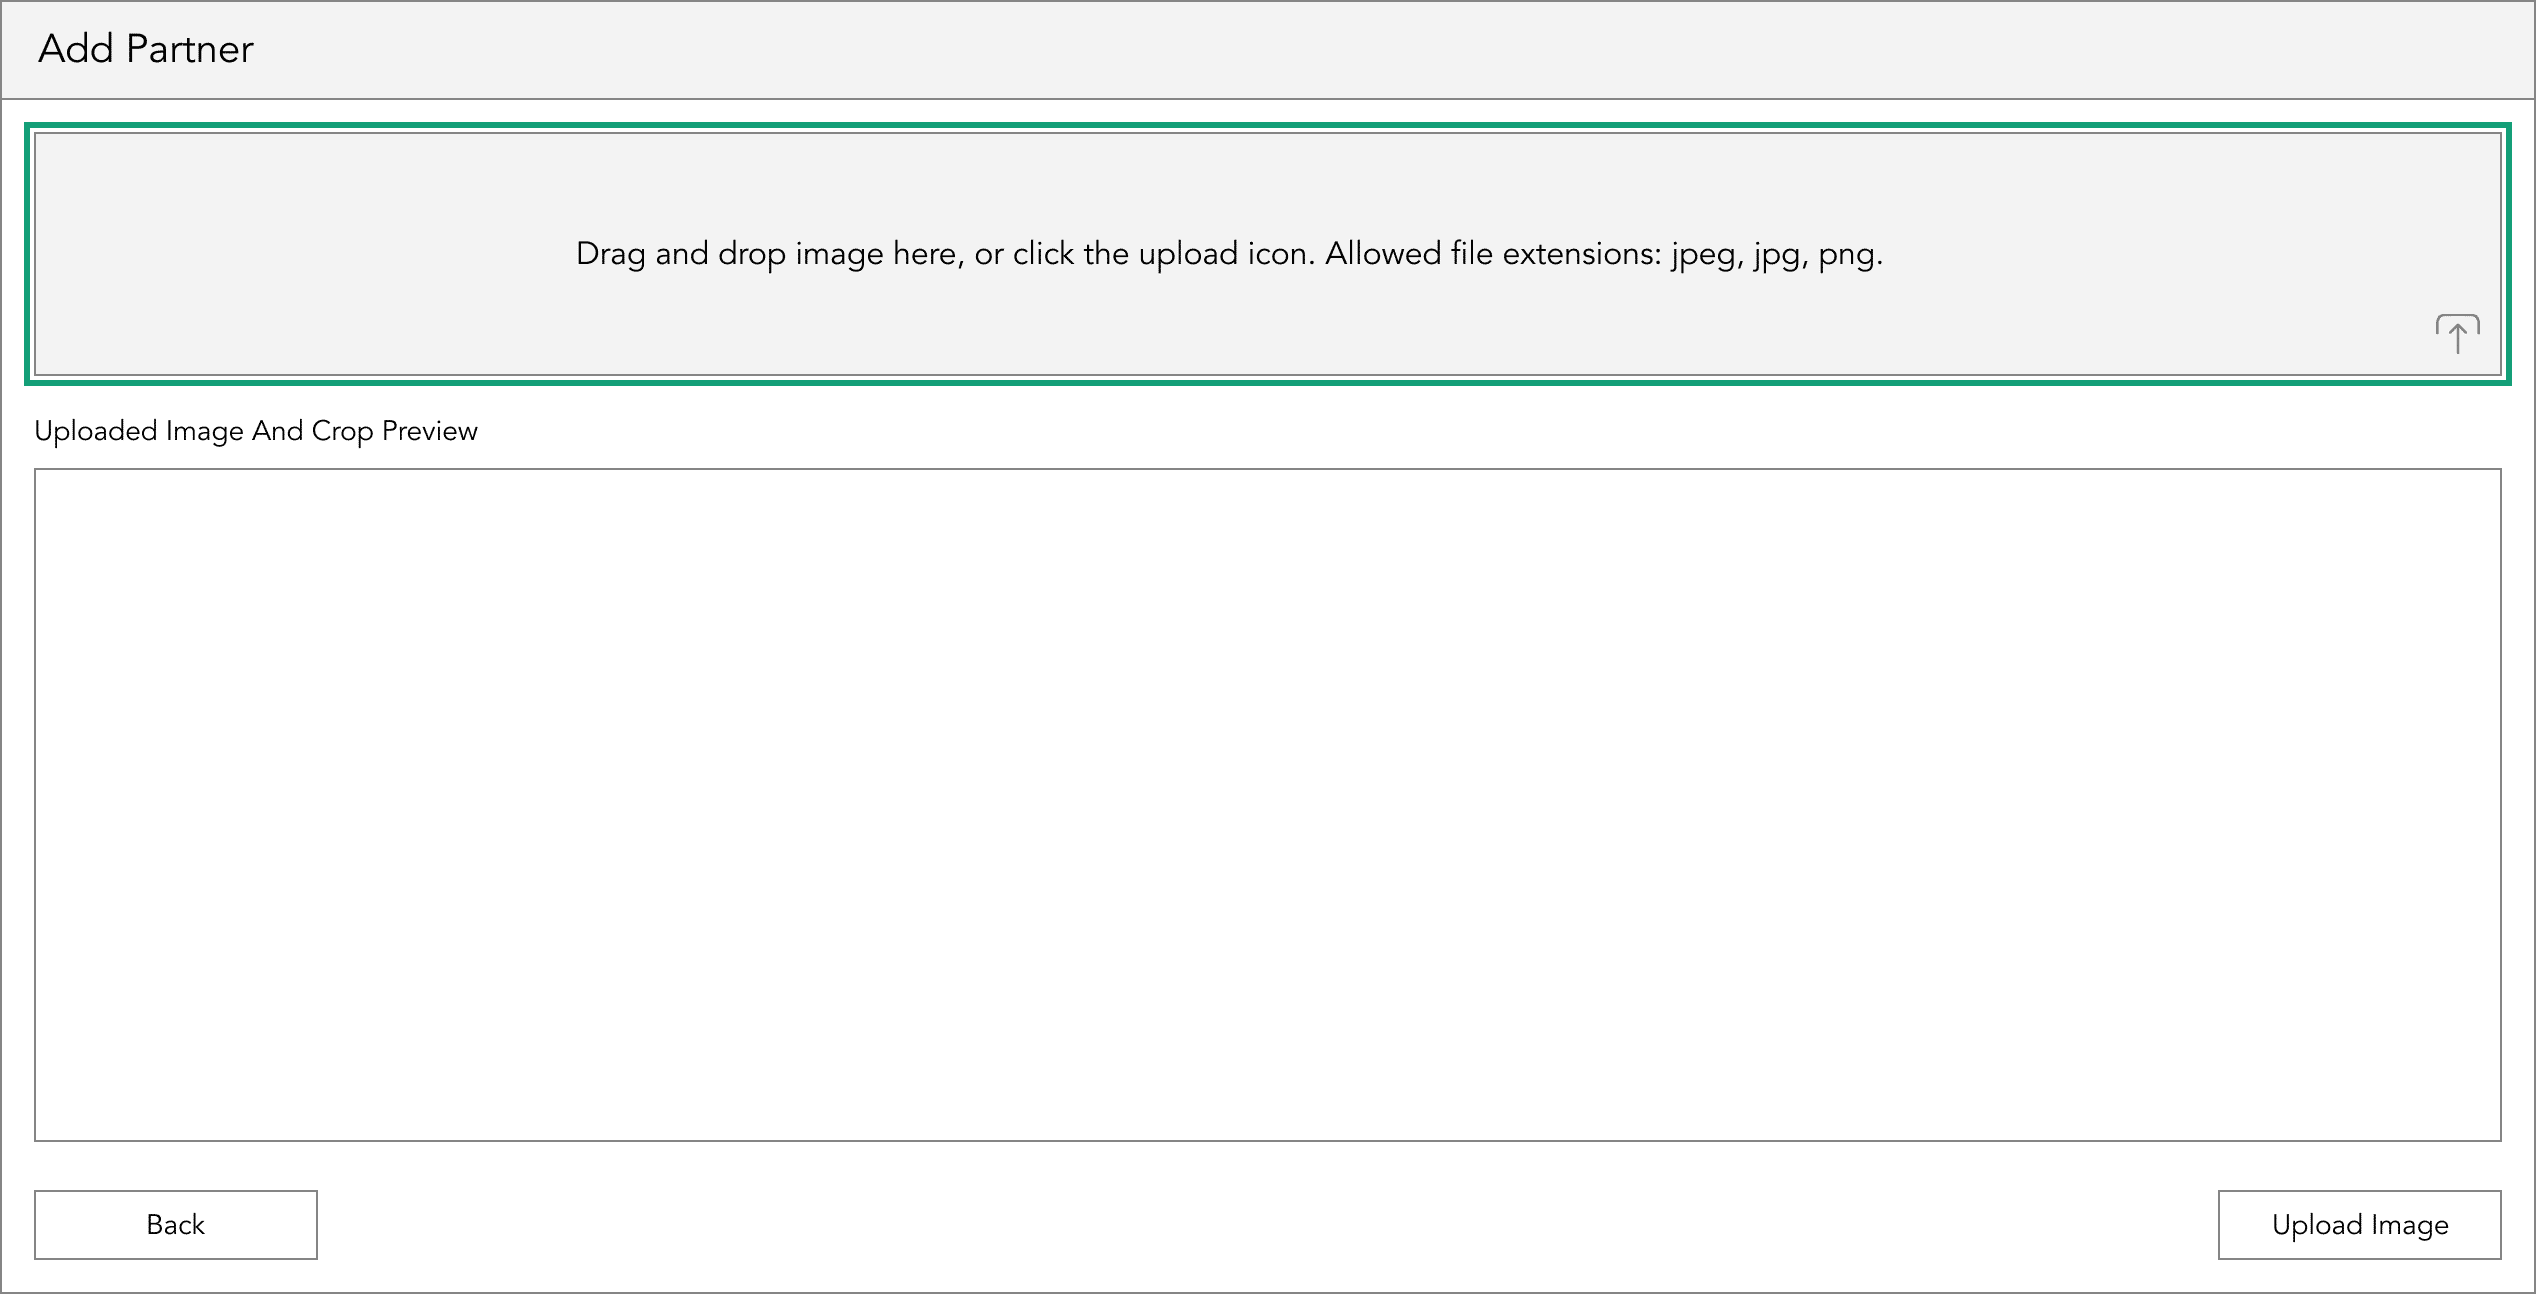
Subsequently, you have two options available. Firstly, you can conveniently drag and drop the image into the designated grey box area. Alternatively, you can choose to upload an image directly from your device.
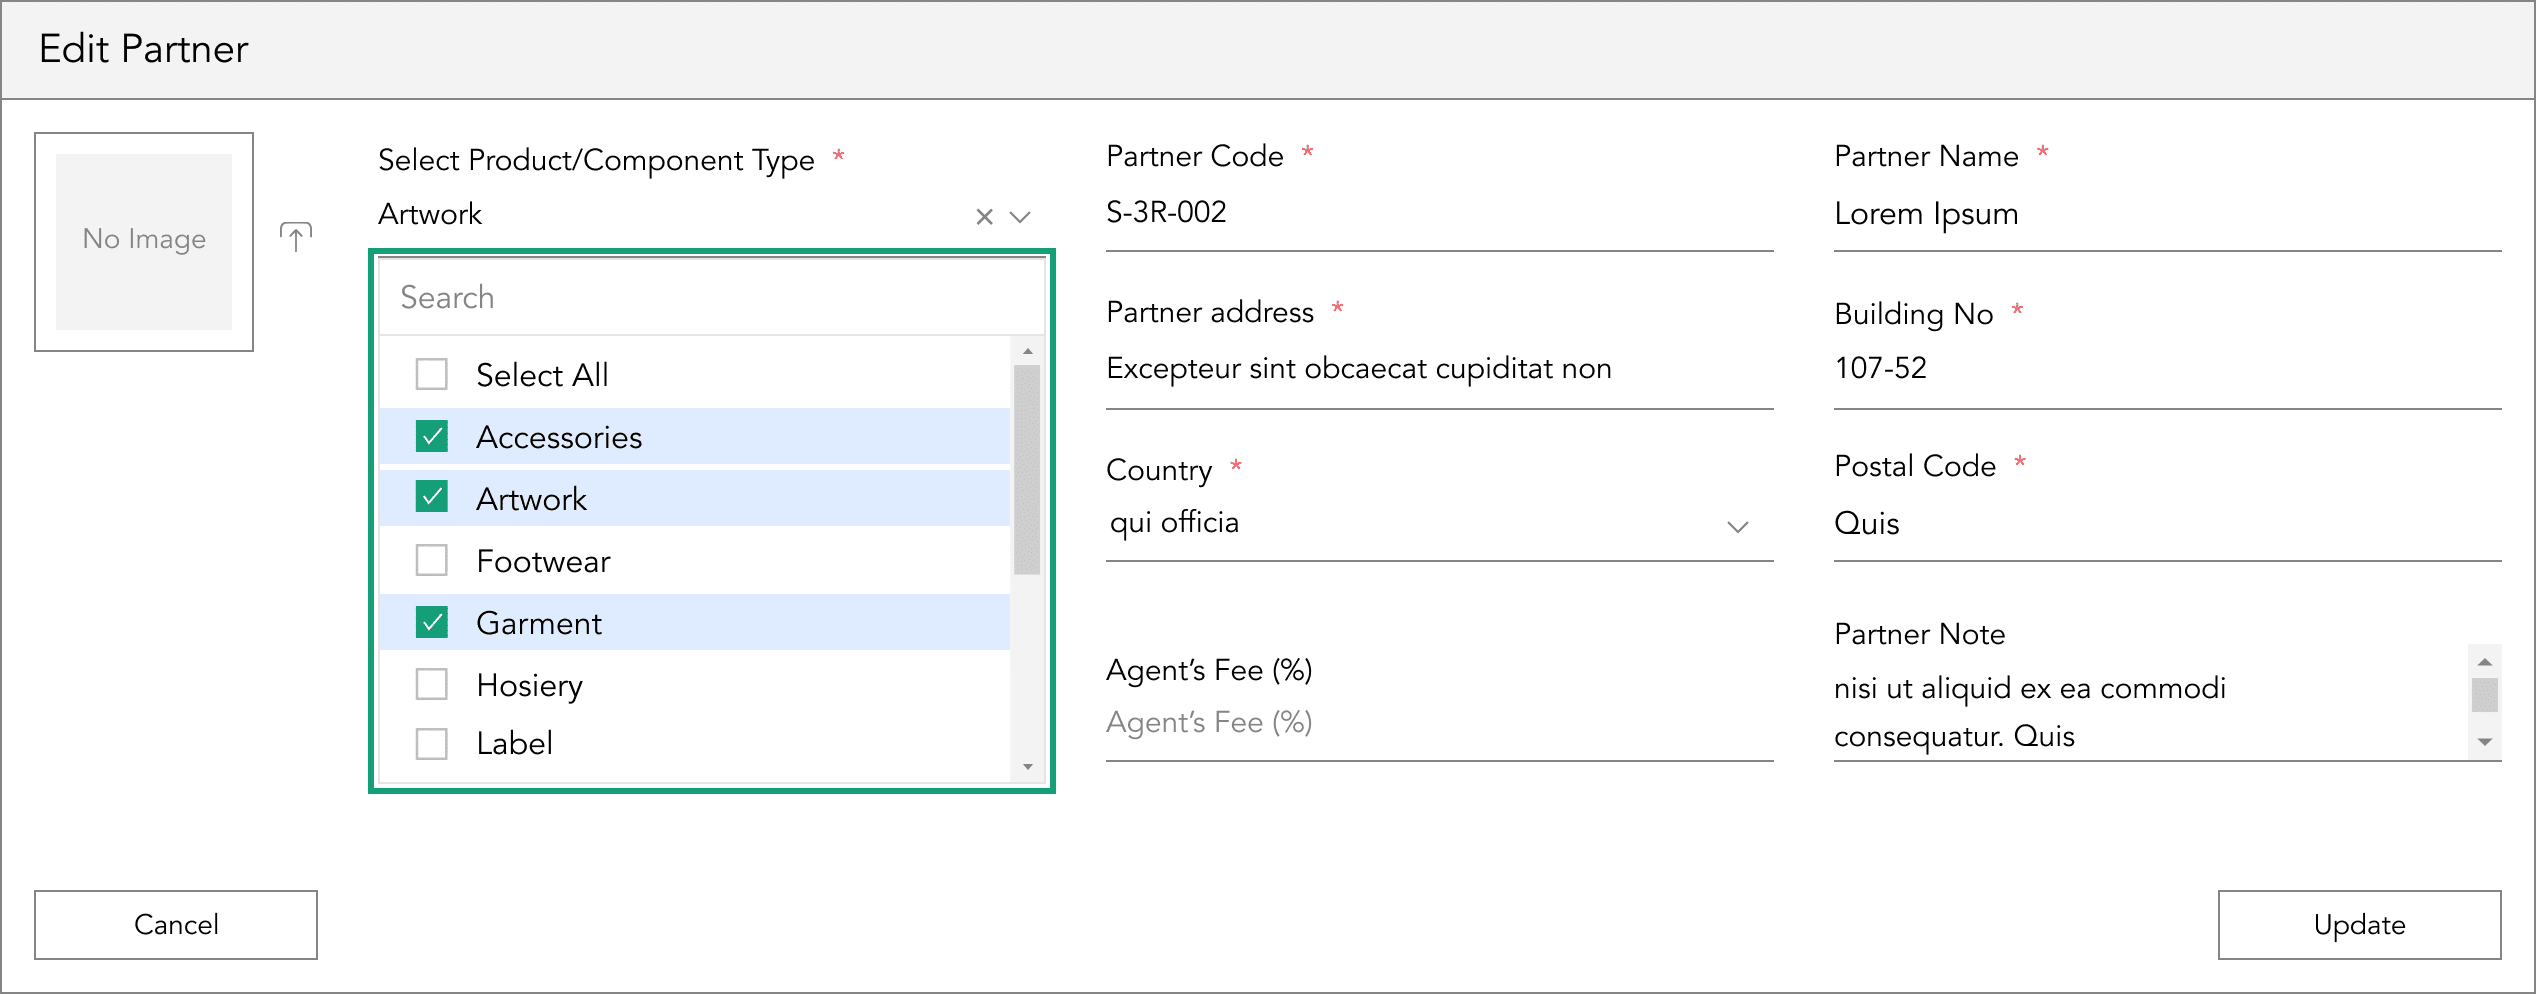
editing partners
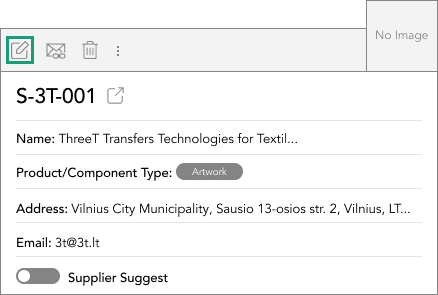
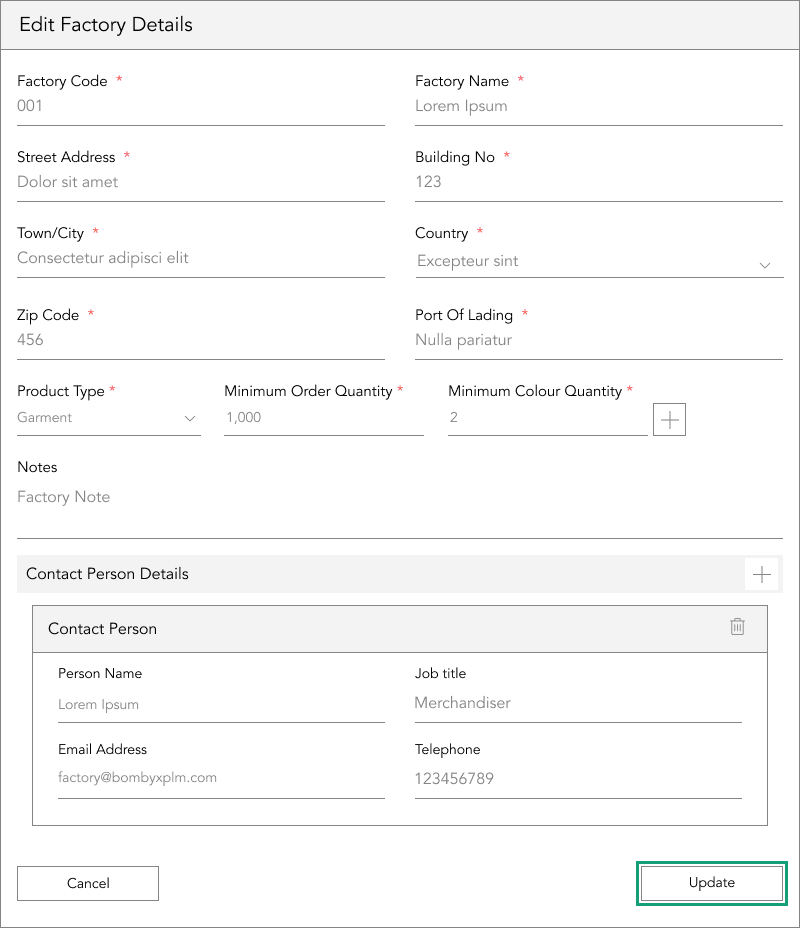
To make amendments to a partner’s details, begin by locating the partner. This can be achieved by either scrolling through the list, utilising the filter tool, or employing the search bar function. Once you’ve successfully located the partner, proceed by clicking on the edit icon situation on the partner’s information card.
After completing the necessary changes to the partner’s details, finalise the process by tapping the update button.
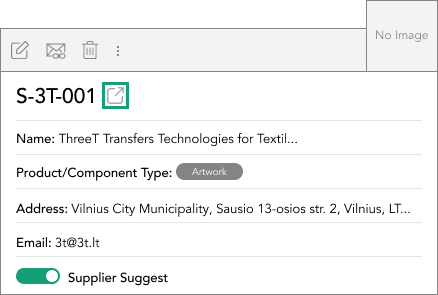
integrating partners
By clicking the integration icon, Bombyx will automatically initiate the process by sending out invitations to your partners, urging them to join the platform.
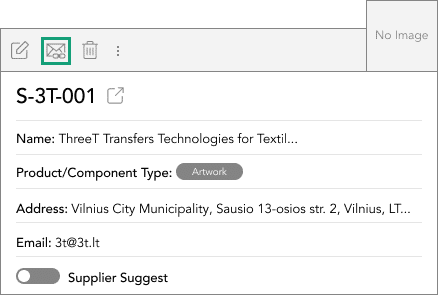
Once they have successfully joined, the integration will play a pivotal role in fostering smoother collaboration and facilitating improved communication among all parties involved.
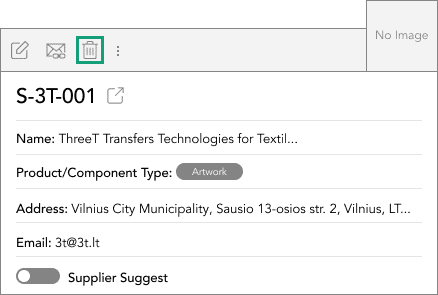
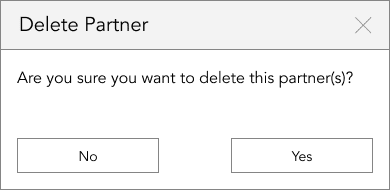
deleting partners
Once you have clicked the bin icon, a confirmation message will appear to prevent accidental removals.
Once confirmed, the partner's access to the product's data and resources will be revoked. Ensuring the security of your business information.
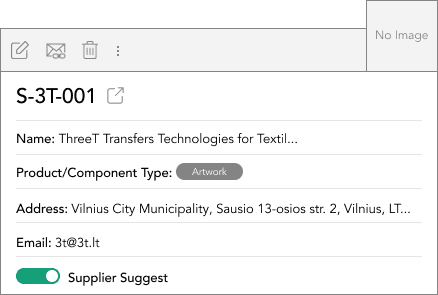
switching on supplier suggest
Located at the bottom of the partner’s card, you will come across a supplier-suggested feature, coupled with a toggle switch.
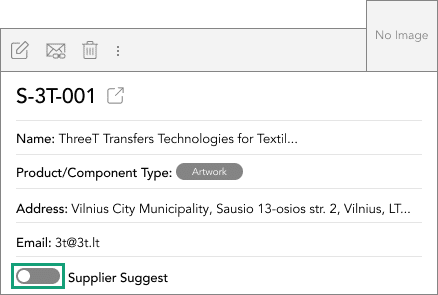
By toggling the switch to the green position, you enable suppliers to actively provide suggestions for a collaborative environment where all parties involved can contribute to the product creation process.
To find out more information on how to use the supplier suggest module, click here for the tutorial and demo.
navigating to the users
Upon entering the partner’s card, your next step is to navigate to the user’s tab. By clicking on the user’s tab, you can seamlessly add an unlimited number of users to the platform.
adding users
Effortlessly locate the plus icon, and upon tapping it, a popup will appear, prompting you to input the necessary information for each user.
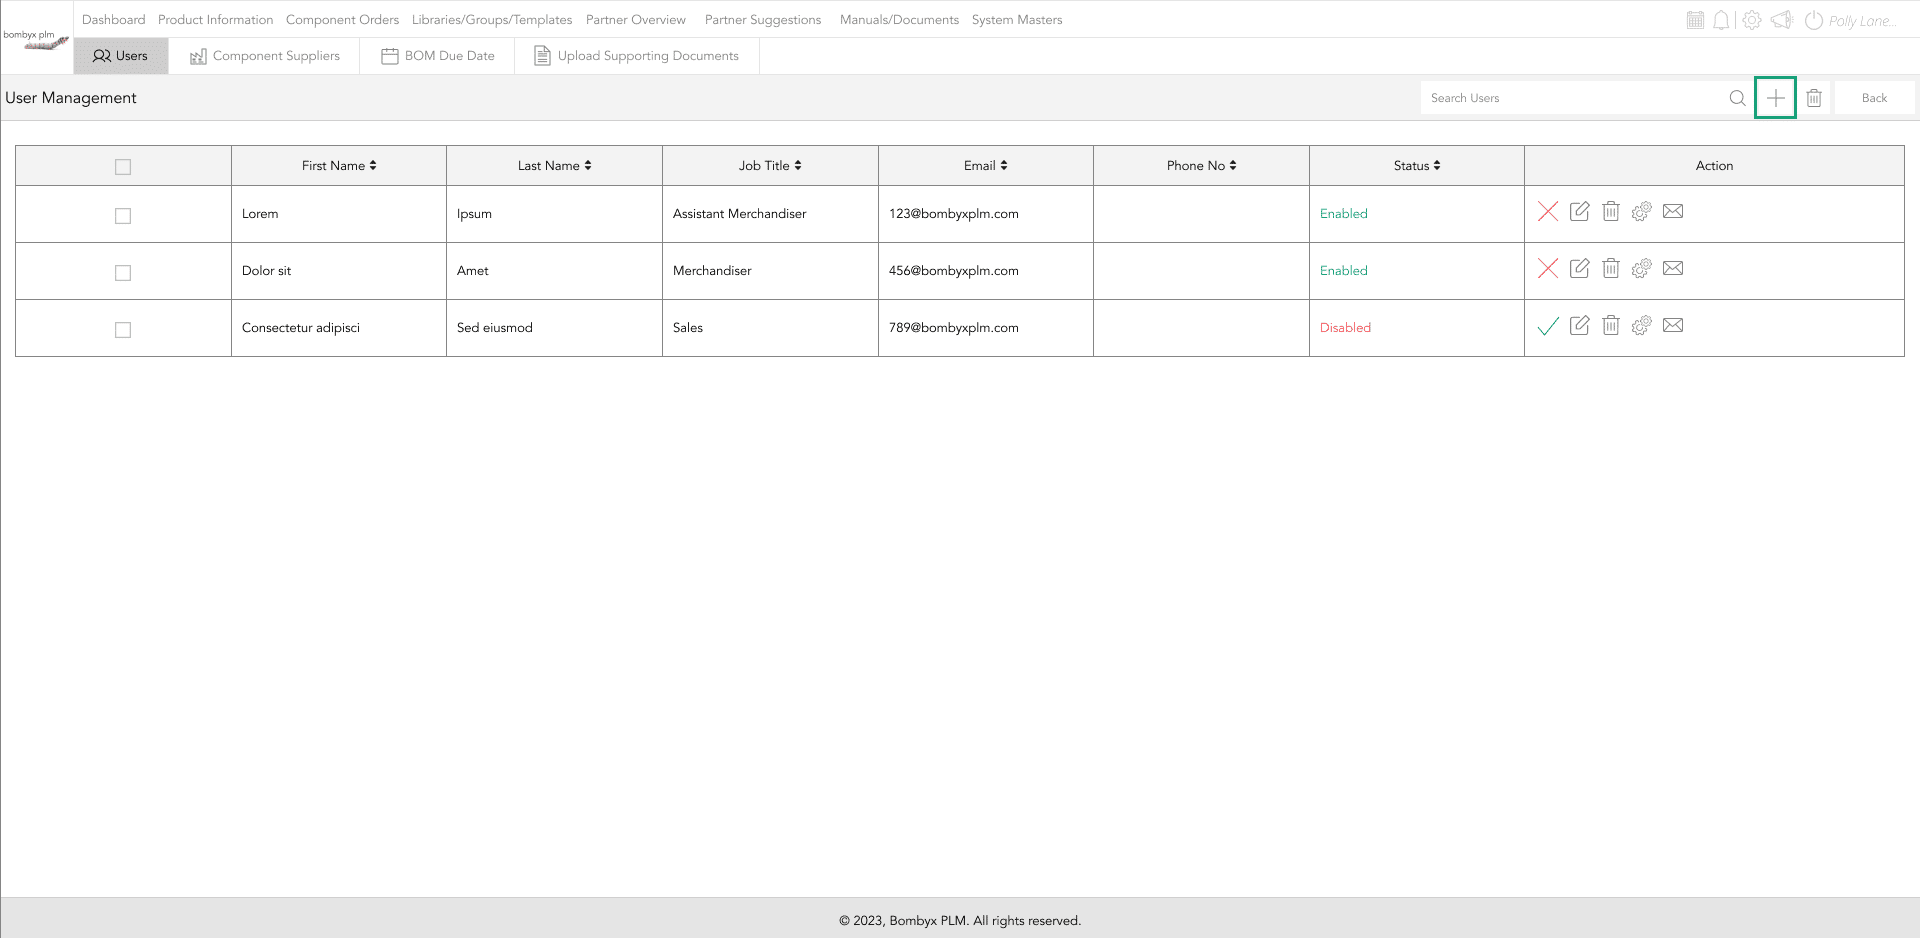
Once you have entered all the relevant details, proceed by tapping the add button. This simple action finalises the process and incorporates the new users seamlessly.

disabling users
In order to disable a user, direct your attention to the action column and locate the red X symbol. By tapping on this icon, you can effectively initiate the process of disabling the selected user.

editing users
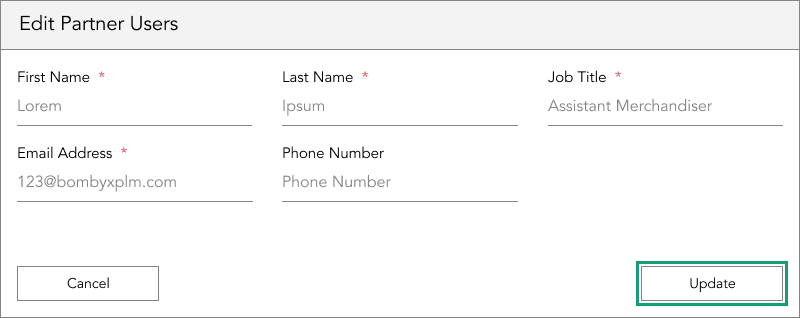
To edit a user's information, tap the edit icon, which takes you back to the initial popup where you added the user.

Update the user's data and then tap "Update" to save.
deleting users
When it comes to deleting users, you have multiple options available. To delete a single user, simply tap the bin icon found in the action panel of the selected user. However, if you intend to remove multiple users simultaneously, follow these steps.
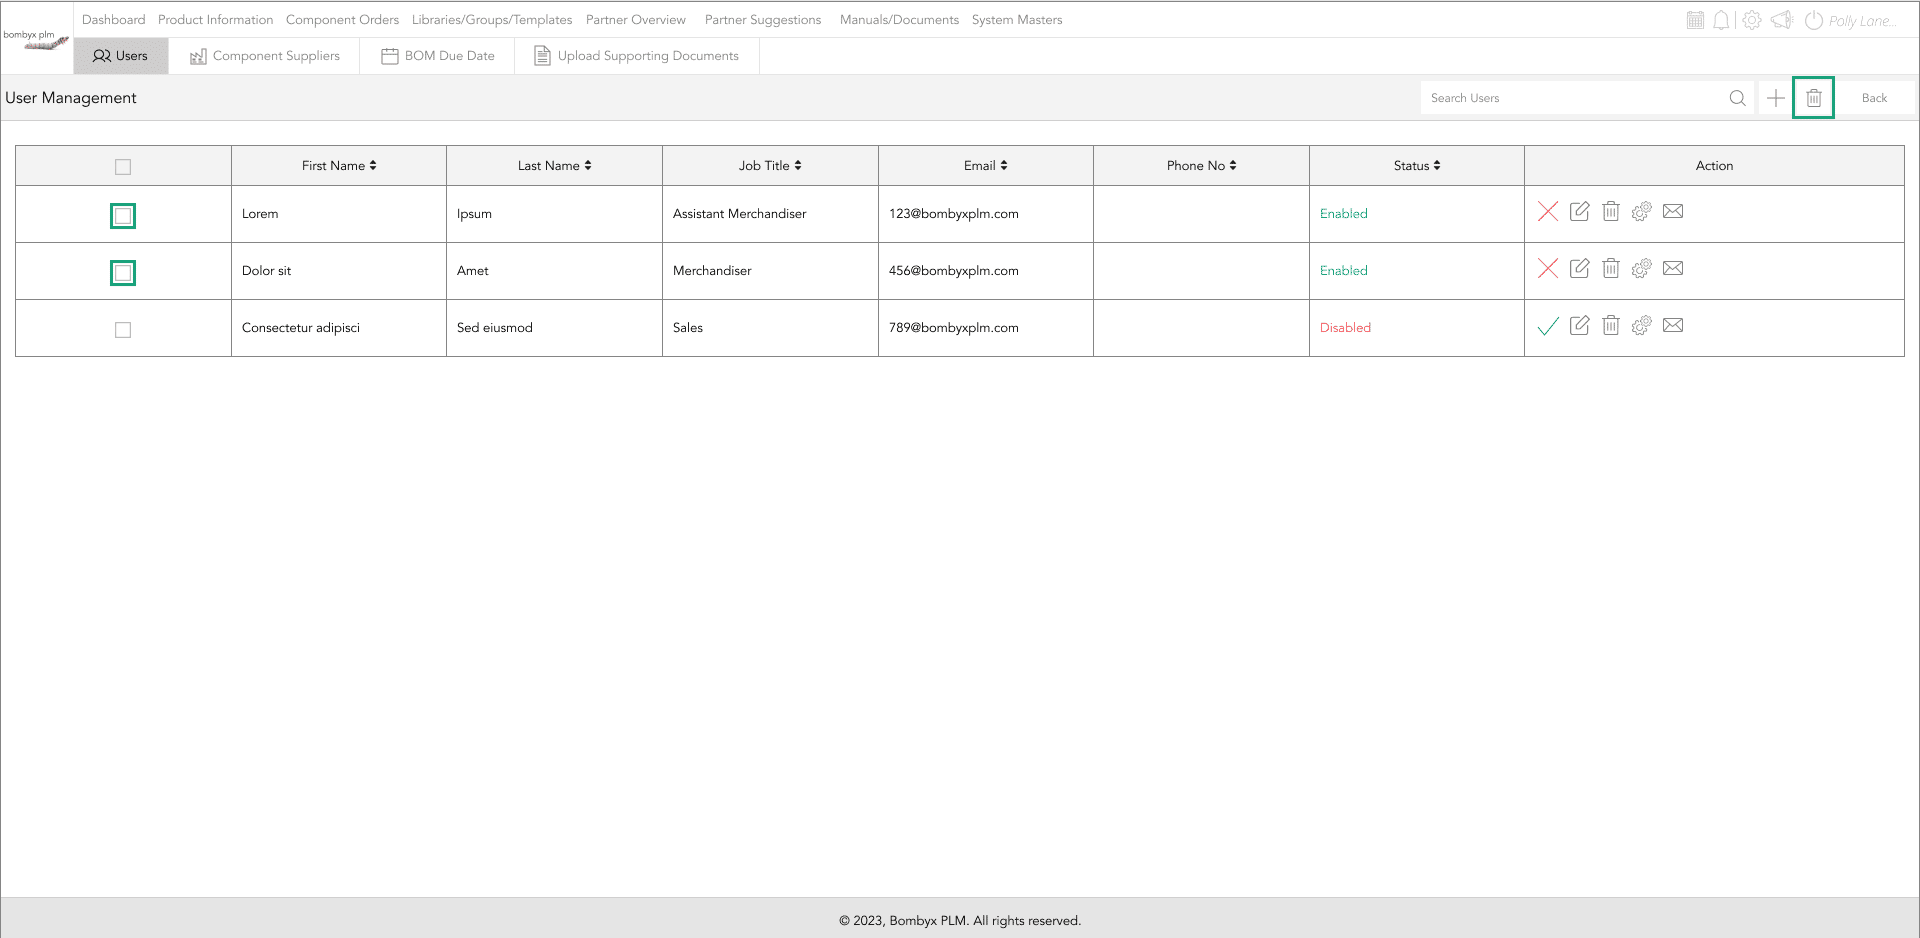
First, click the checkboxes situated to the left of each user's row. Afterward, direct your attention to the bin icon positioned in the top right corner. By following these procedures, you can efficiently manage user deletions based on your specific requirements.
user assignements
In order to allocate users to specific brands or categories, initiate the process by tapping on the cog icon.

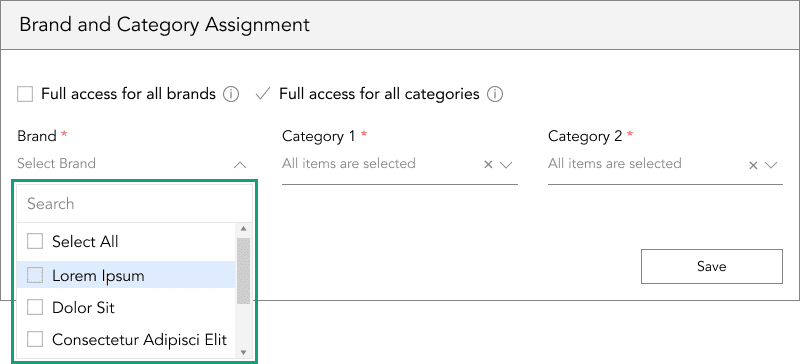
This action will trigger a popup to appear, where you can conveniently manage user access settings. Within this popup, you can choose to grant a user full access across all brands and categories by selecting the appropriate checkboxes.
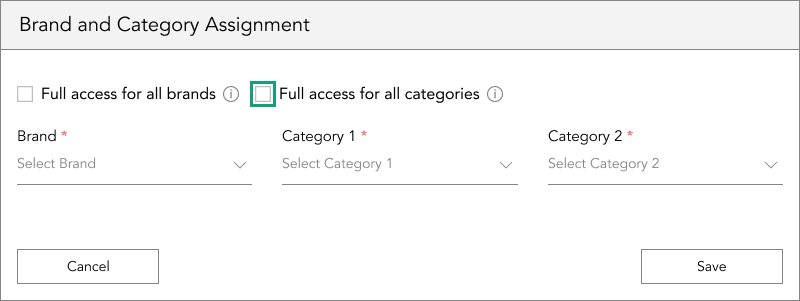
Moving forward, you will be able to select your preferences from the dropdown menus provided for brands and categories 1 and 2. Once you've made your selections, finalize the process by tapping the save button.
This approach empowers you to effectively tailor user permissions based on specific brands and categories.
adding factories
Within this section, the process of adding multiple factories becomes seamless. By clicking the plus icon, a popup will appear, allowing you to input the data for the required fields.
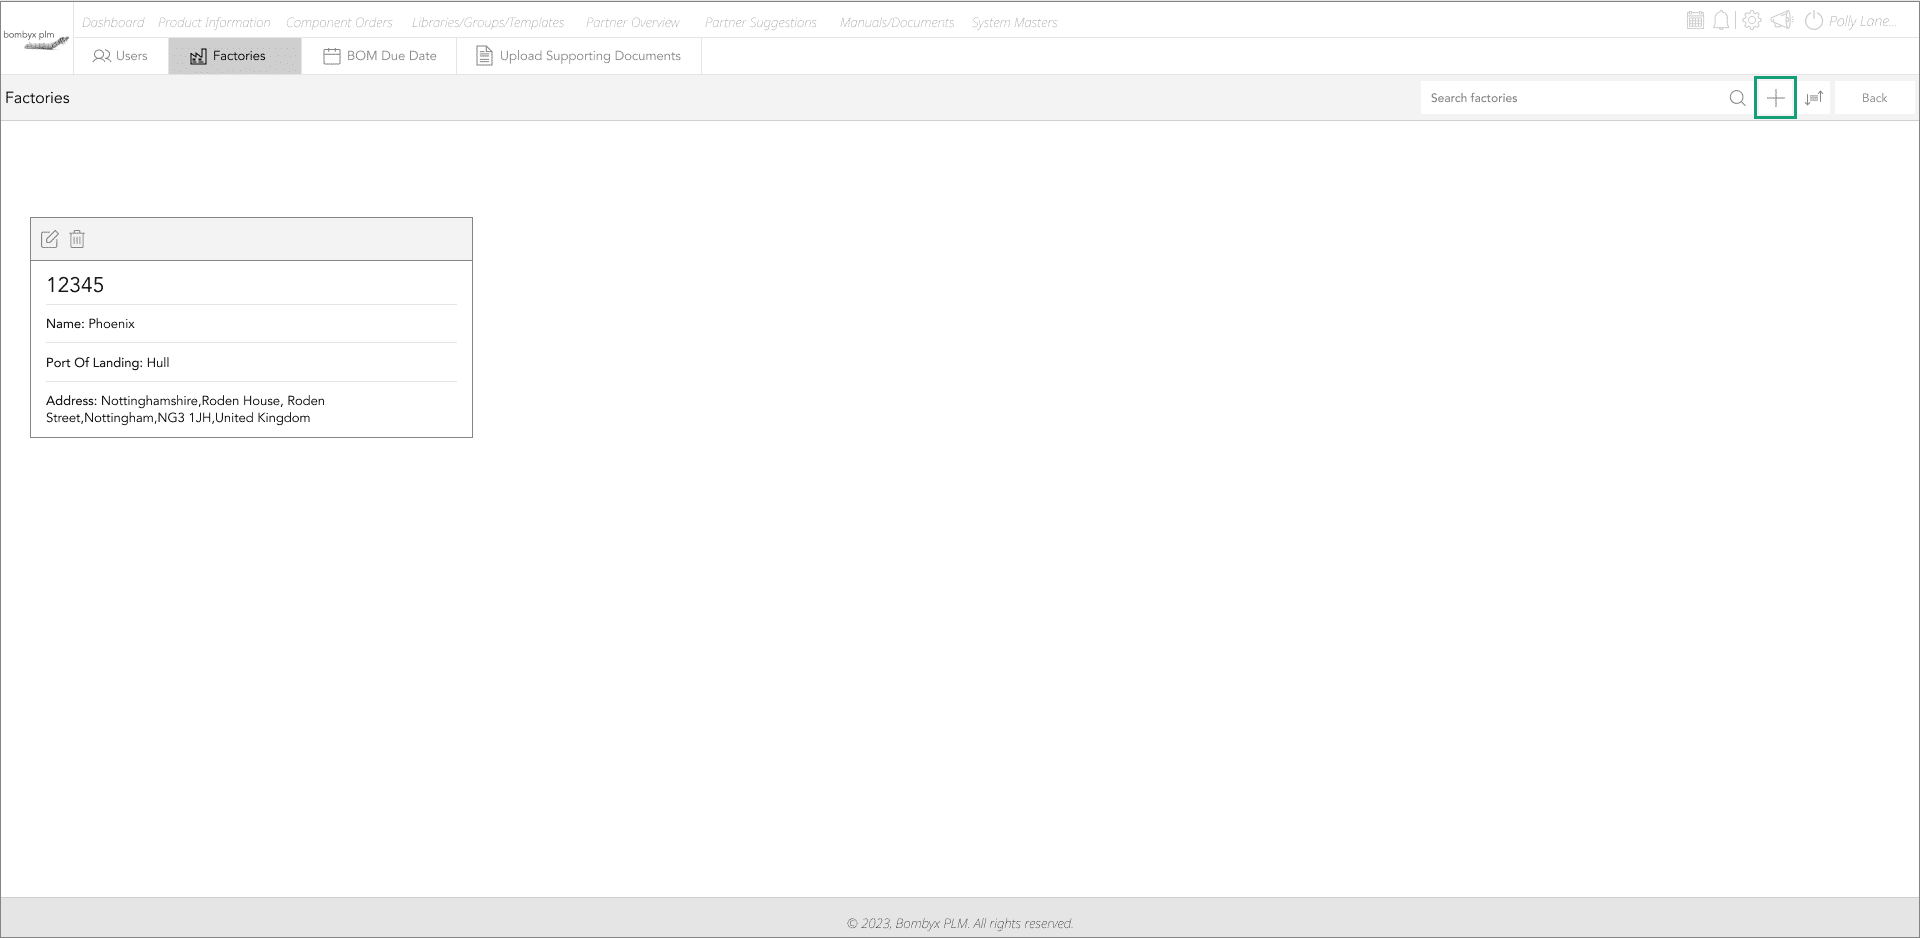
Should you lack certain information at the moment, rest assured that you can add the missing details at a later time. An additional feature you'll notice is the capability to input a contact's personal details. This can be accomplished by clicking on the add icon located at the end of the popup.
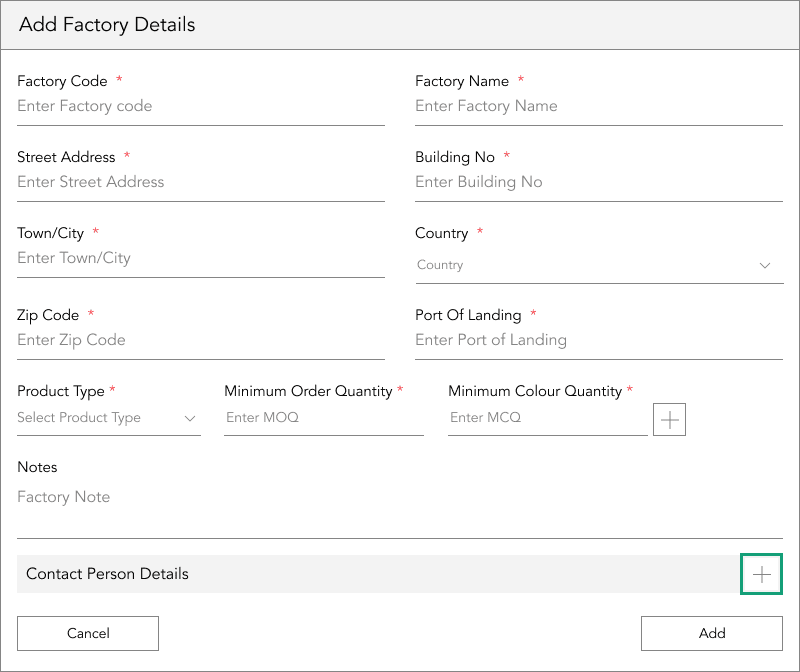
As you proceed, this functionality enables you to ensure comprehensive and accurate factory information.
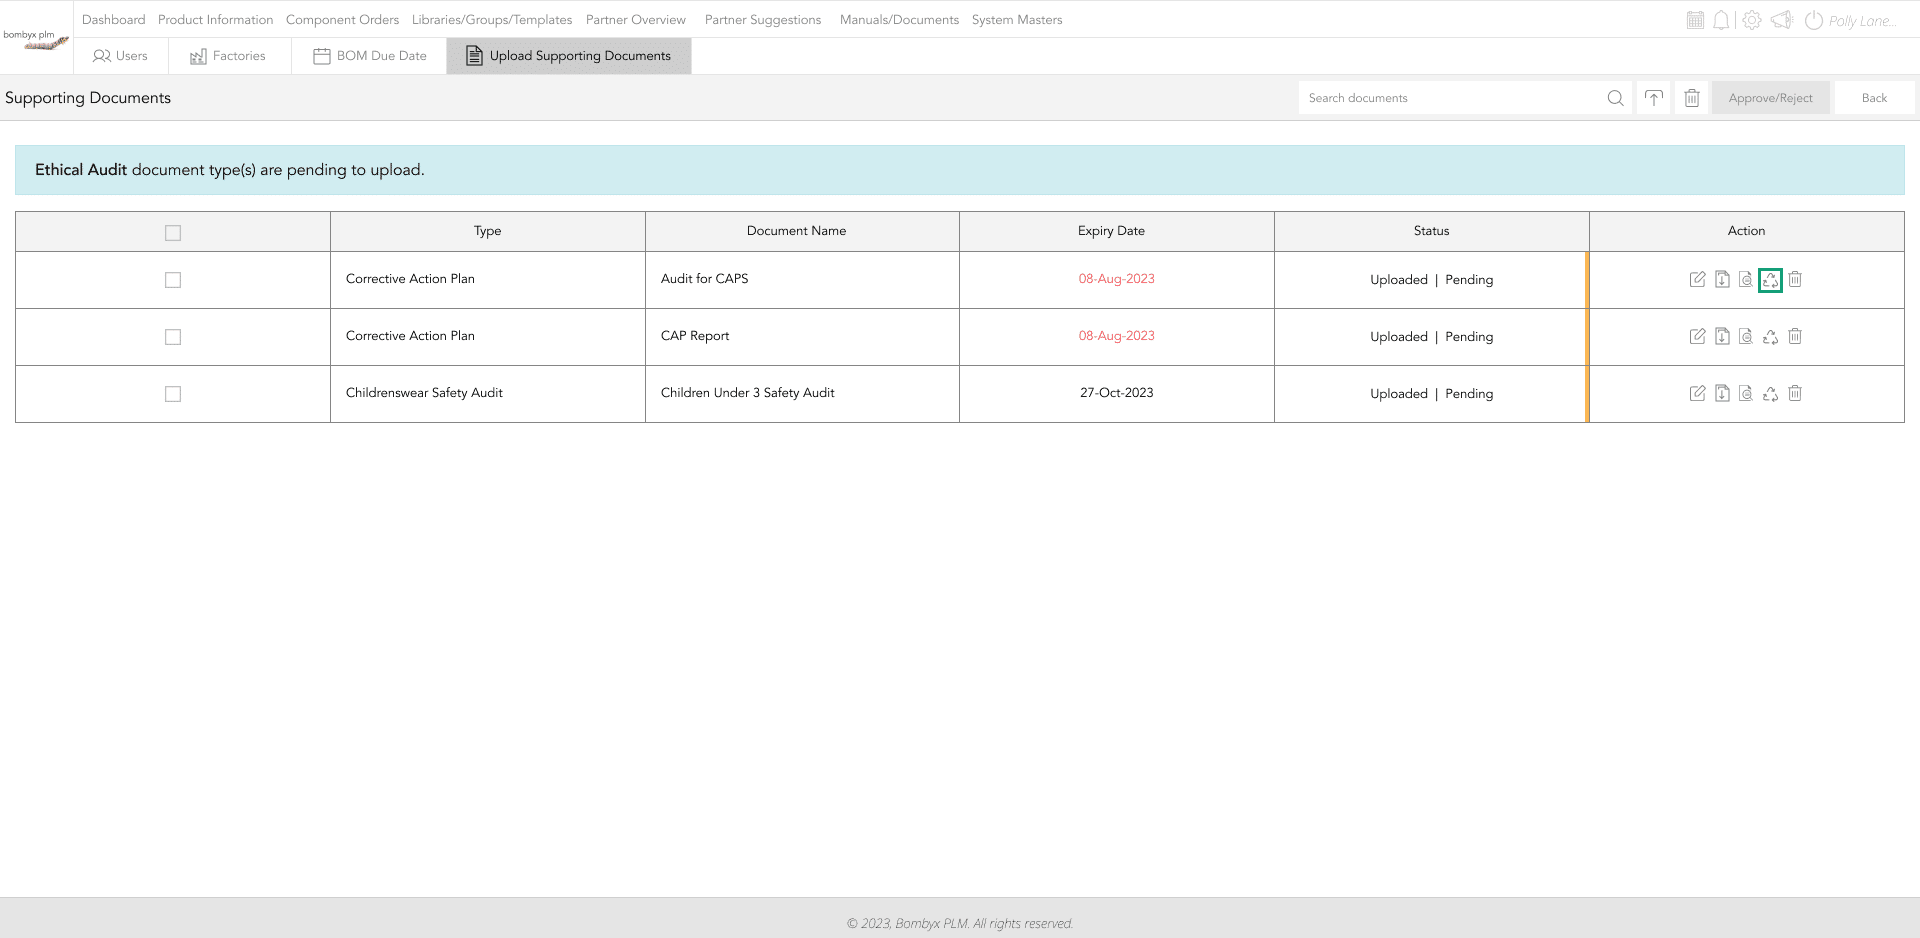
supporting documents
To begin the upload process, direct your attention to the upload icon situation at the top right of the page.

From this point, you are provided with two options: you can either conveniently drag-and-drop action into the designated grey box area, or you can opt to upload the file from your device by simply tapping the upload icon.
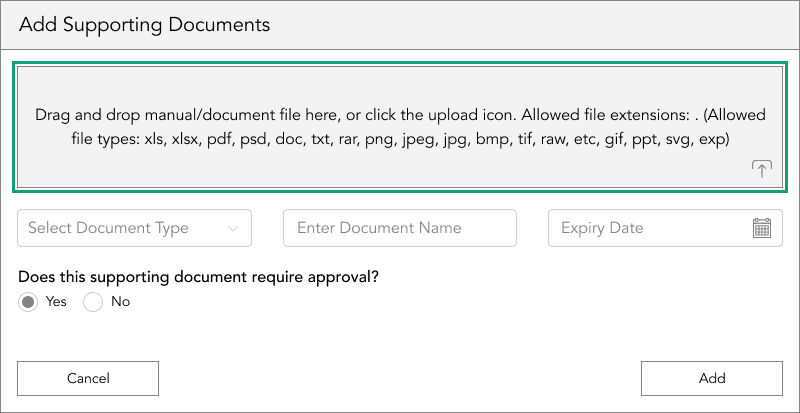
Upon successfully uploading the file, you’re presented with the opportunity to add essential details. These include the document type and name. Furthermore, for documents that necessitate regular resubmission, such as annual audits, you can go a step further and input renewal dates or expiry dates.
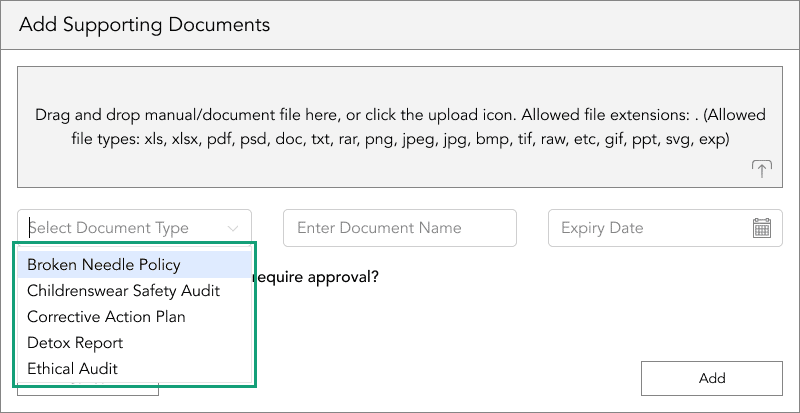
This comprehensive approach ensures that your documentation is well-organised and up-to-date.
editing supporting documents
Initiate the process by tapping on the pen icon located within the action column of the document you wish to edit.
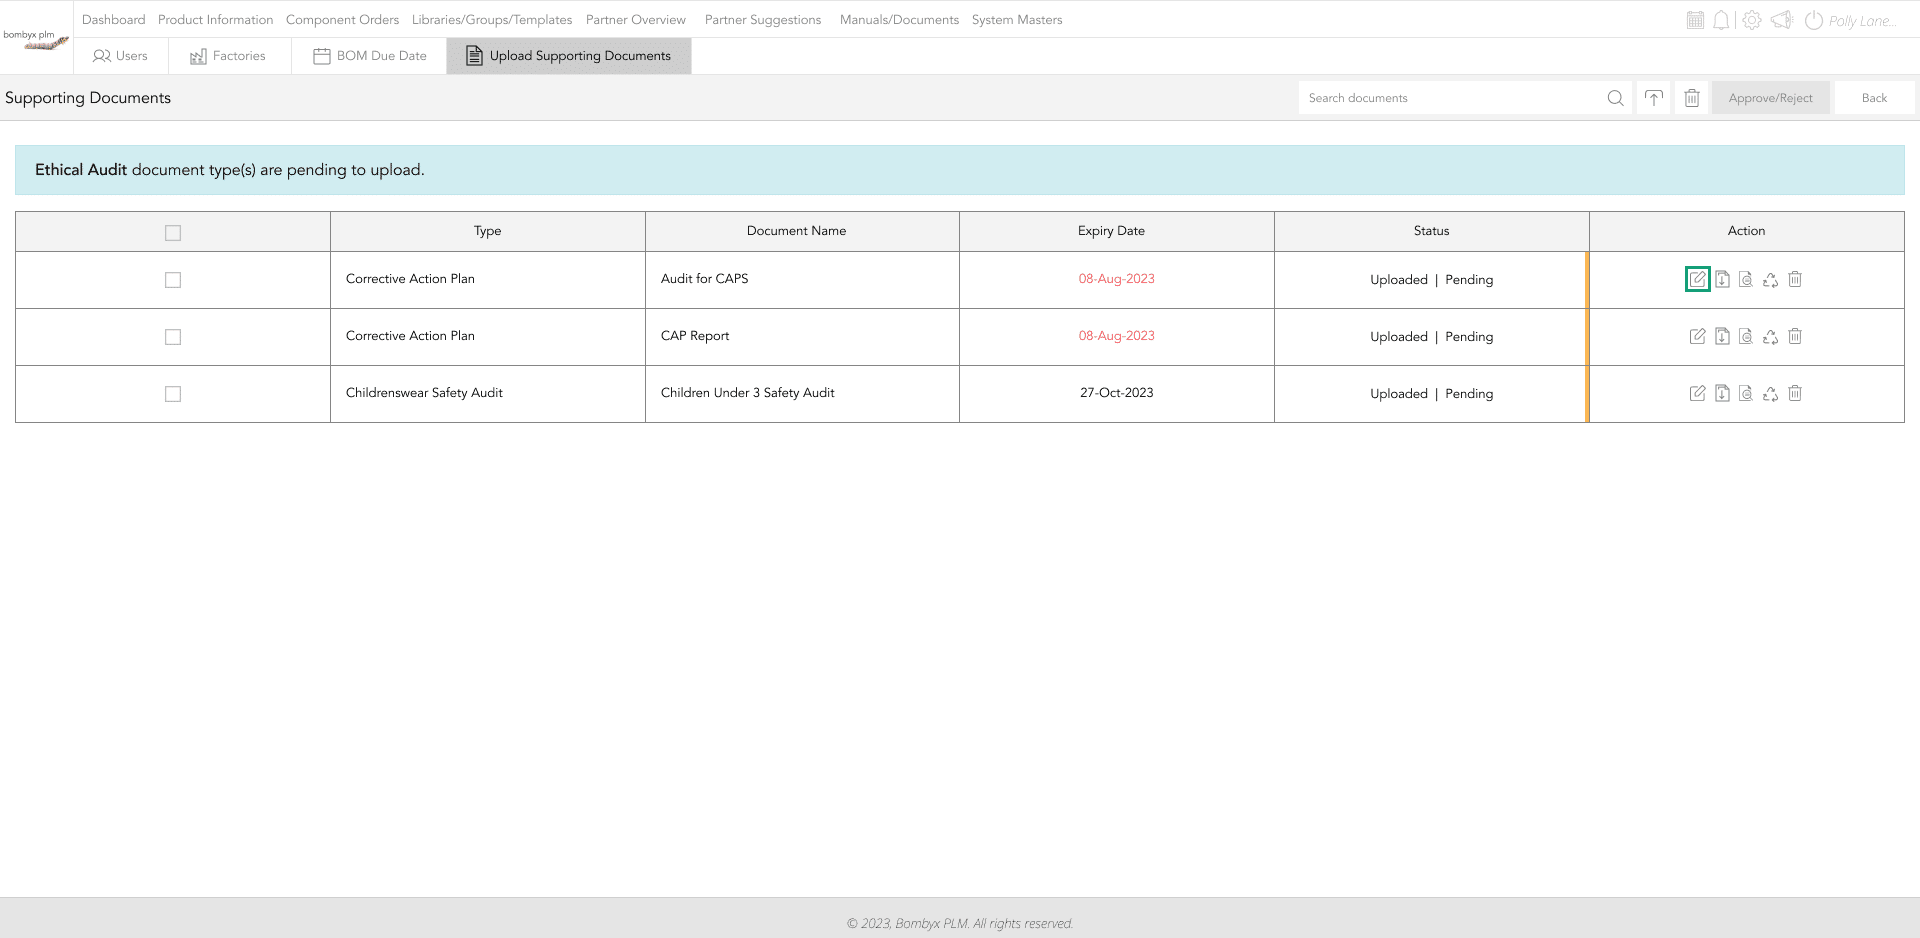
Upon making the necessary updates, it's crucial to finalise the process by tapping the update button. This ensures that all modifications are effectively saved and incorporated.
downloading documents
Should the need arise to download the document onto your device, there is a straightforward method available. Simply tap the download icon located in the action panel.
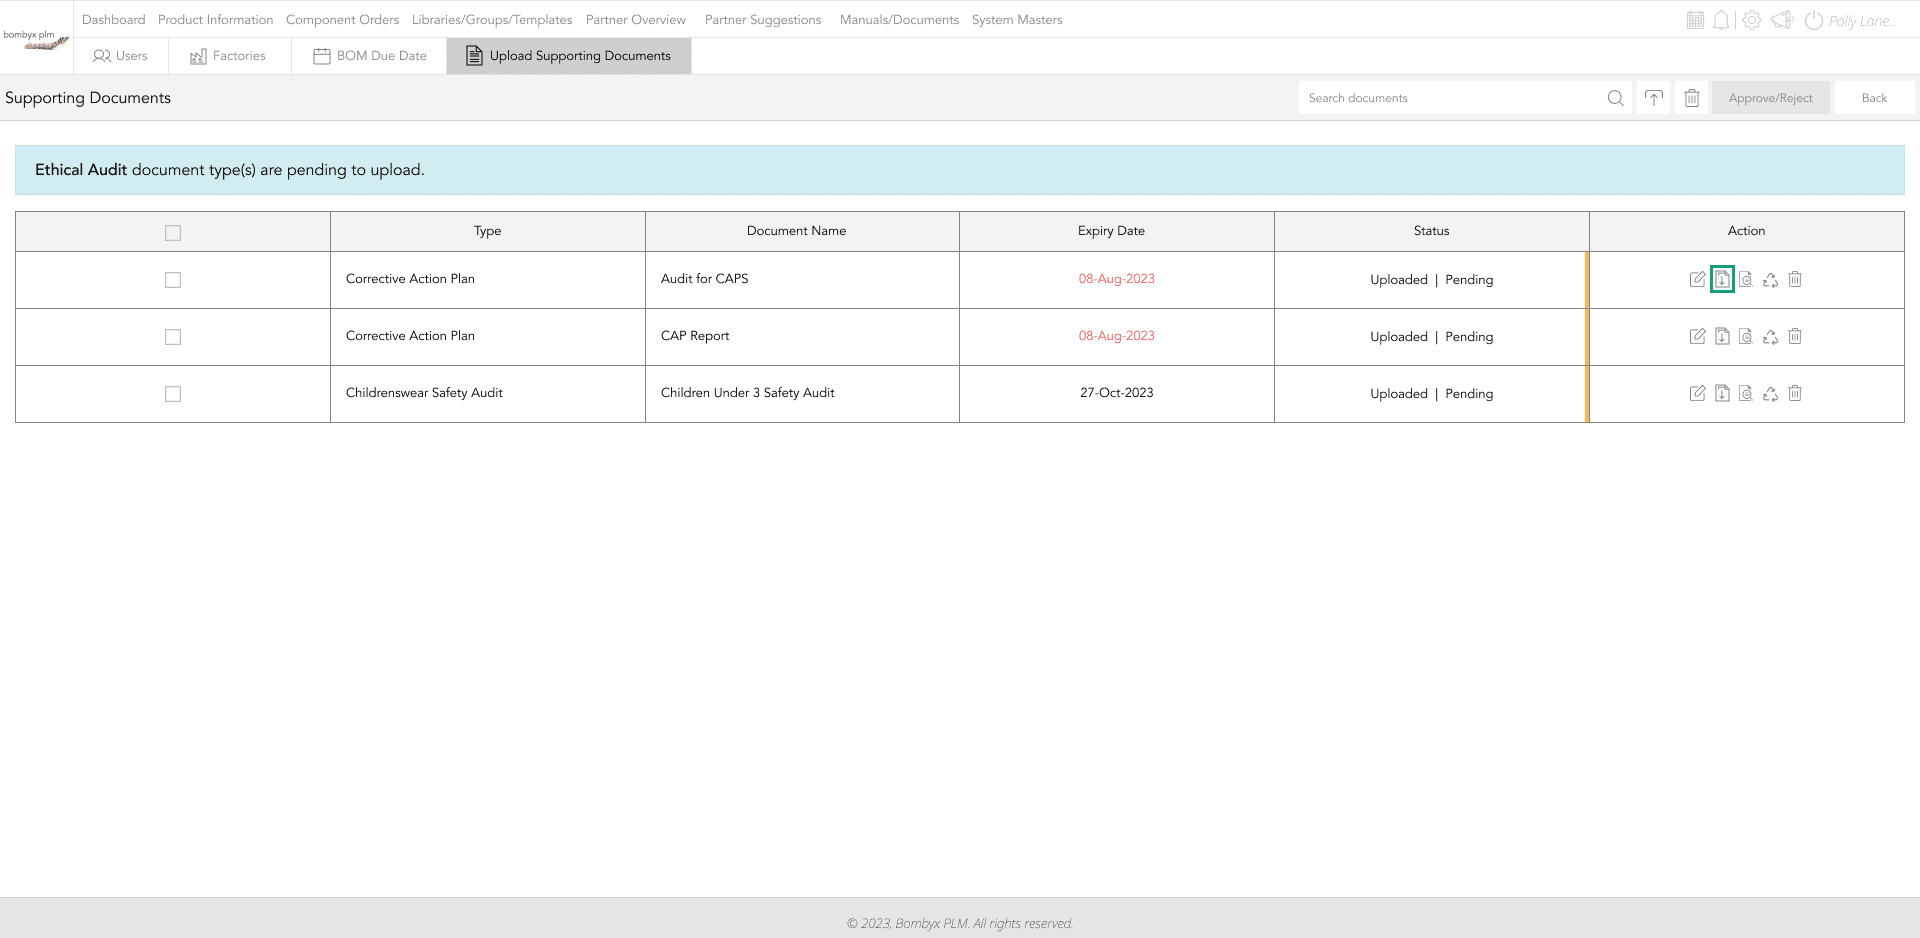
This action initiates the download process and allows you to conveniently access the document on your device.
previewing documents
To access the document and view its contents, start by tapping on the preview icon, which is conveniently situated within the action panel.

Additionally, you have the option to click the 4 arrows, a feature that enables you to preview the document in full-screen mode.
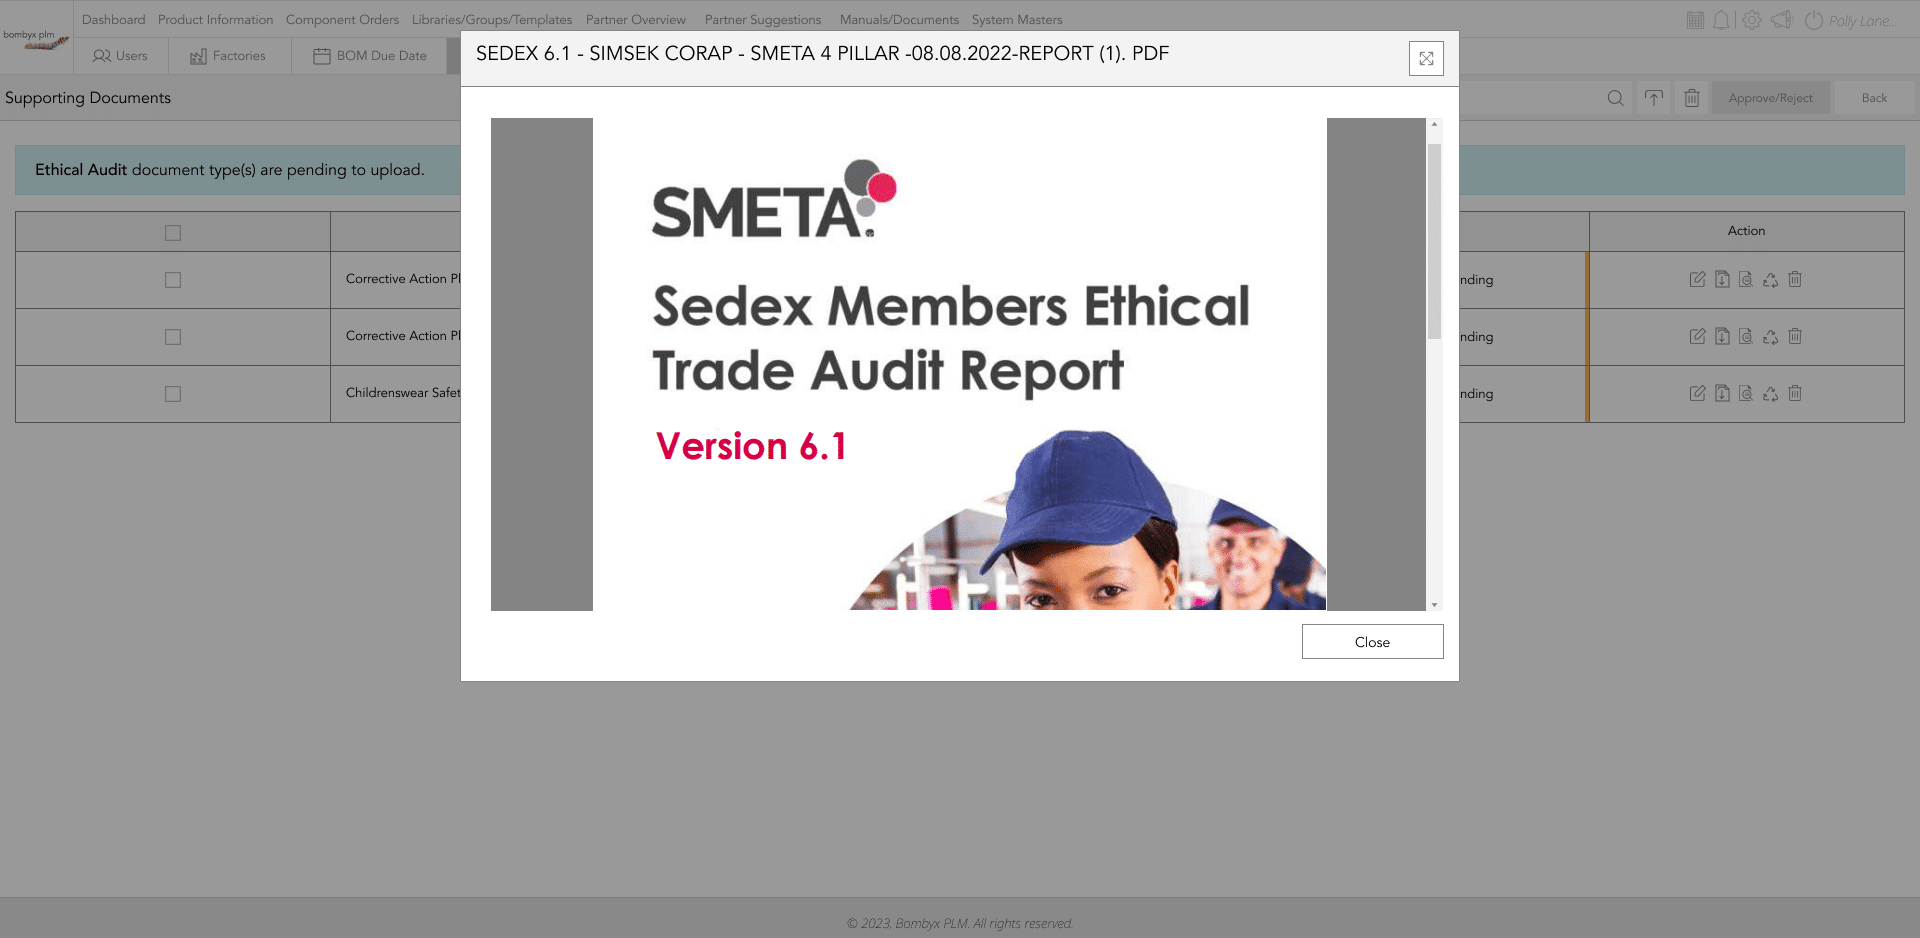
This approach provides an enhanced and comprehensive view of the document's contents.
renewing documents
The process of renewing a document follows a similar procedure to add a new document. This involves uploading the file either into the designated grey box area or directly from your device.
Once you have successfully uploaded the file, the next step is to tap the Renew button. This straightforward action finalises the renewal process.
deleting documents
When it becomes necessary to remove a single document, you can follow these simple steps. Begin by tapping the bin icon situated within the action panel of the chosen document.

To delete multiple documents, tap the checkboxes to the left side of each document you want to delete, Once you have all the documents selected, navigate your way to the bin icon that is located at the top right of the screen.

Beyond the Label: Diving into the Sustainable Story with Digital Product Passports
Consumers today are increasingly concerned about the environmental and social impact of their purchases. From the food they eat.
Bombyx’s AI Integration: Advancing Business Excellence in PLM, PIM, and DAM Systems
Let's delve into the exciting realm of Artificial Intelligence (AI) undergoing a transformative evolution. As we Enter the year 2024.

Beyond Baubles: A Stylish Dive into Christmas Fashion Trends.
e explore the latest Christmas fashion trends, with a focus on achieving a harmonious balance between sophistication and comfort. From luxurious velvets to cosy knits

Streamlining Winter Fashion with PLM: Managing Seasonal Changes
Winter fashion production demands meticulous planning and execution. PLM serves as a guiding force in production management, aiding in resource allocation, scheduling

Christmas Experience through Digital Transformation
During the Autumn/Winter months in Europe and the USA, are marked by heightened activity. The festive season introduces an atmosphere of joy and unity. Amidst the era of digital in
Demanding Trends & The Transformative Power of Product Lifecycle Management
Explore how strategic Product Lifecycle Management (PLM) empowers fashion to navigate trends sustainably. This post delves into the symbiosis of trends and sustainability,

The Power of Product Information Management (PIM) With a PLM System.
In today's fast-paced business environment, effective product information management is crucial for success. Product Information Management (PIM) is a powerful tool.

Fashion and the Power of Product Lifecycle Management
In recent years, the fashion industry has witnessed a surge in fashion, a phenomenon characterised by the rapid production and consumption of inexpensive clothing... and a whole l

Supply Chain Management has Forever Changed
Brands make use of product lifecycle data analysis to help them work out price points, marketing and advertising strategies, packaging, growth and expansion… and a whole lot more