
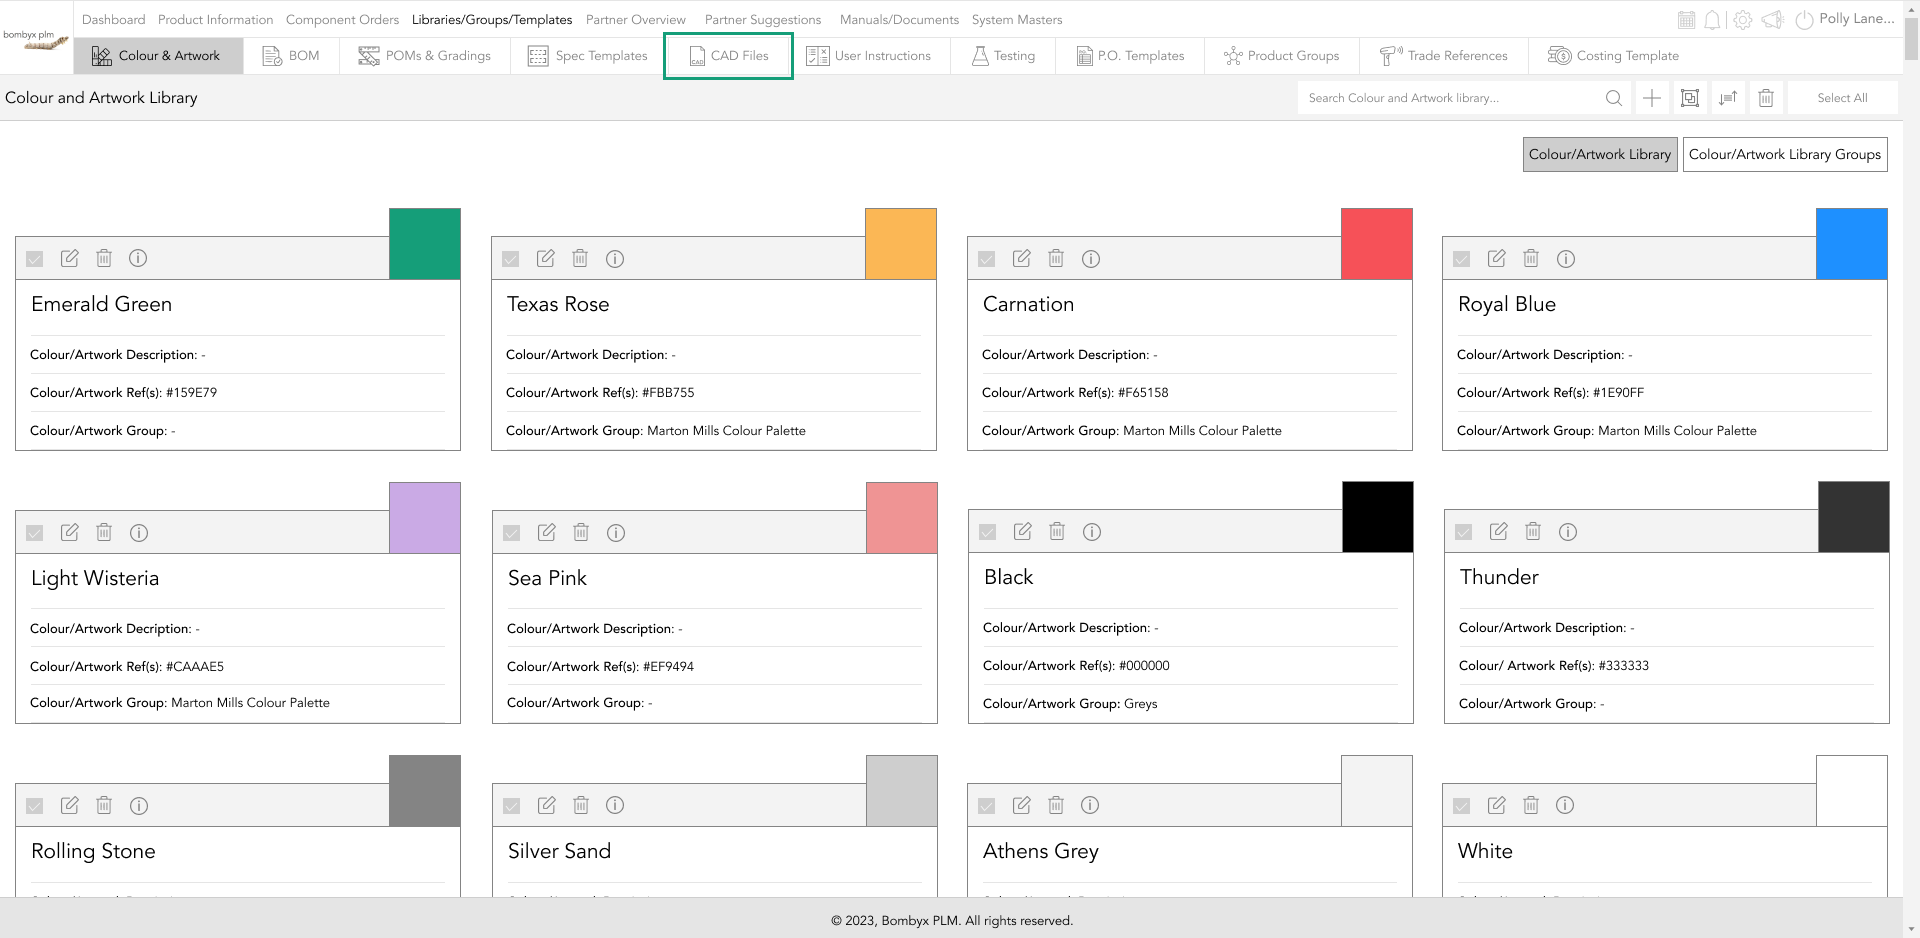
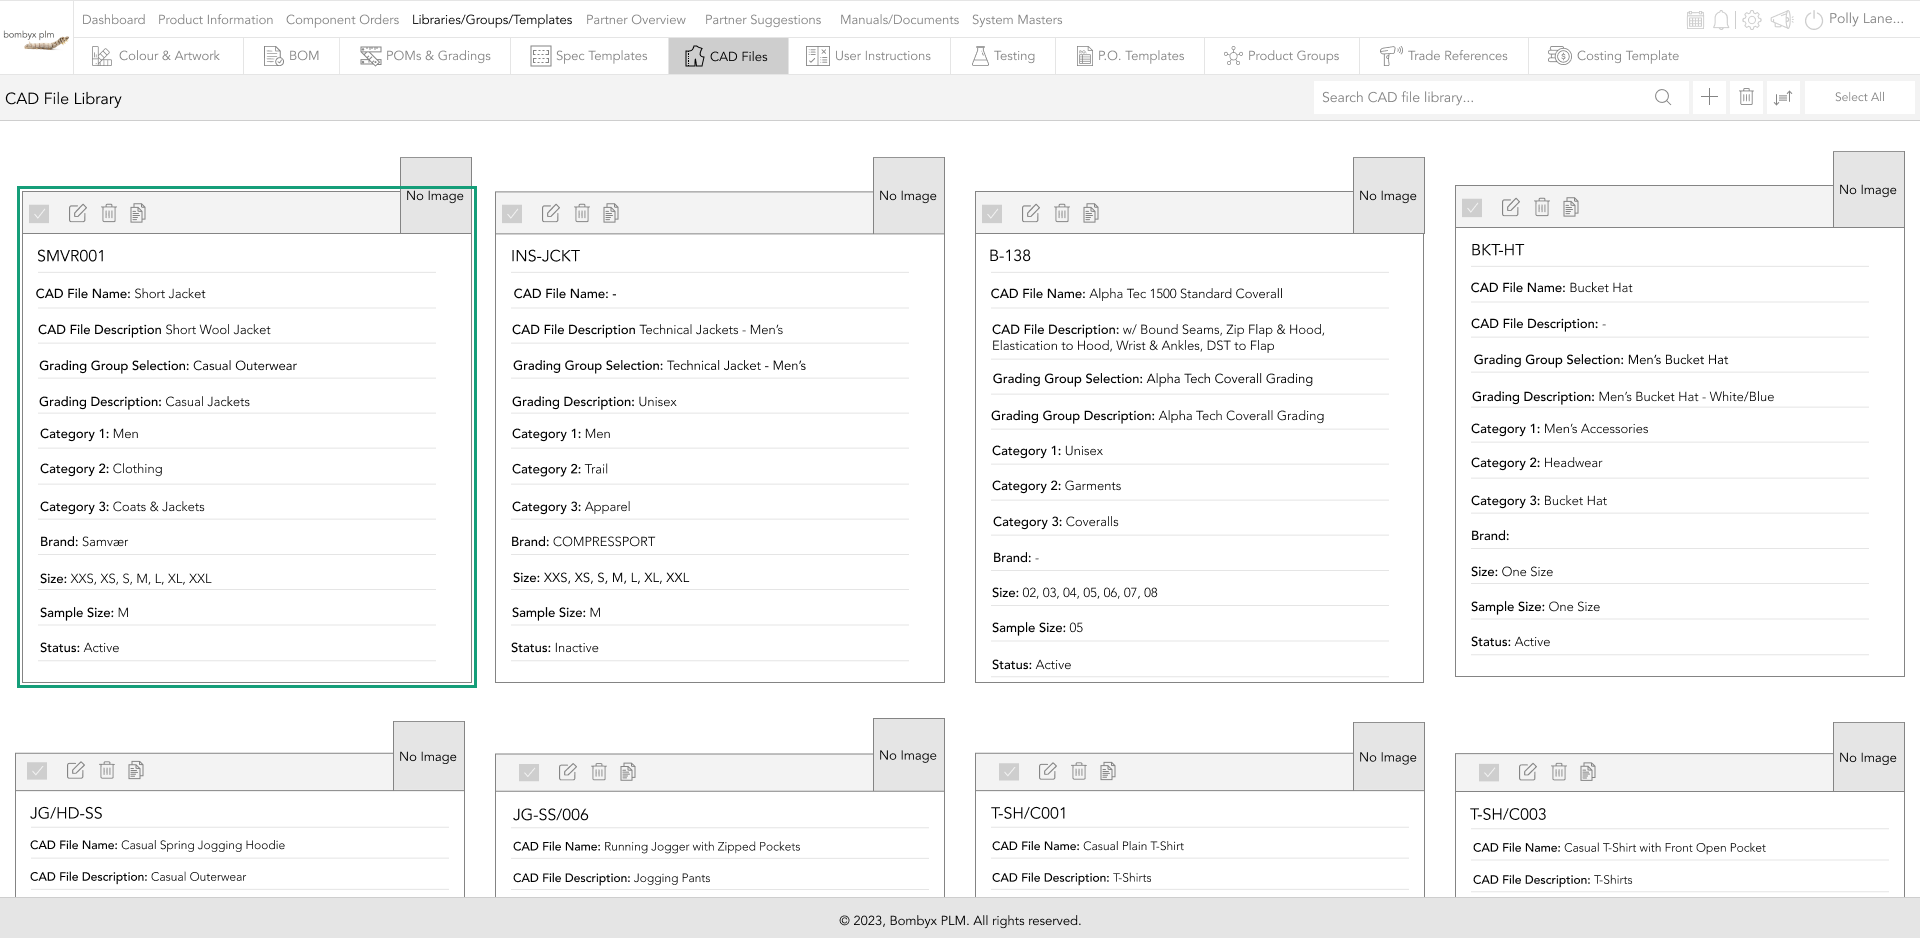
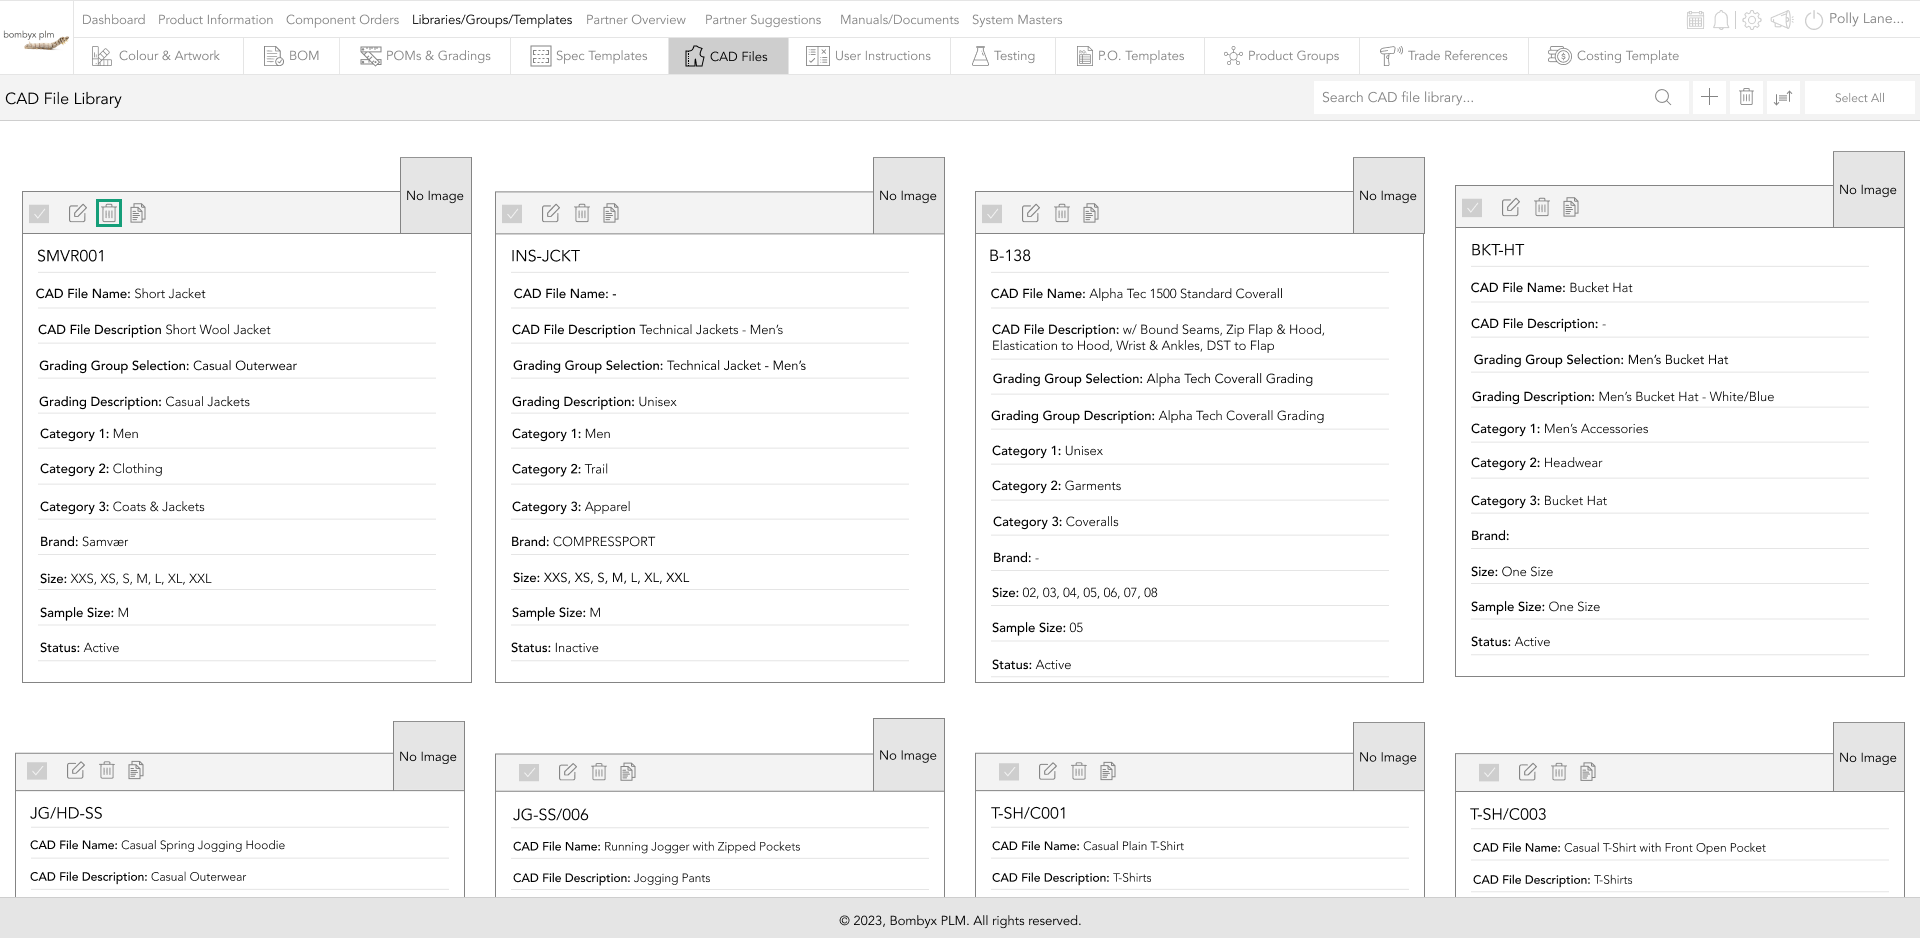
navigating to CAD files
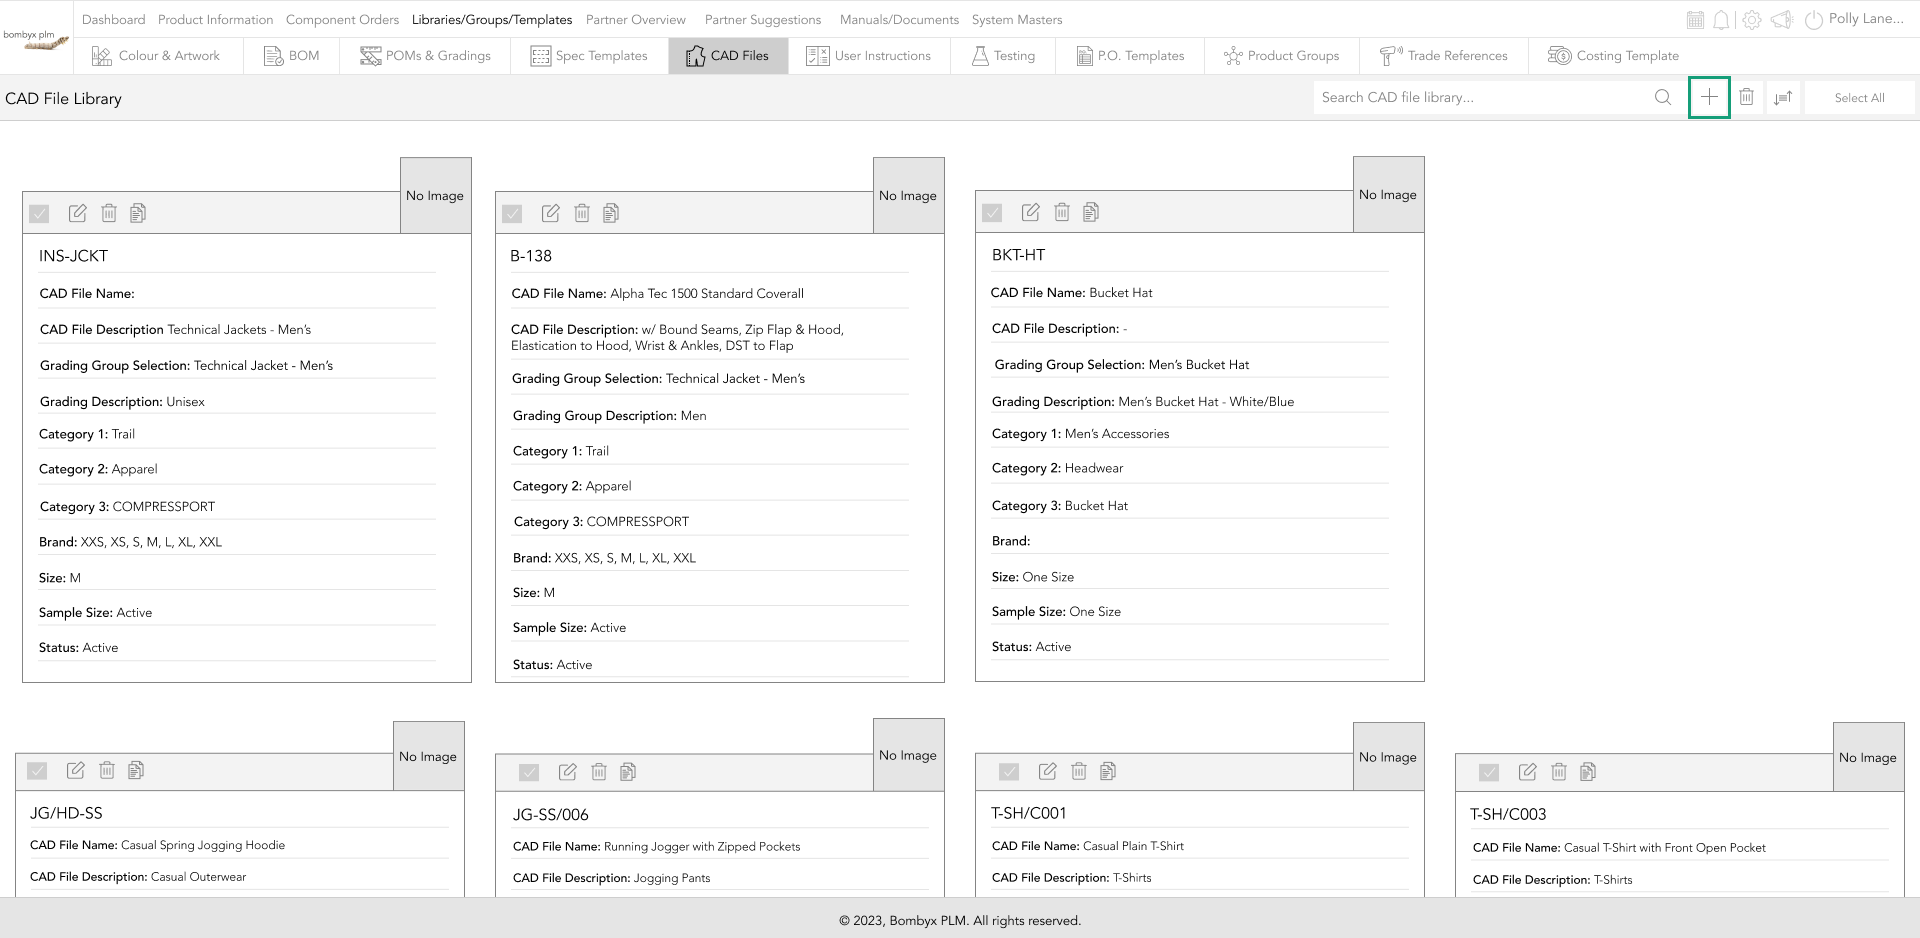
To access CAD Files you need to click first into Libraries/Groups/templates then across the top bar, you will see a tab named CAD files. Tapping into this section will allow you to add, edit, and delete CAD files.
creating a new CAD file
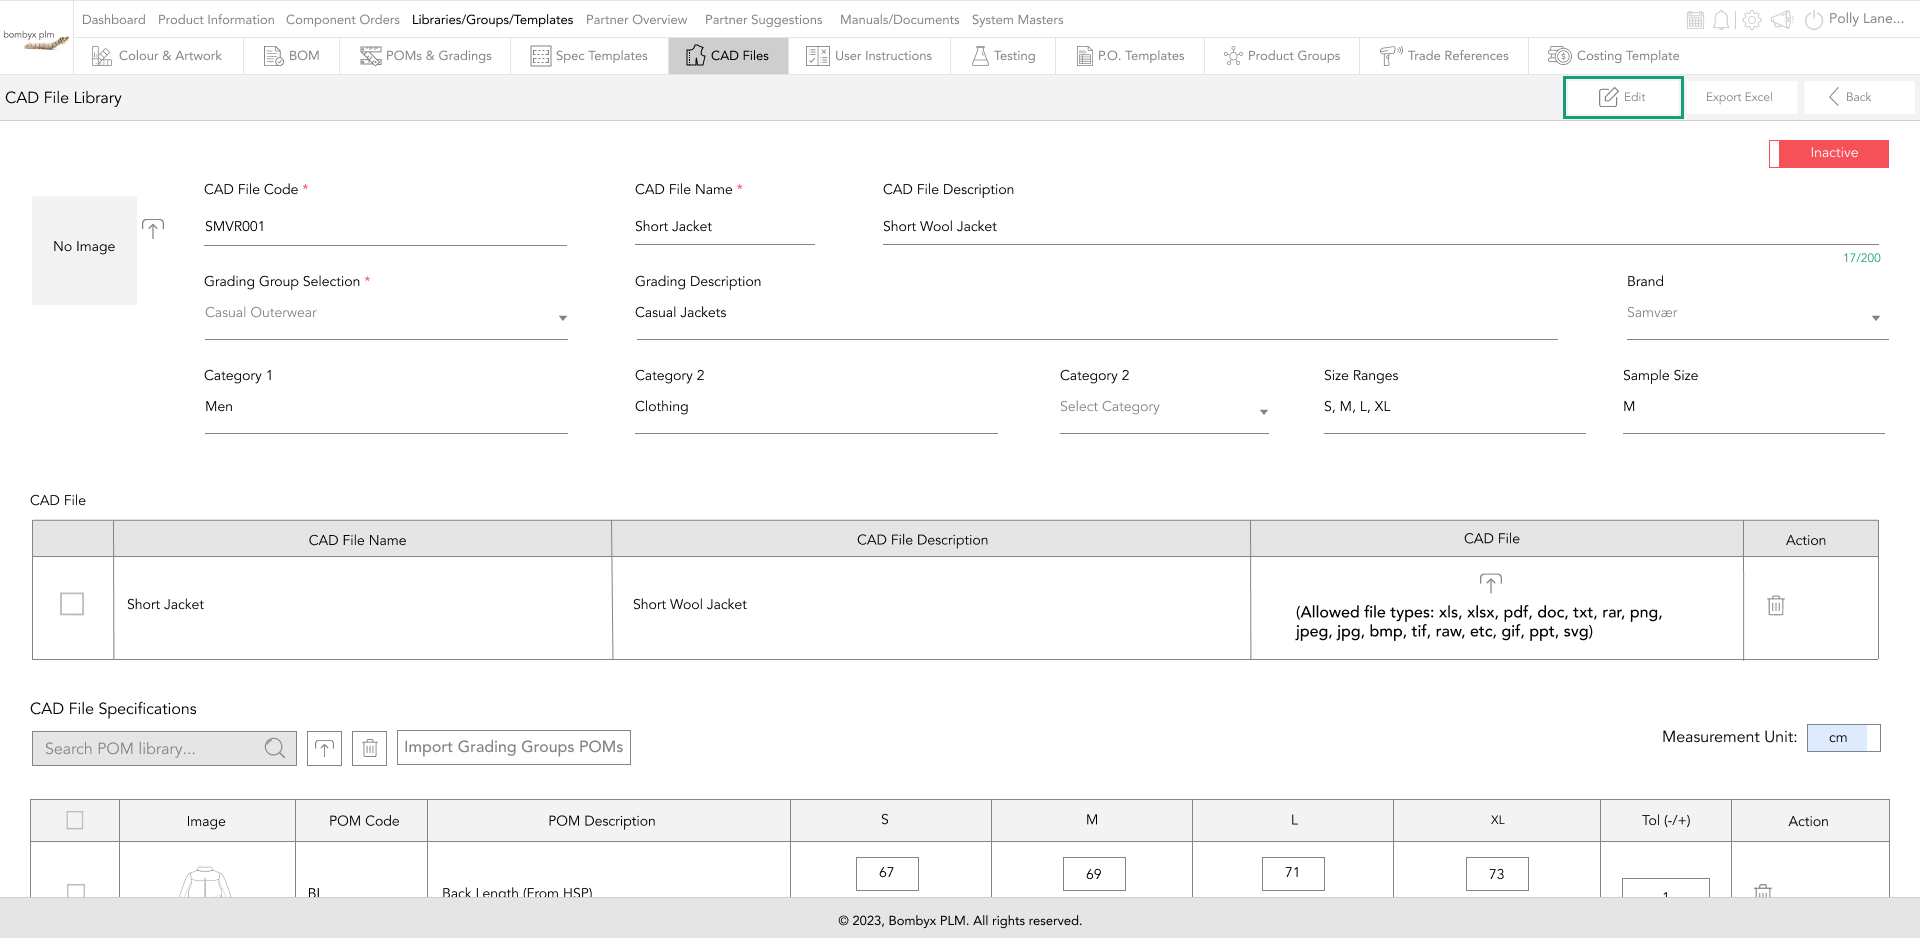
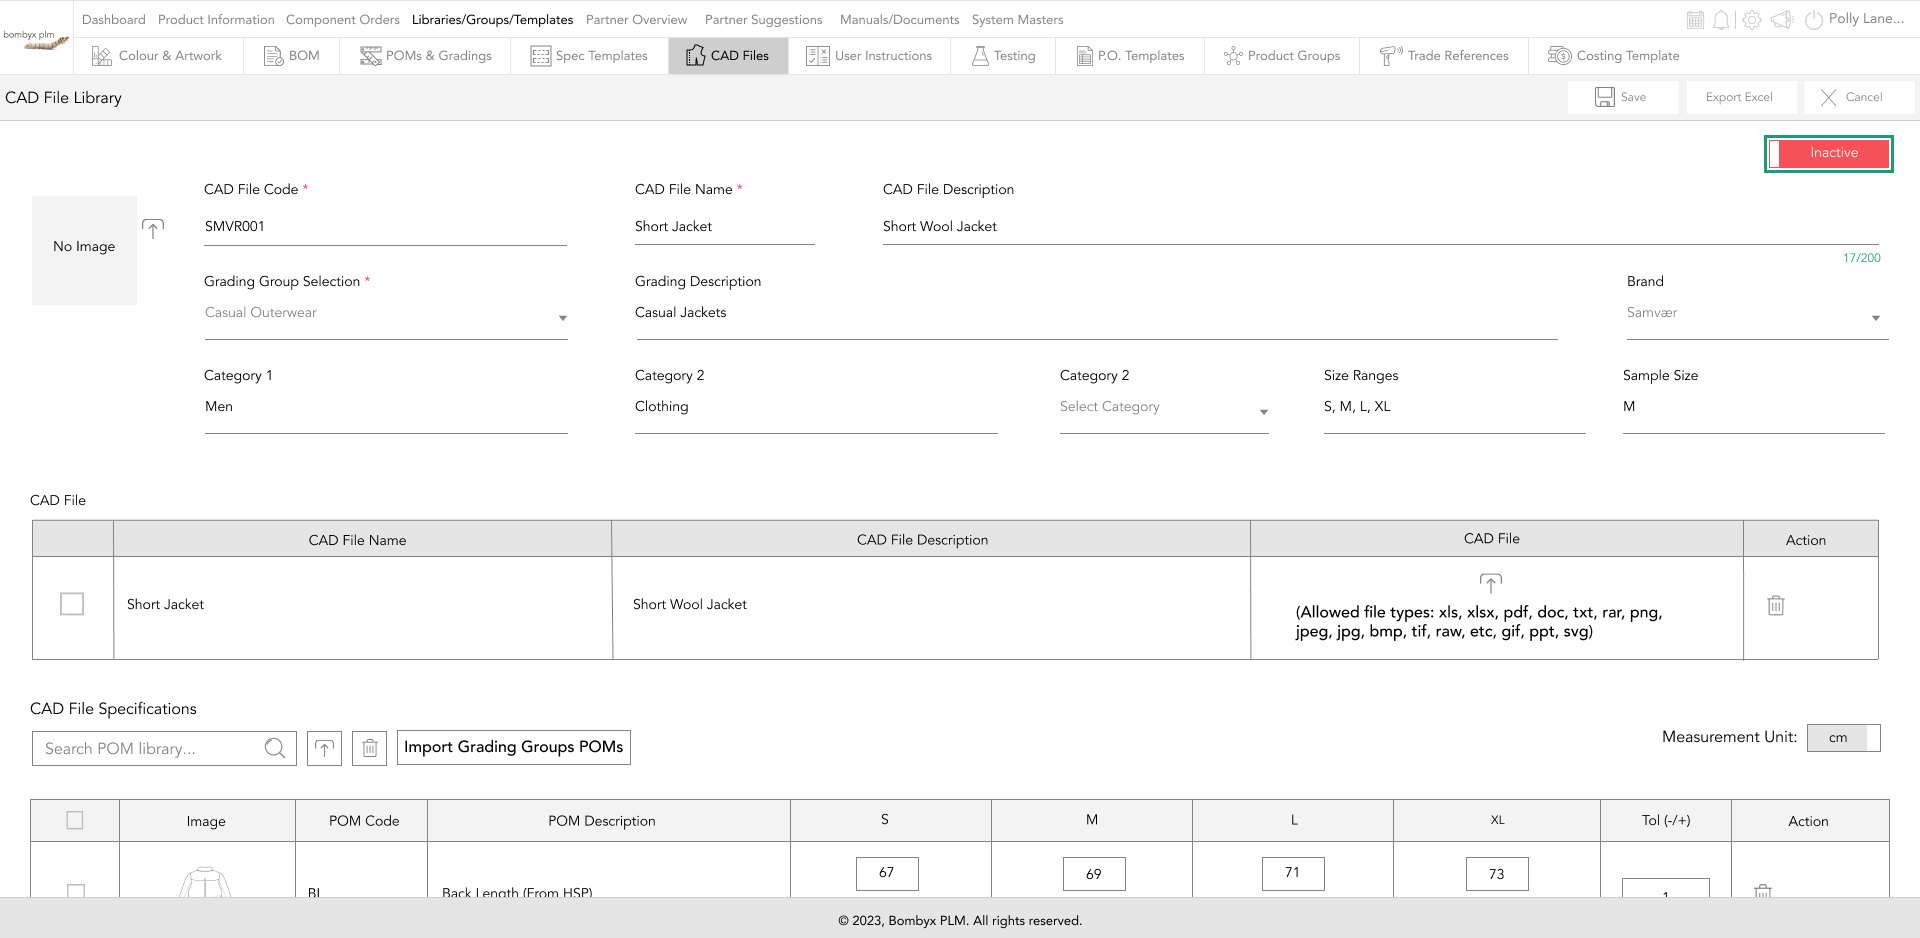
To create a new CAD file you will need to click on the plus icon.
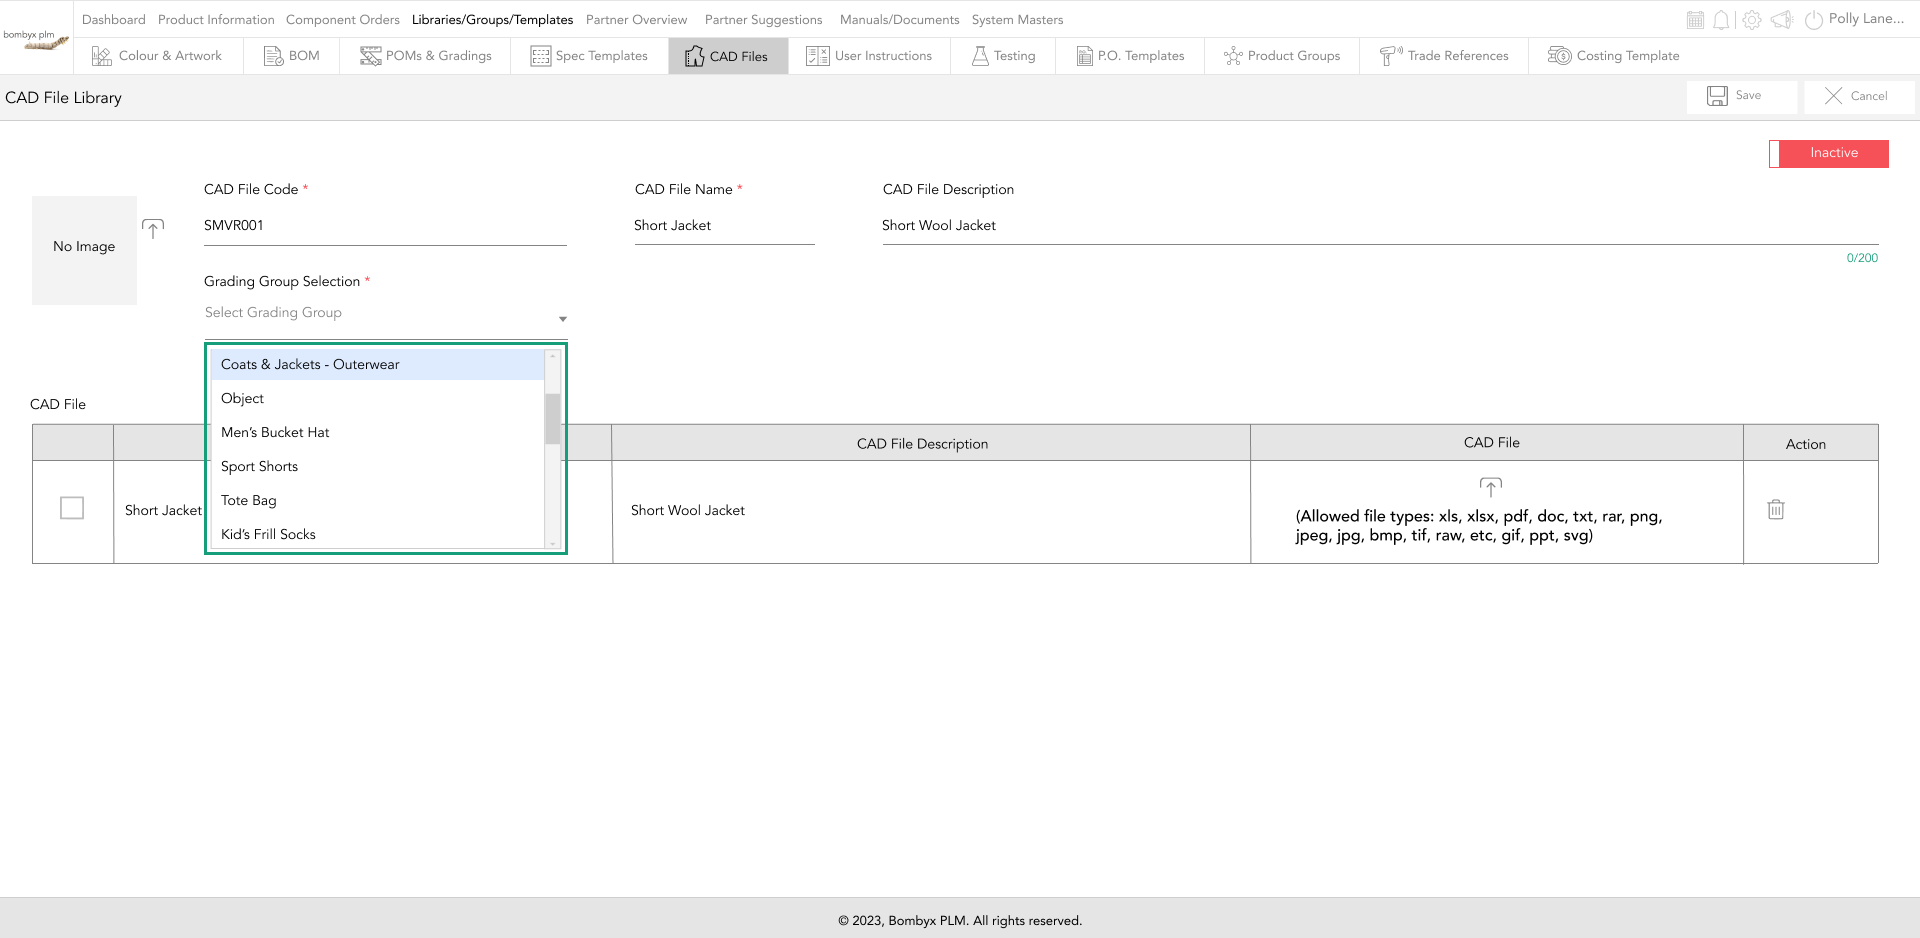
Once you have added your CAD file code and name you next add your grading group by picking from the drop-down box. If the grading group you are creating your cad file for is not there in the dropdown this means that this hasn’t been created yet and needs to be created in the POMs & Grading section.
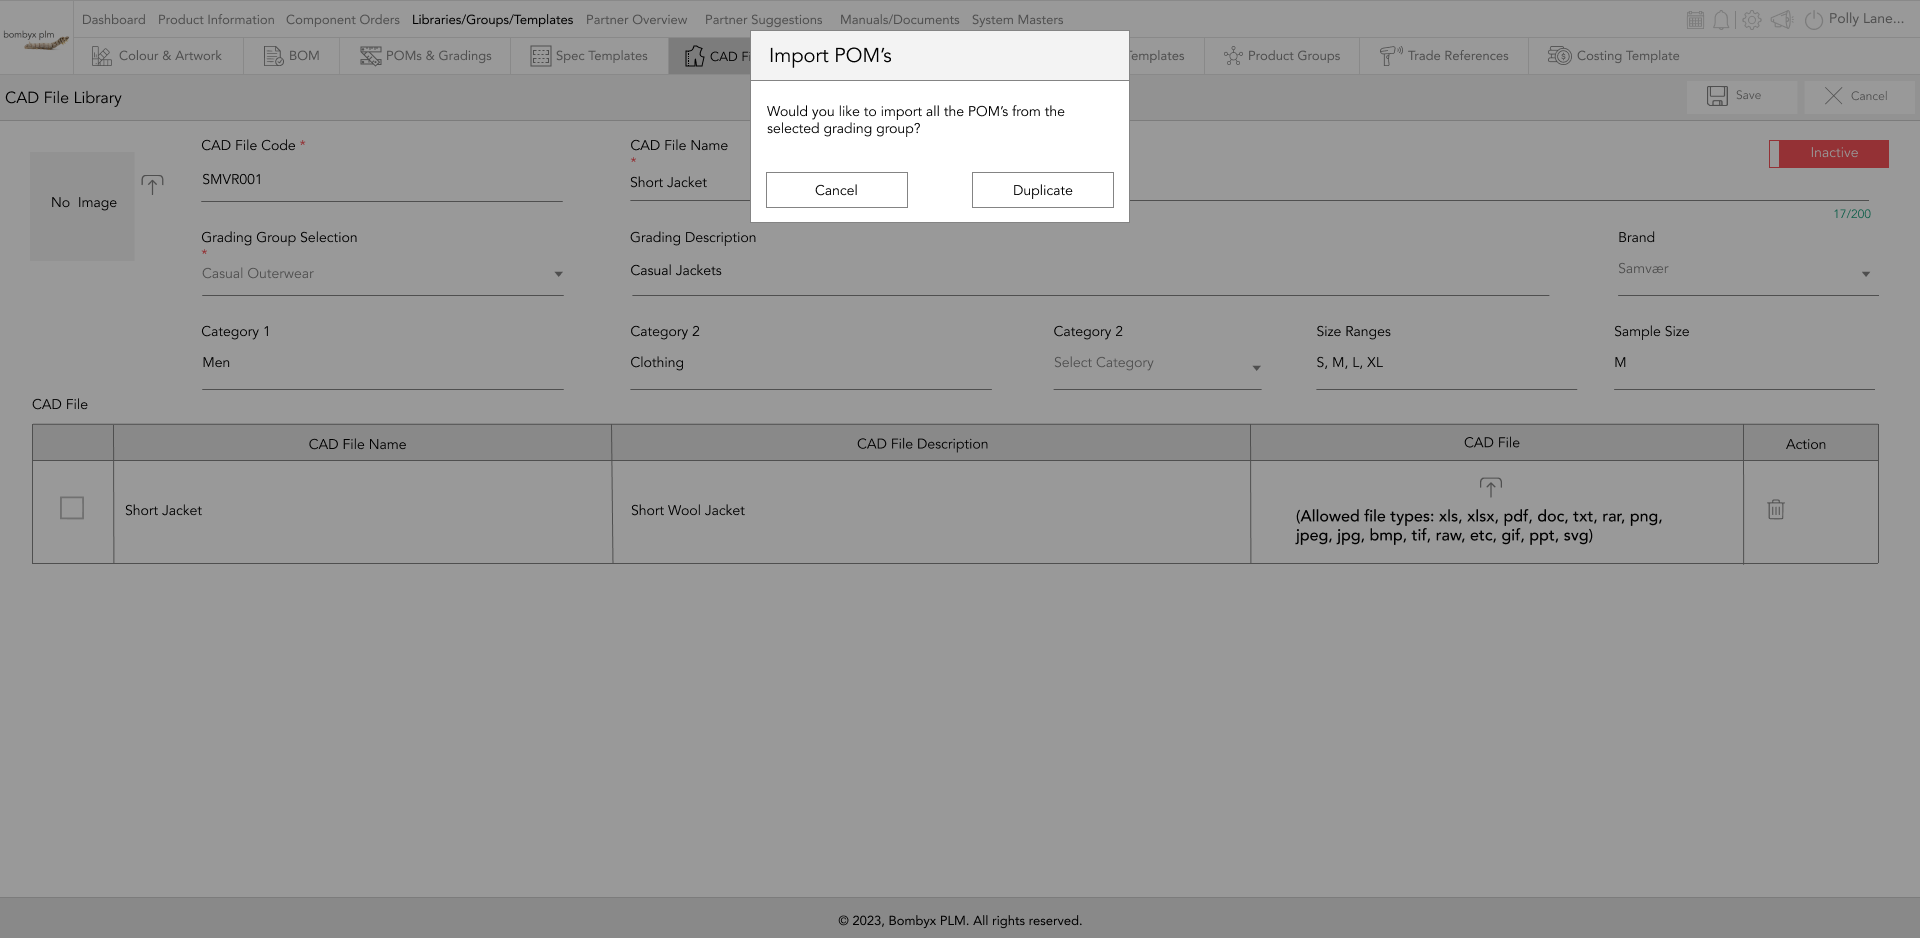
Once the grading group has been selected from the dropdown, you will get a message asking if you would like to import all the POMs from the selected grading group. If you click yes this will bring all the POMs from that grading group into the table. If not then you will be able to select from the dropdown which is needed but these will only be from the grading group, not the entire library.
uploading additional files
You can attach additional files as supporting documents. in the file you are working in there is a box that includes the type of files that can be uploaded. Here you also include the CAD file name and the description.
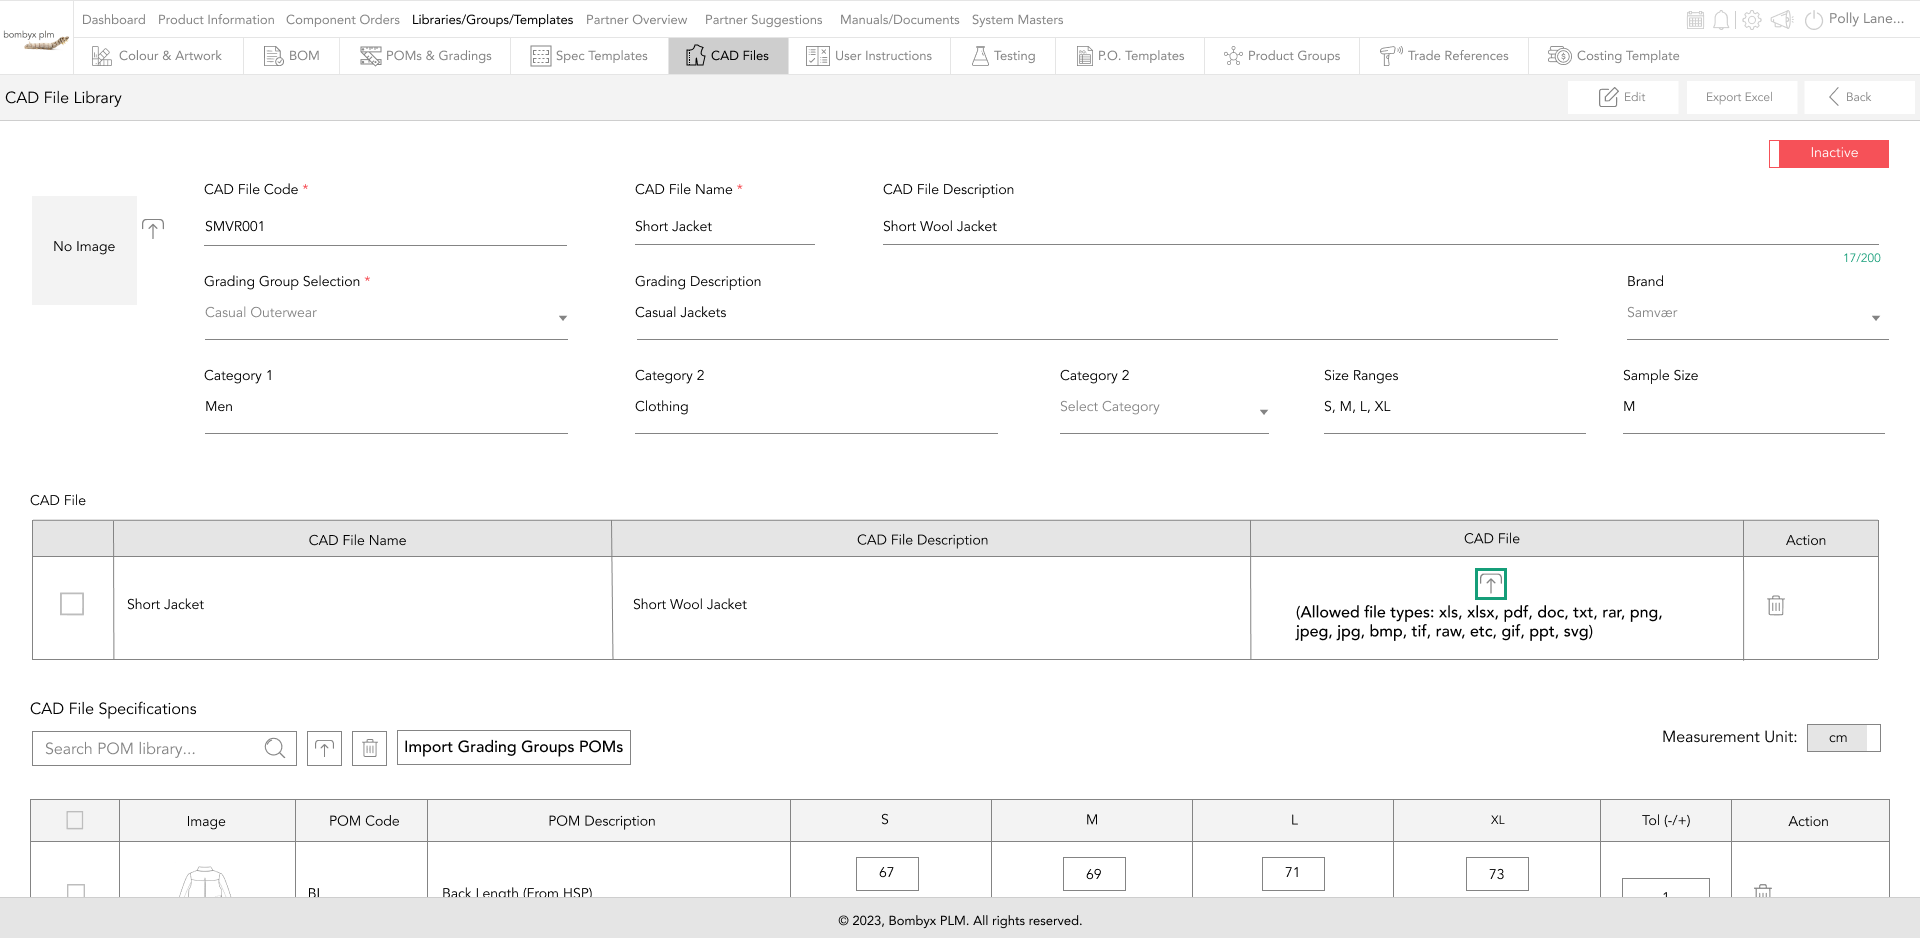
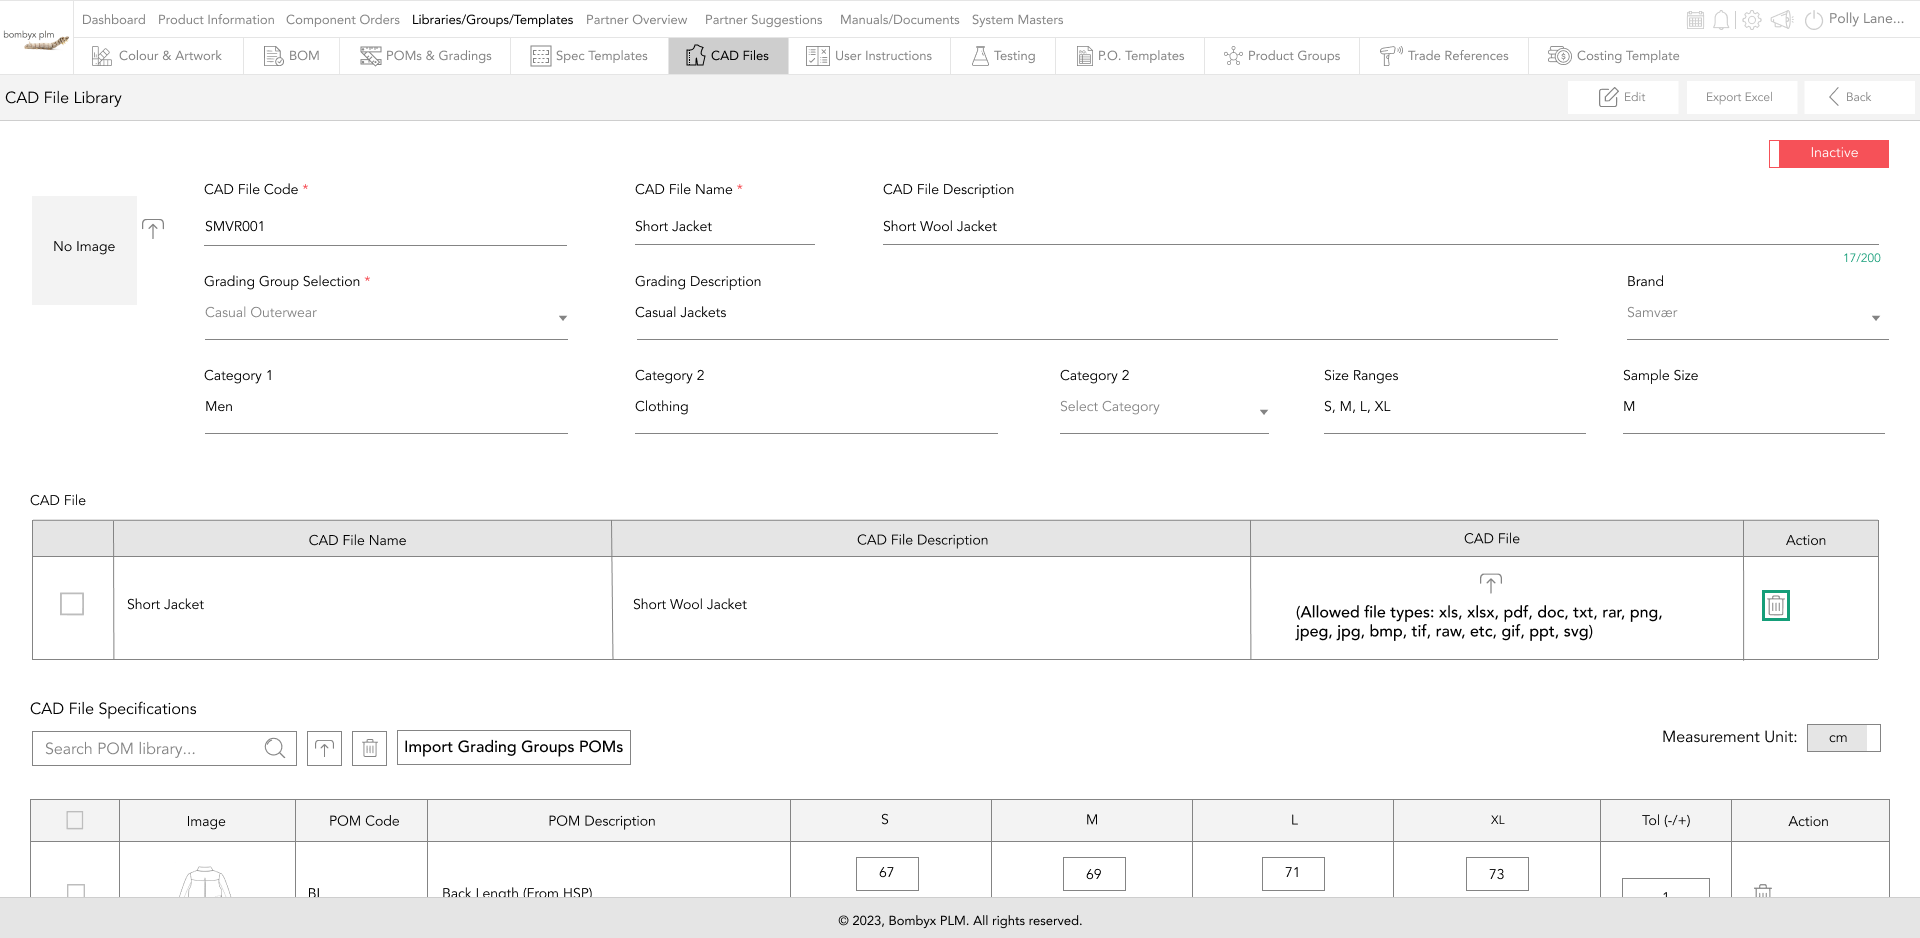
To delete the additional file you previously uploaded, tap the bin icon that is at the end of the row under the action panel.
view CAD file as an excel document
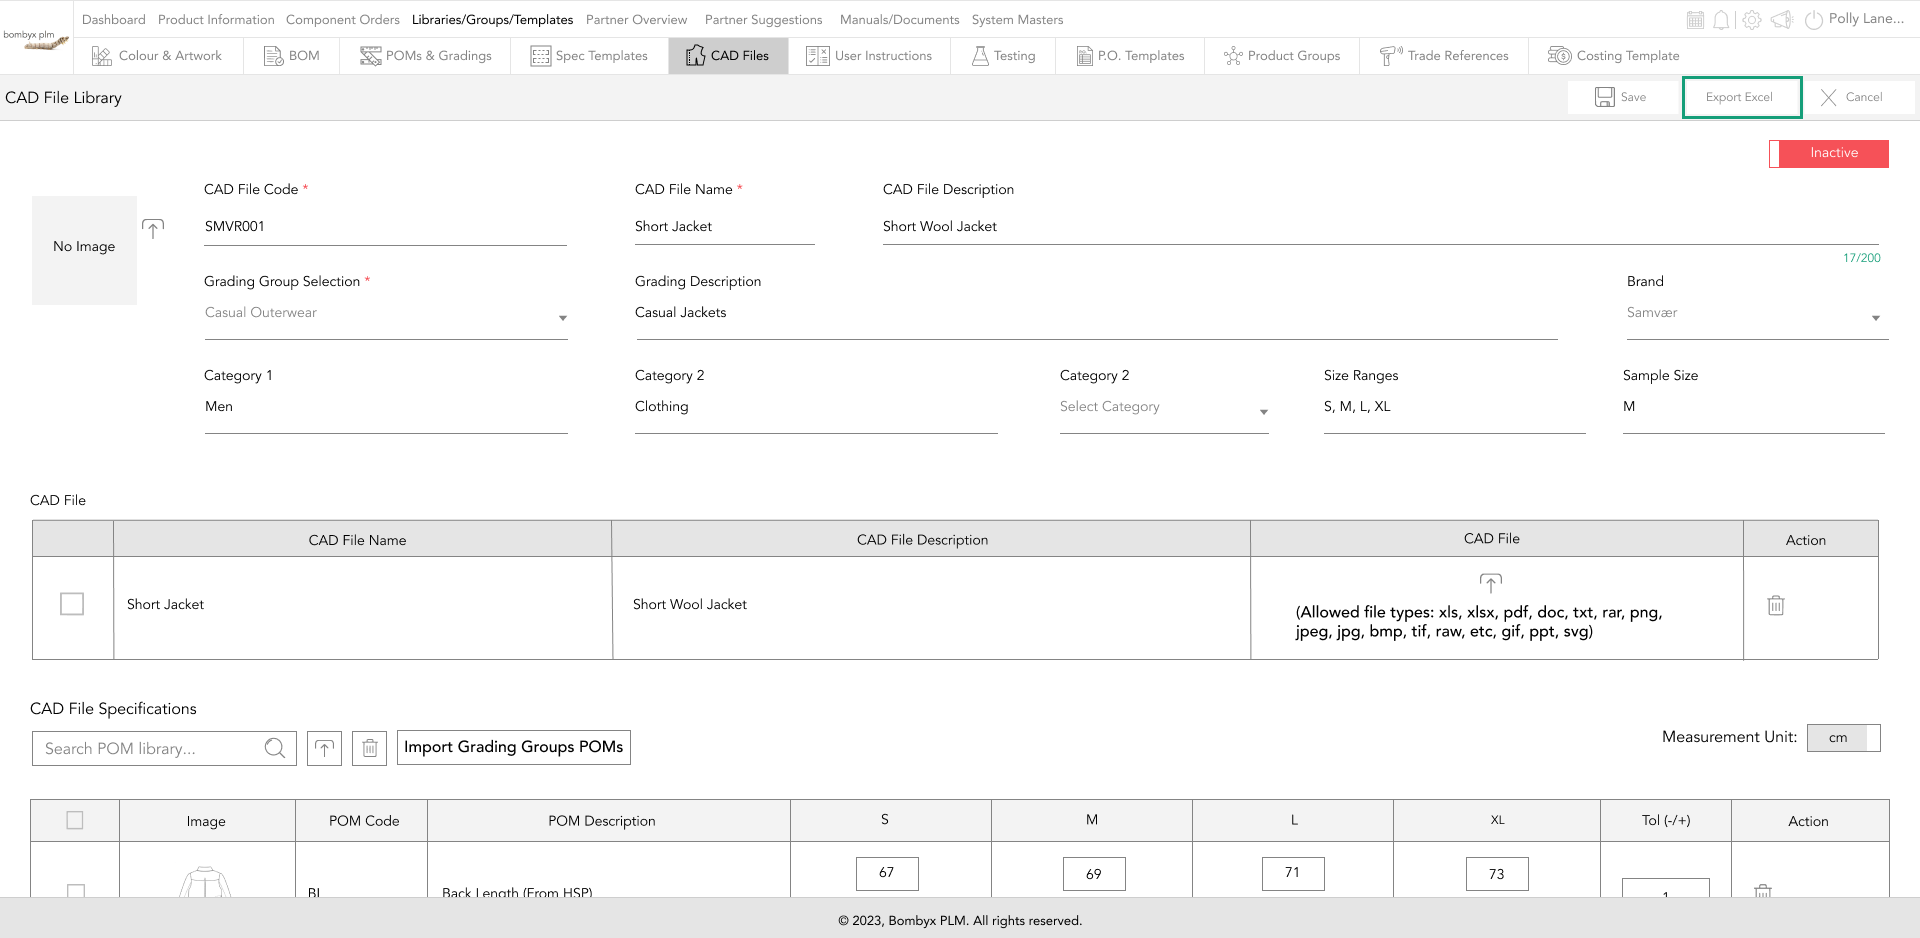
You can also view the CAD file as an excel document.
Export Excel if clicked first you will get a flash message to tell you it was successfully exported and then lets you select from your documents where you want to save it.
Once saved you will be able to view the excel document, the document includes your code and name you called your Cad file, the description and lists all the POMs included.
measurement unit
Although your measurement unit will be set to cm or inches by your company administrator, there may be times when you want to convert these measurements.
All you have to do is tap the sliding button and it will take you from centimeters to inches.
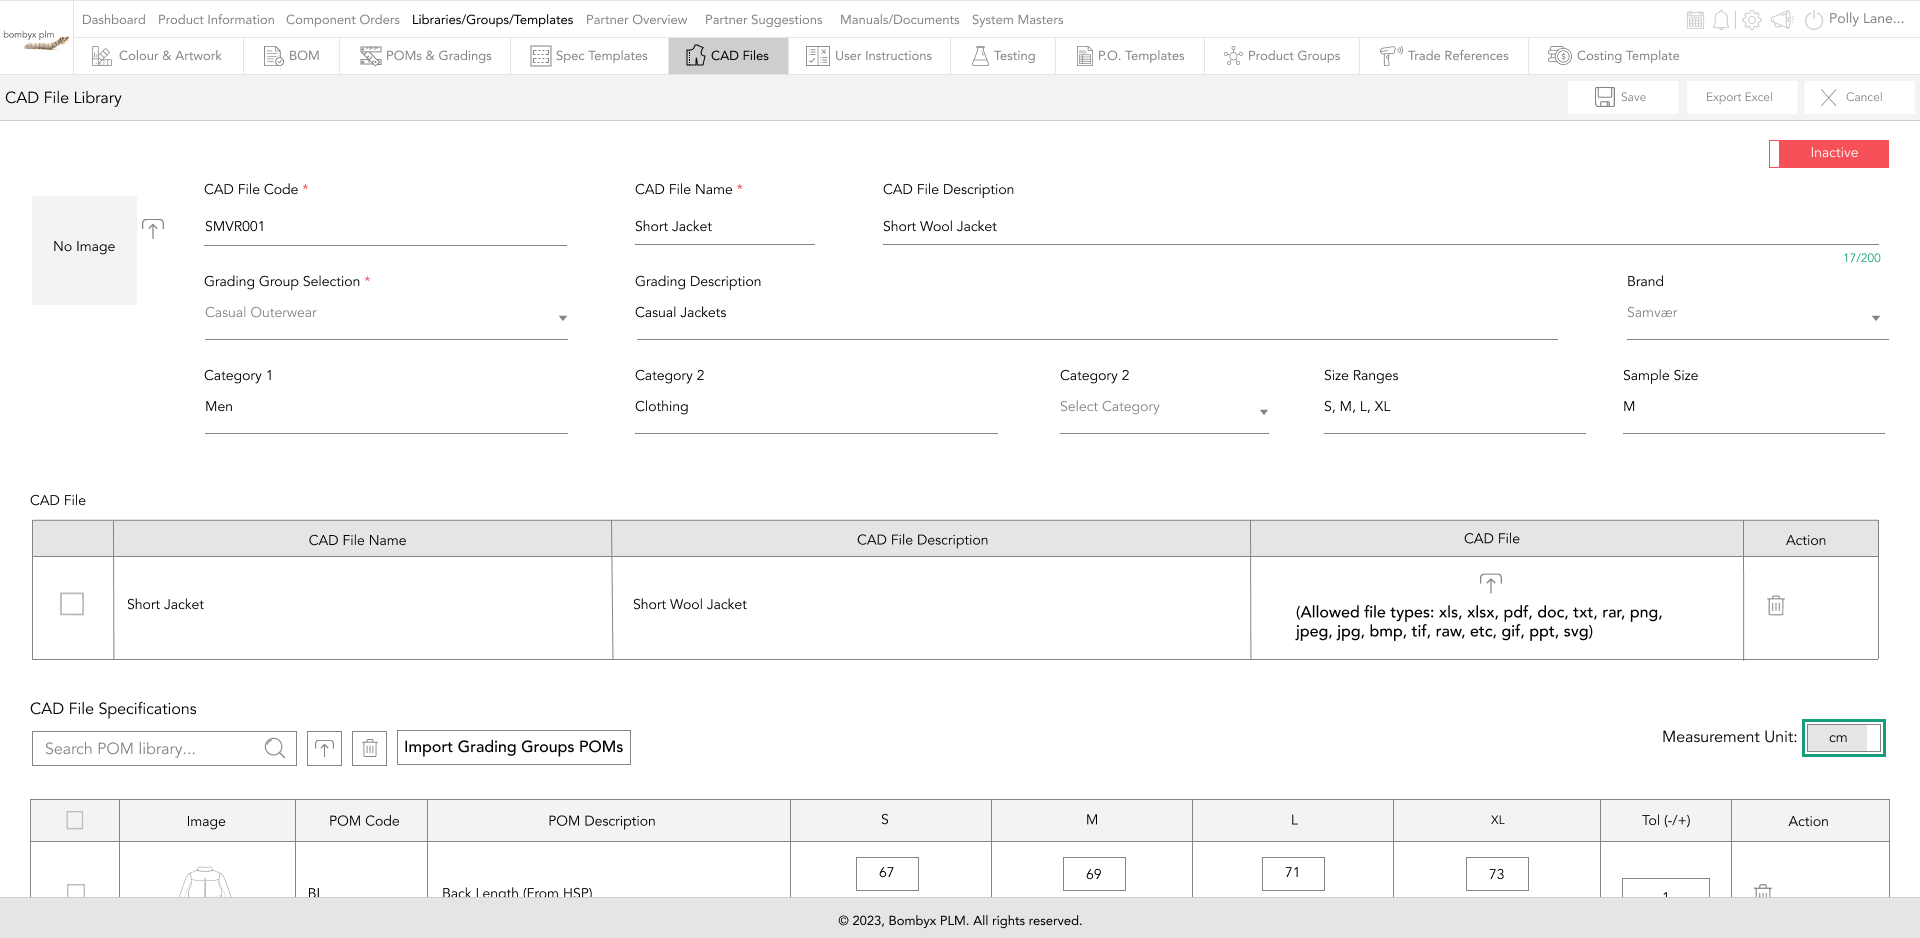
When inches are selected, you have a further option to view your inches in decimals or fractions. Tap the sliding button, and it will change the view of your measurements to the selected view.
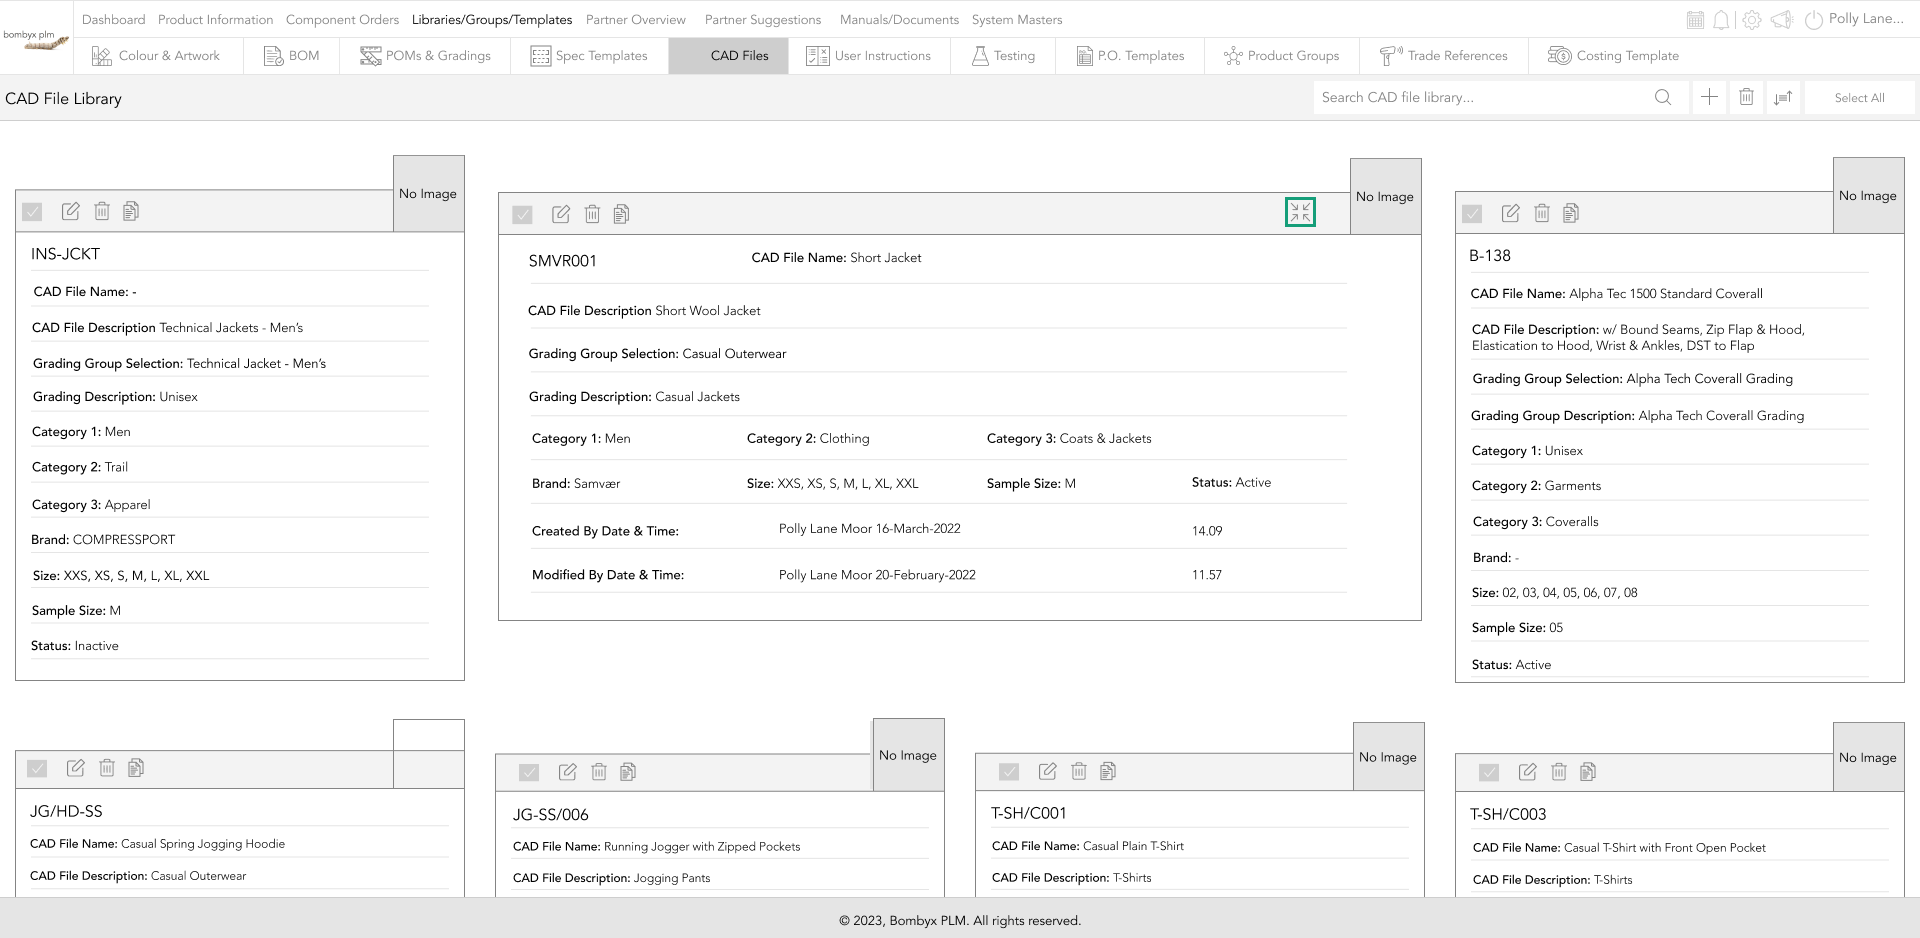
expanding CAD file template
To view the information in the CAD file you need to click on the edit icon which can be found across each card. If you click inside the box of each CAD file this will expand to show you who created and modified these and date and time.
To make the template you have expanded go back to the original size you will see next to the image an icon with arrows. By clicking on that icon your template will be back to its original size.
edit CAD files
To edit information in the CAD file, tap the edit icon...

This will take you into the CAD file, but note you will not be able to update information until you have pressed the edit button.
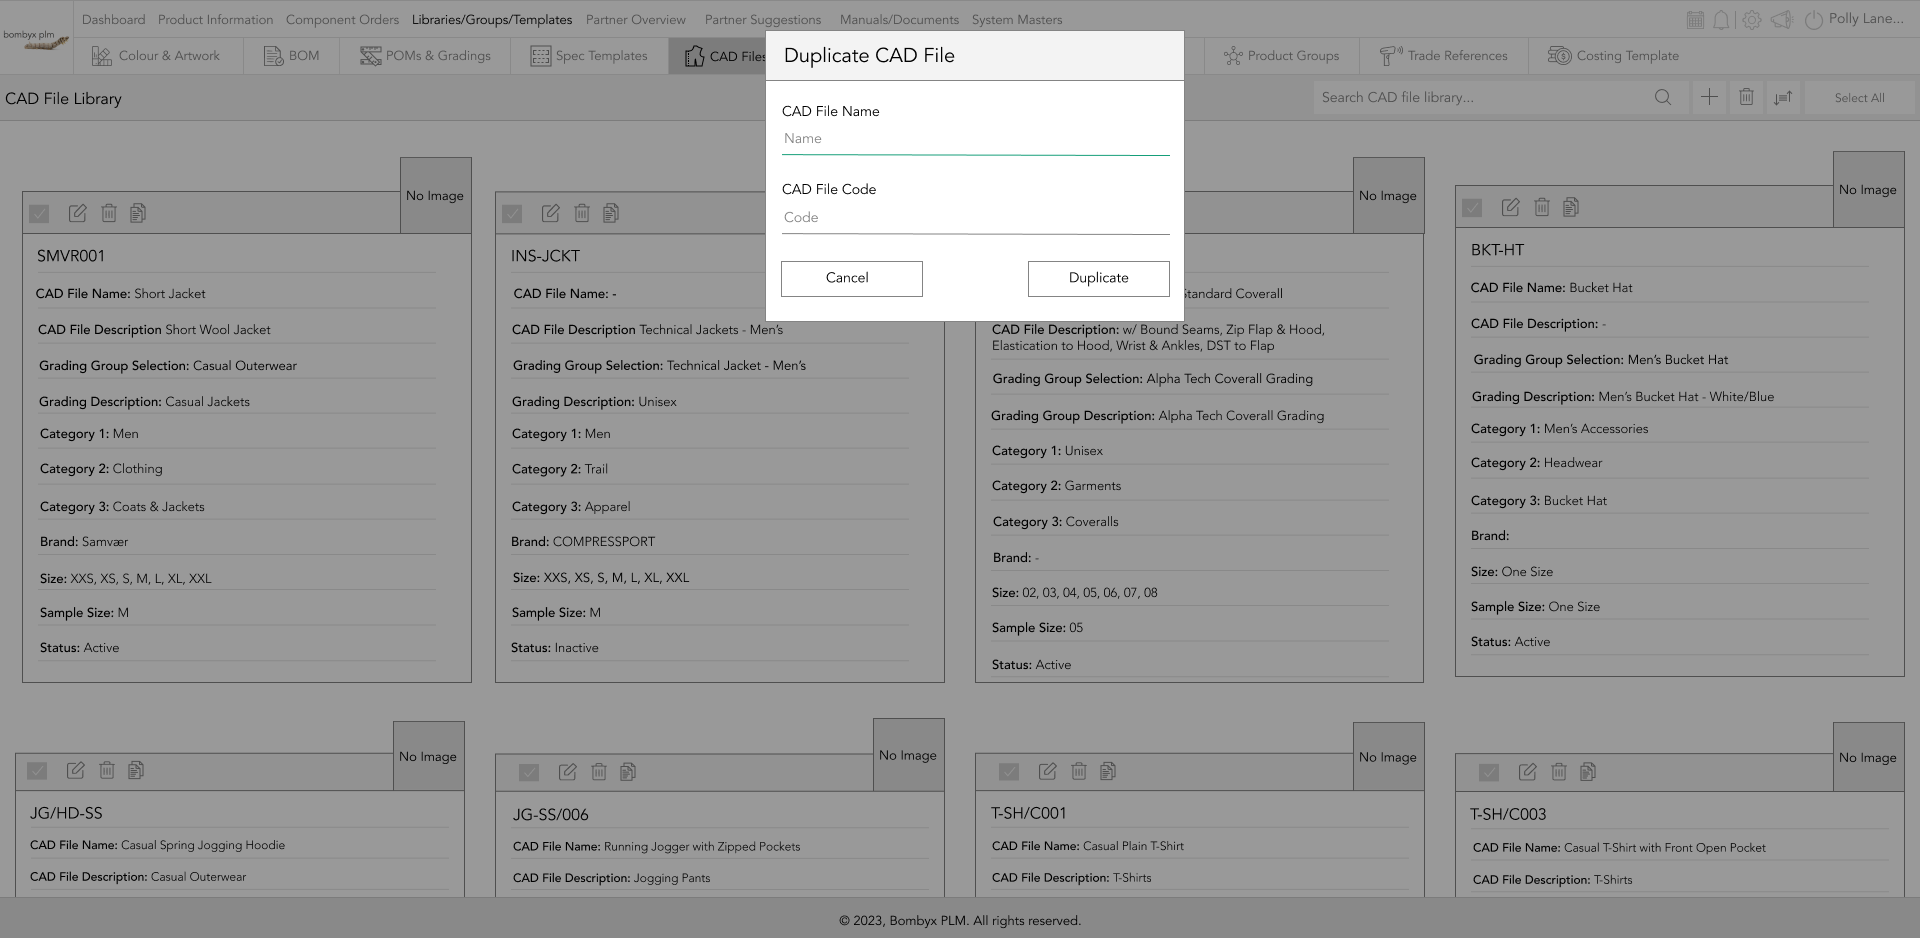
duplicate CAD file
Clicking the duplicate icon...

This will bring up a box for you to include the file’s code and name. This will copy over all the information from the CAD file you are duplicating.
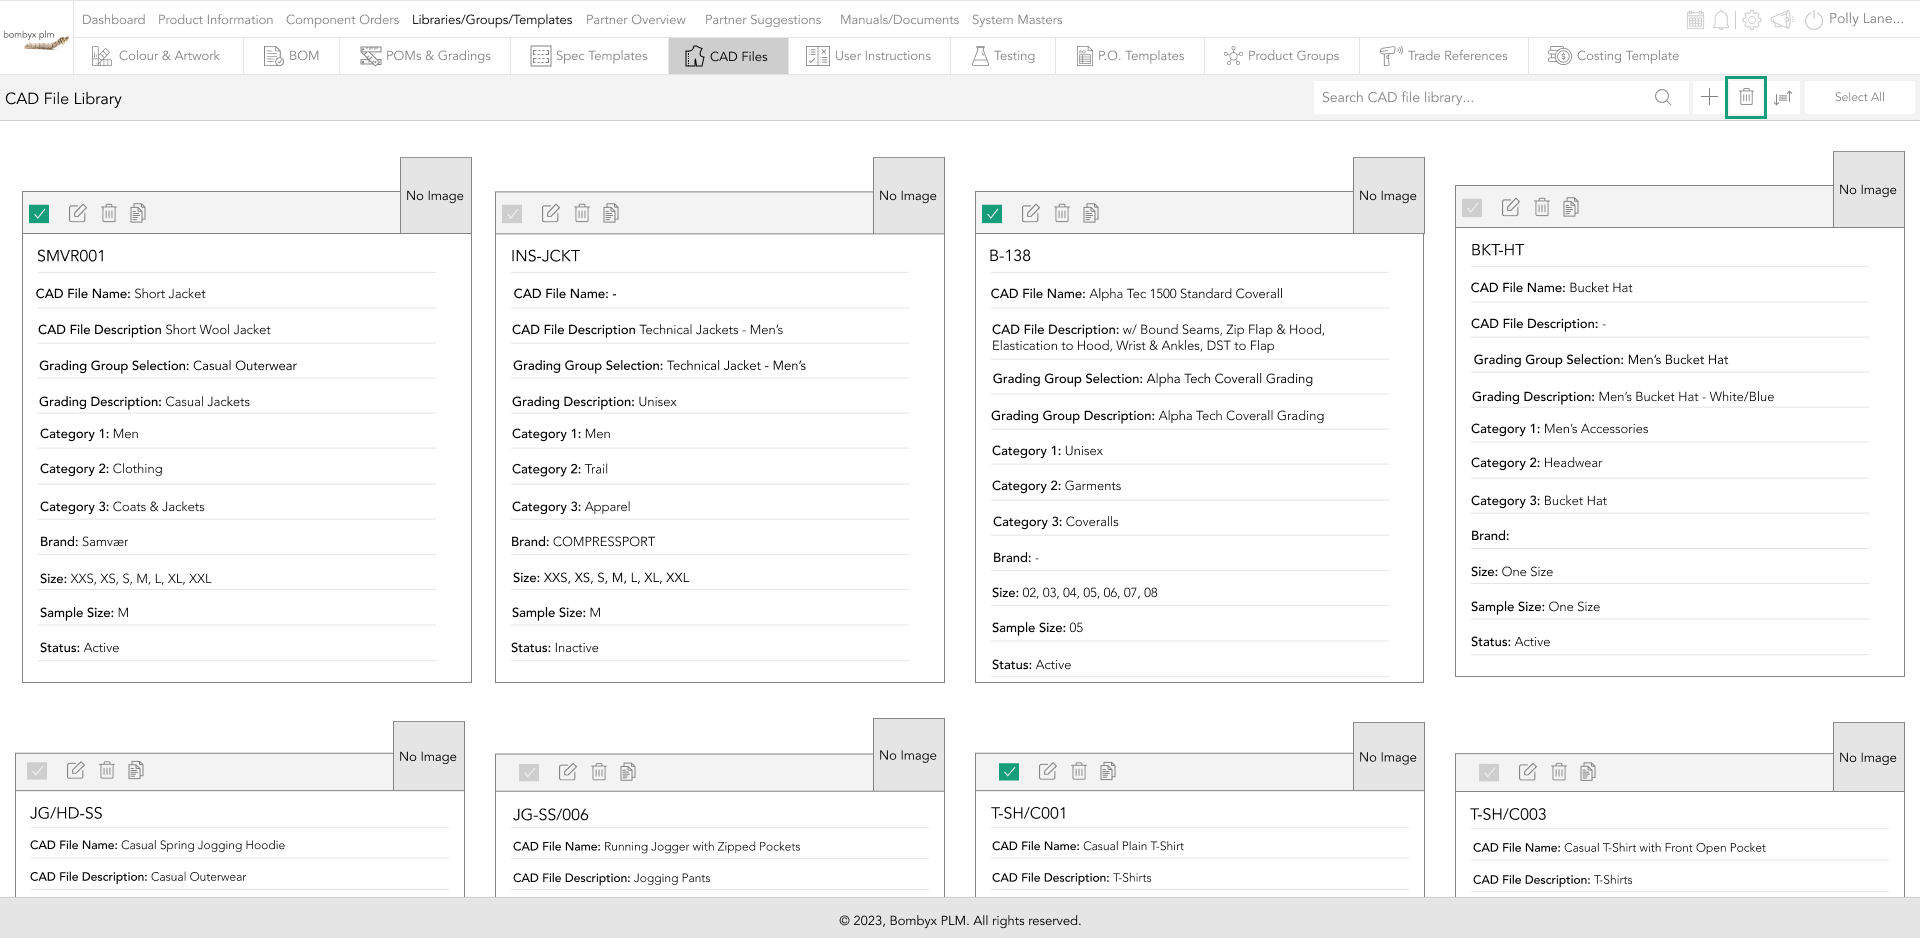
deleting CAD files
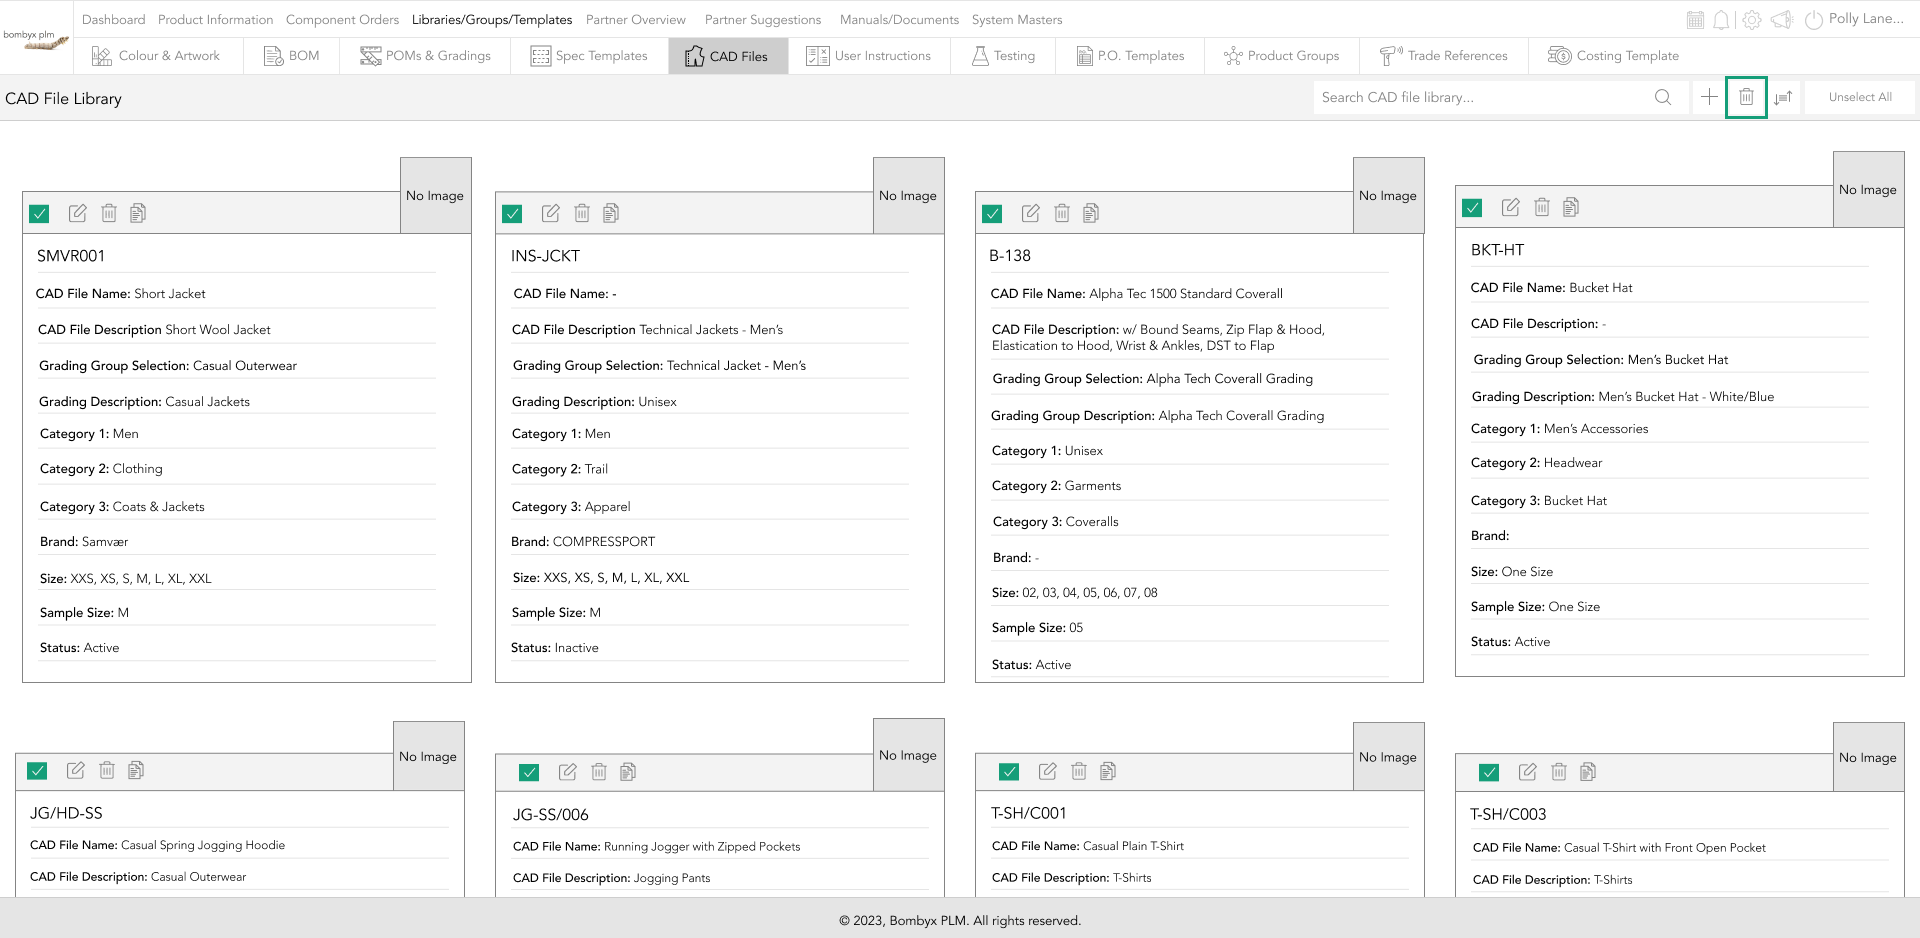
There are two ways of deleting CAD files, single delete, and multiple at once.
To delete a single CAD file, tap the bin icon on the top of the files card you wish to delete.
To delete multiple CAD files at once, tap the checkboxes of each file you want to delete, and tap the bin icon, on the top of the page.
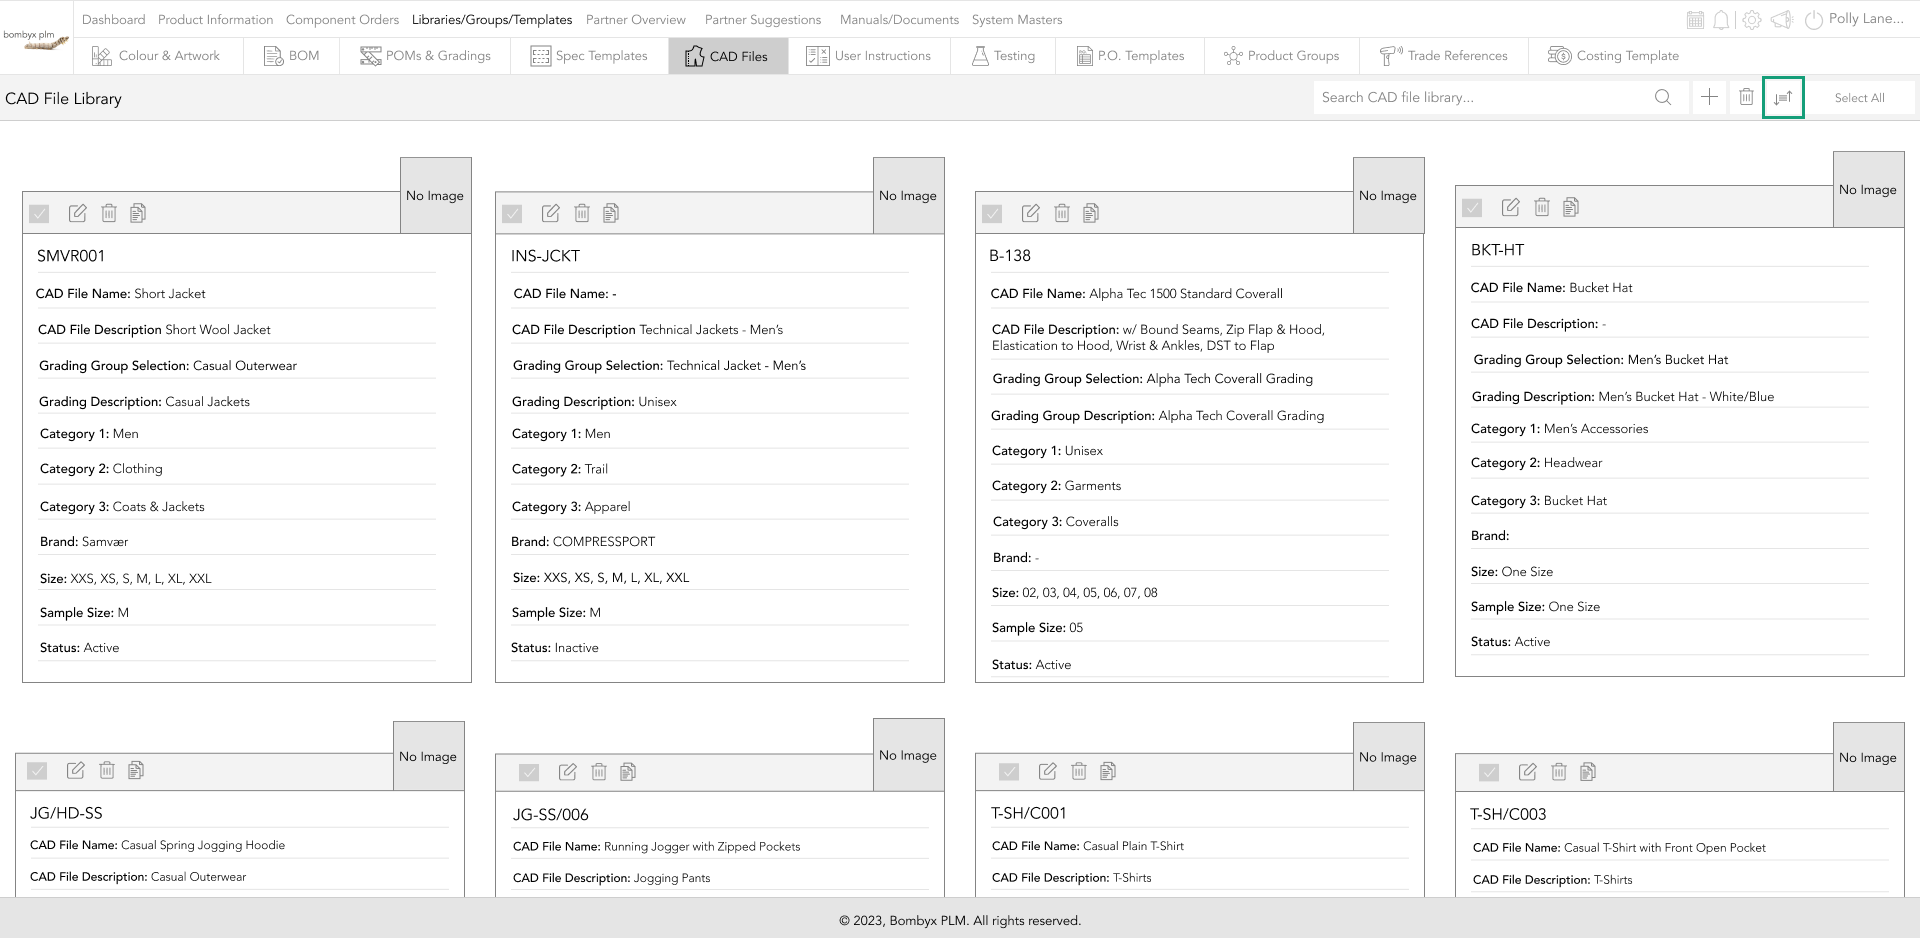
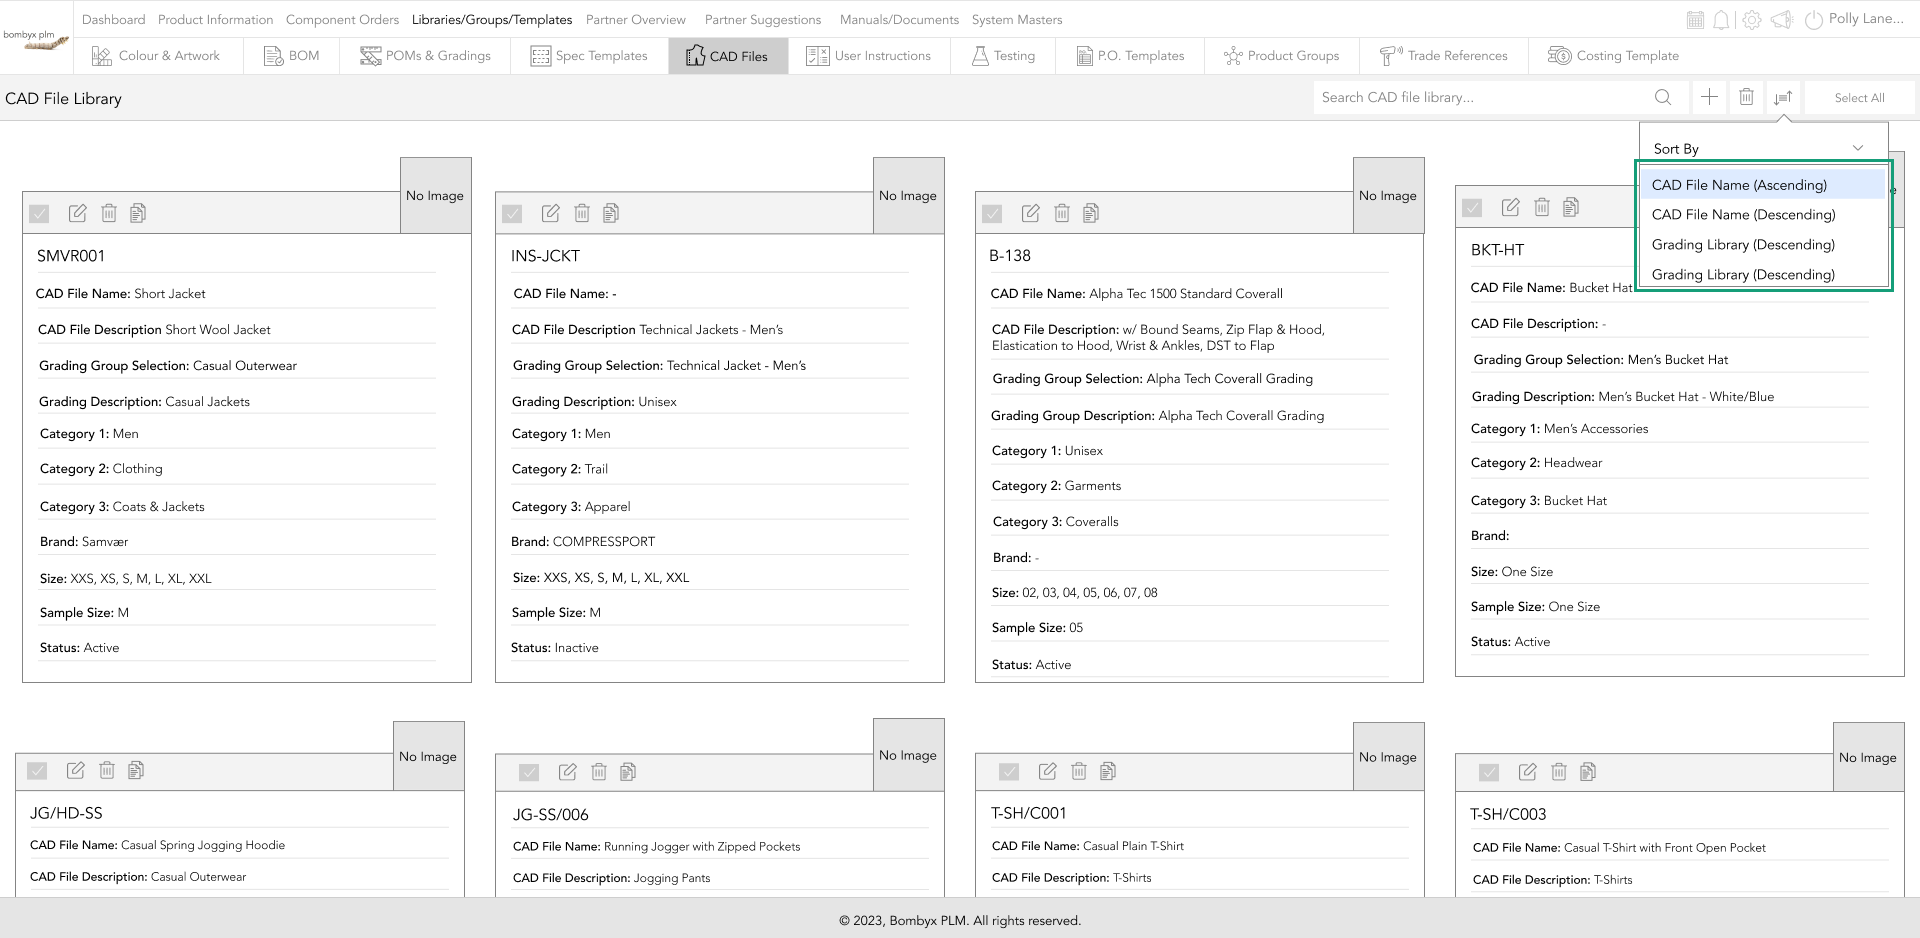
sort by
If you want to sort your spec templates by the name ascending or descending tap the sort by icon...
This will prompt a popup/dropdown for you to select from.
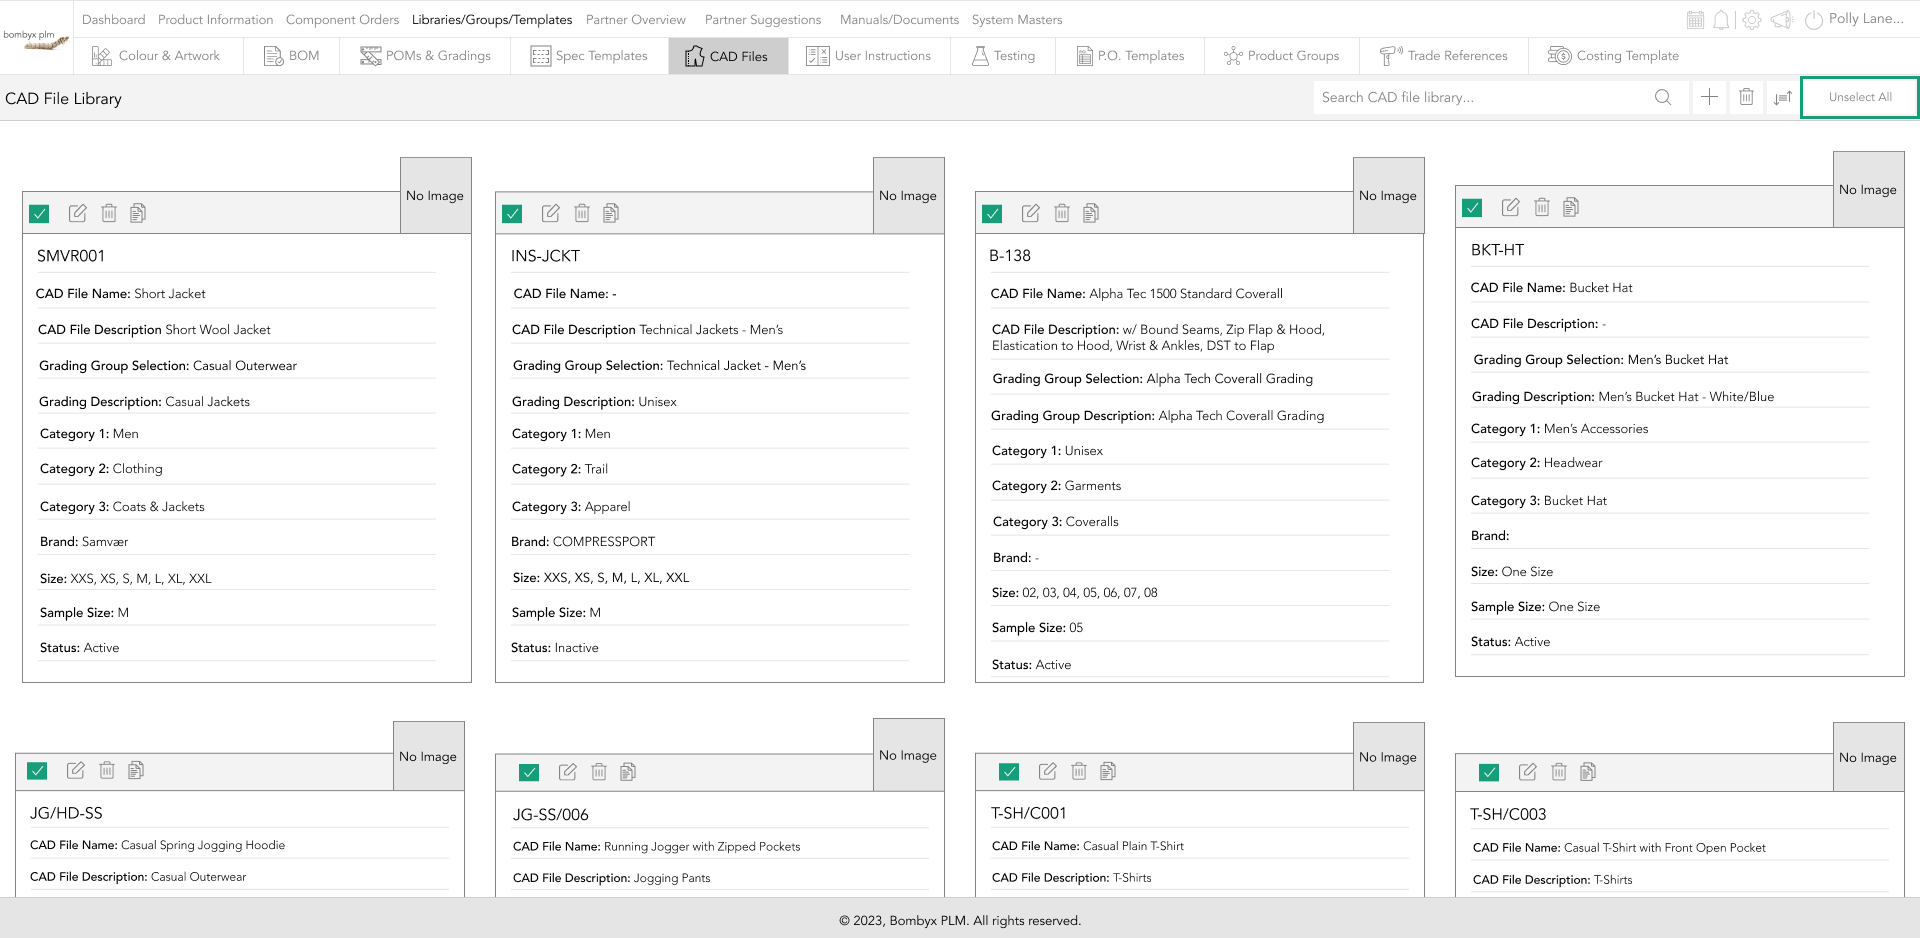
select all
Clicking on select all will enable you to mark all the files in the library at once.
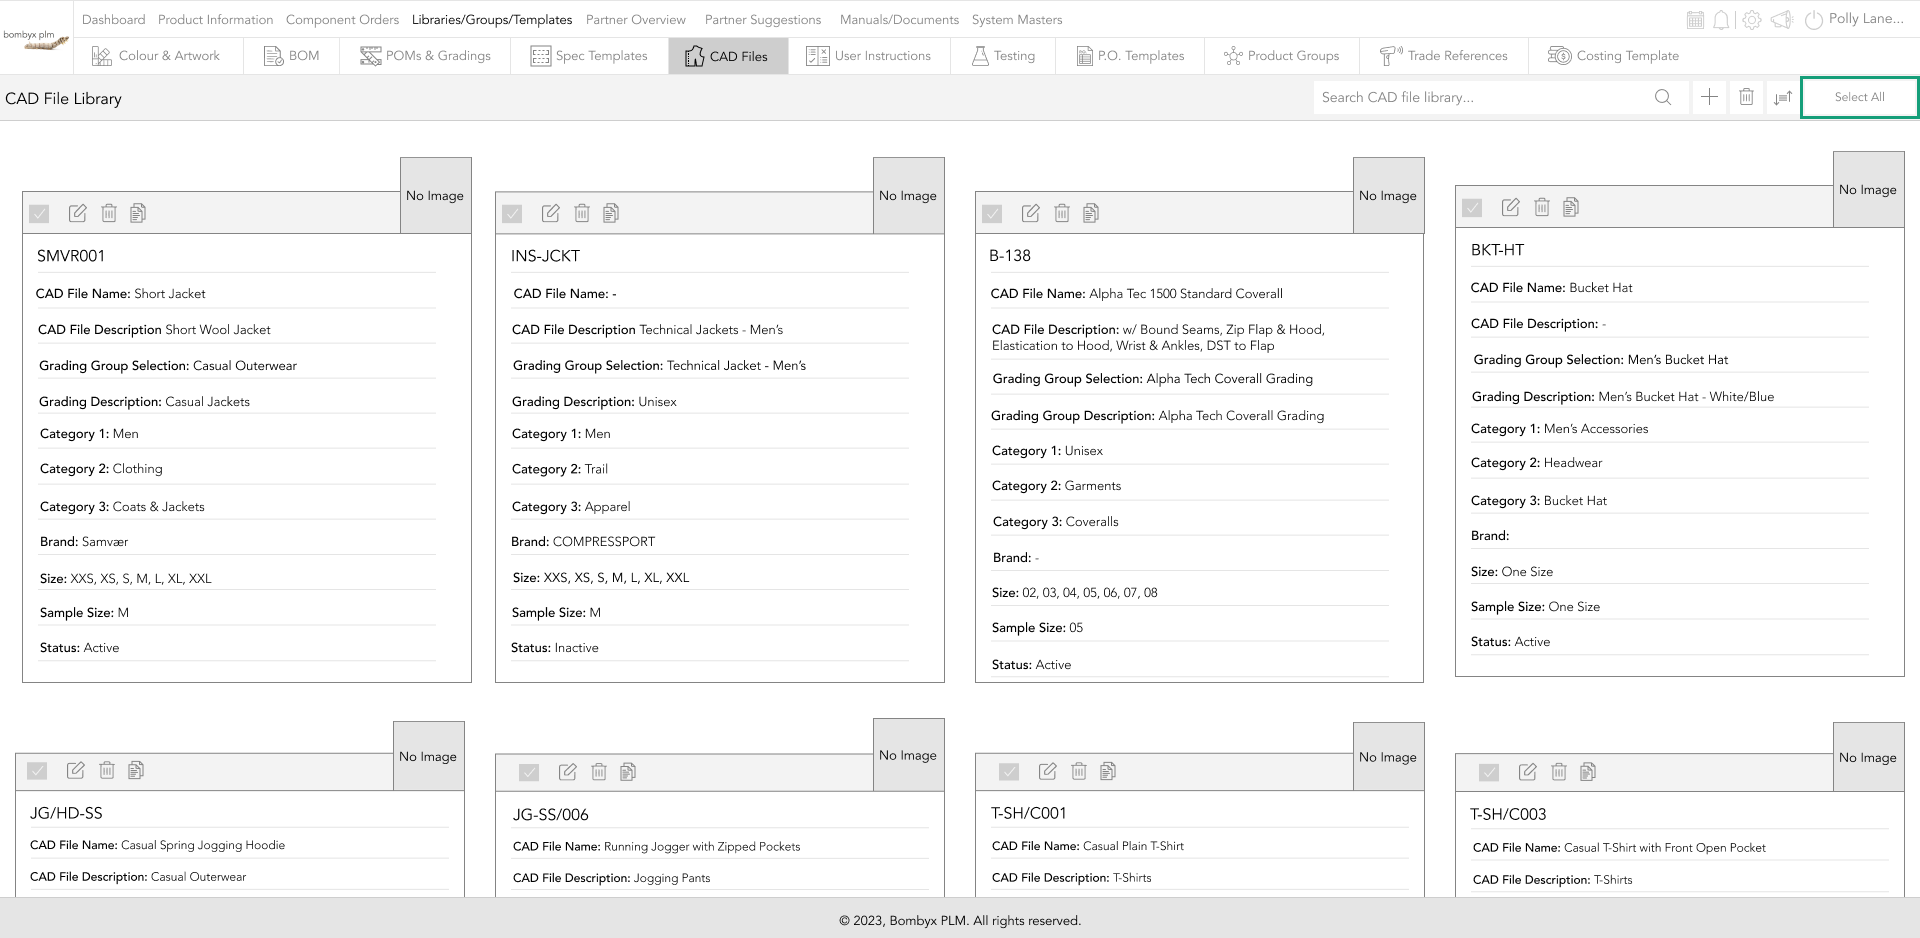
This will allow you to delete all, by tapping the bin icon.
Pressing the unselect all, will unmark all the CAD files.
active/inactive
When you have finished entering the information for the CAD file, you can now make the file active, by clicking the inactive toggle button.

Beyond the Label: Diving into the Sustainable Story with Digital Product Passports
Consumers today are increasingly concerned about the environmental and social impact of their purchases. From the food they eat.

Bombyx’s AI Integration: Advancing Business Excellence in PLM, PIM, and DAM Systems
Let's delve into the exciting realm of Artificial Intelligence (AI) undergoing a transformative evolution. As we Enter the year 2024.

Beyond Baubles: A Stylish Dive into Christmas Fashion Trends.
e explore the latest Christmas fashion trends, with a focus on achieving a harmonious balance between sophistication and comfort. From luxurious velvets to cosy knits

Streamlining Winter Fashion with PLM: Managing Seasonal Changes
Winter fashion production demands meticulous planning and execution. PLM serves as a guiding force in production management, aiding in resource allocation, scheduling

Christmas Experience through Digital Transformation
During the Autumn/Winter months in Europe and the USA, are marked by heightened activity. The festive season introduces an atmosphere of joy and unity. Amidst the era of digital in

Demanding Trends & The Transformative Power of Product Lifecycle Management
Explore how strategic Product Lifecycle Management (PLM) empowers fashion to navigate trends sustainably. This post delves into the symbiosis of trends and sustainability,

The Power of Product Information Management (PIM) With a PLM System.
In today's fast-paced business environment, effective product information management is crucial for success. Product Information Management (PIM) is a powerful tool.

Fashion and the Power of Product Lifecycle Management
In recent years, the fashion industry has witnessed a surge in fashion, a phenomenon characterised by the rapid production and consumption of inexpensive clothing... and a whole l

Supply Chain Management has Forever Changed
Brands make use of product lifecycle data analysis to help them work out price points, marketing and advertising strategies, packaging, growth and expansion… and a whole lot more
Storing digital CAD files is a crucial aspect of optimisation in product design industries. With the increasing shift towards digitalization, these files provide a convenient and efficient way to store, organize, and retrieve files for patterns, molds, castings, and other forms of templates. Digital pattern files, typically in formats such as PDF or CAD, offer advantages like easy accessibility, reduced physical storage requirements, and the ability to quickly duplicate and share patterns across teams or with manufacturers. A well-structured system for storing digital sewing pattern files ensures that designers, pattern makers, and manufacturers can easily locate and utilize the correct patterns for production. By securely storing these files, fashion businesses can protect their intellectual property, improve collaboration, enhance efficiency, and adapt to the digital landscape of the industry.