
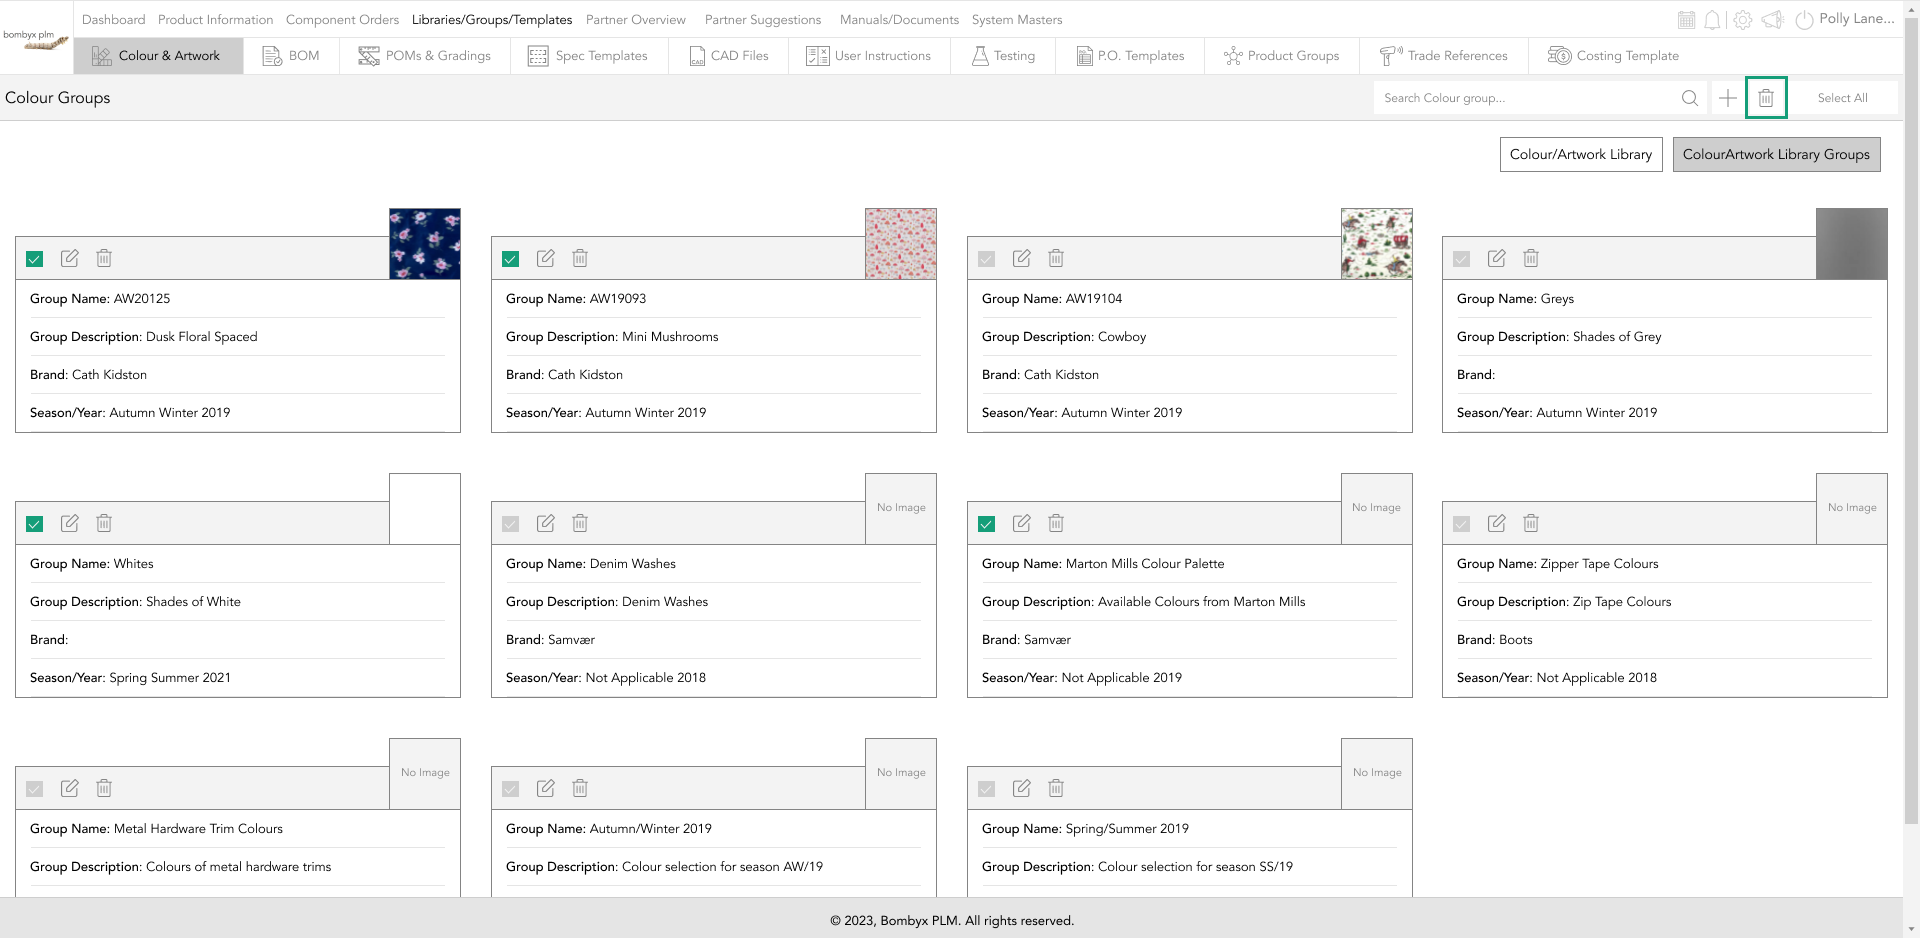
navigating to the colour & artwork library
Tap 'Libraries, Groups, and Templates' from the main menu bar to navigate to the 'Colours/Artworks Library'.
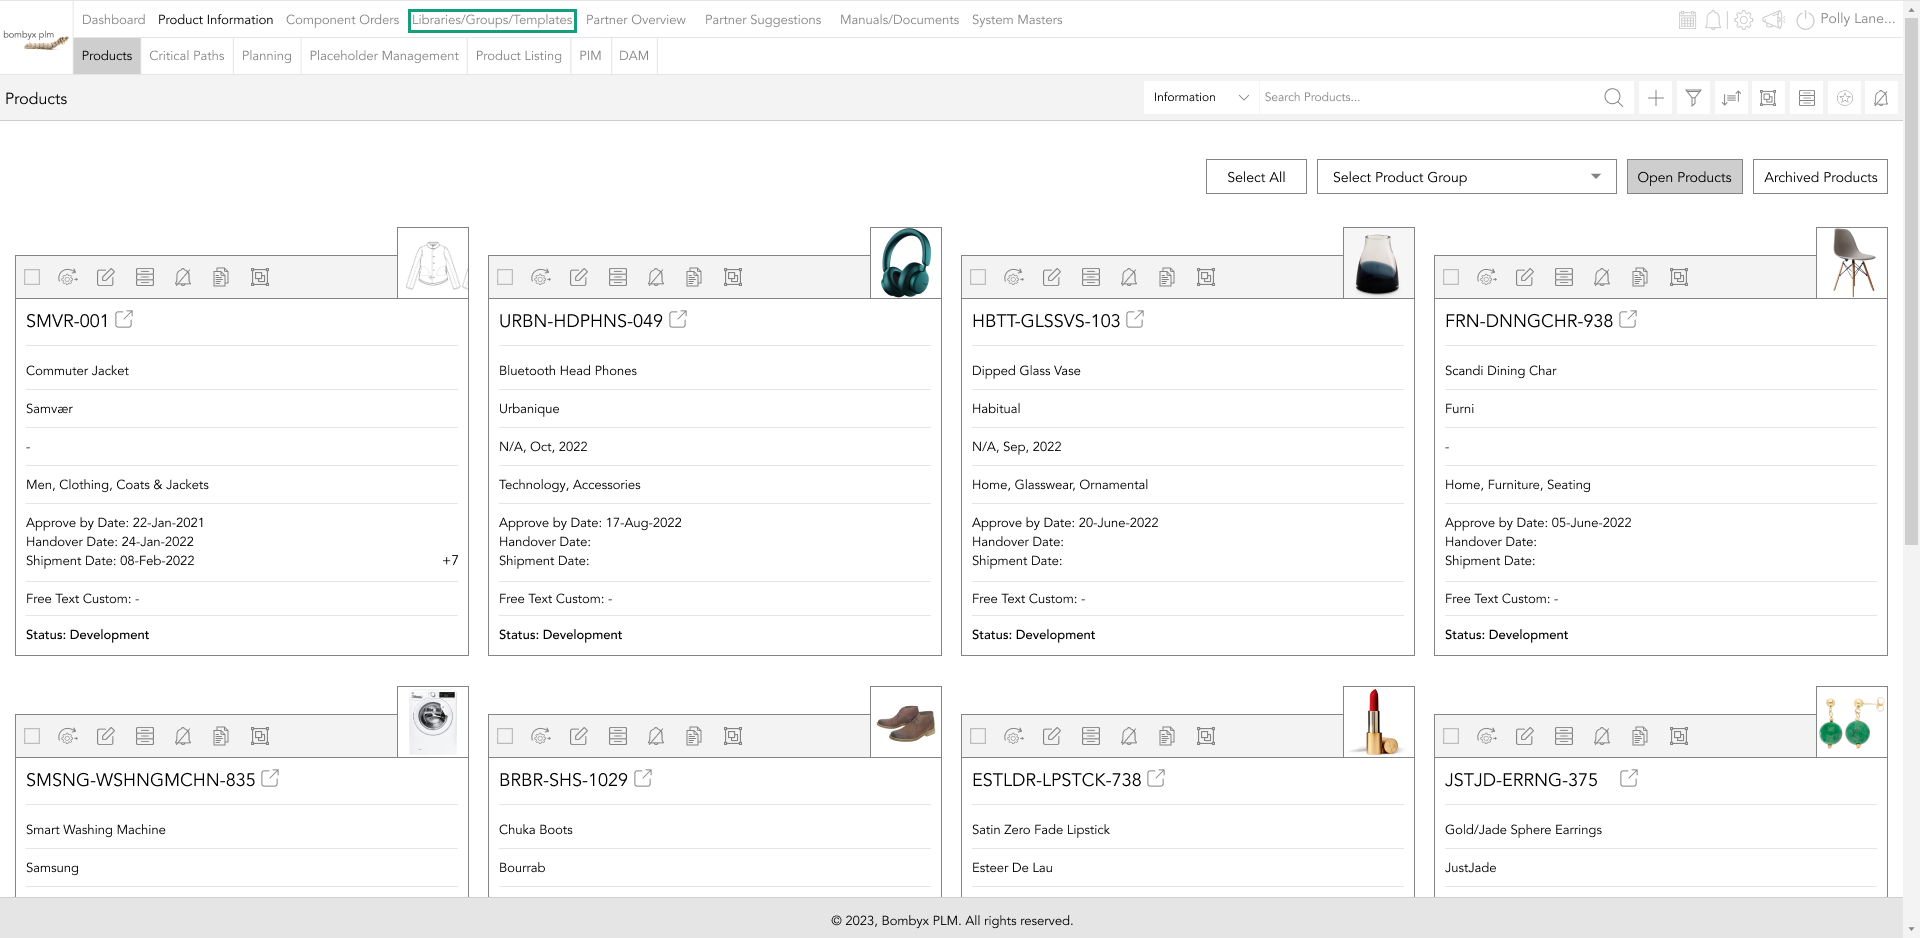
Once you have selected this option, you will be automatically directed to the colour/artwork library.

adding a colour/artwork
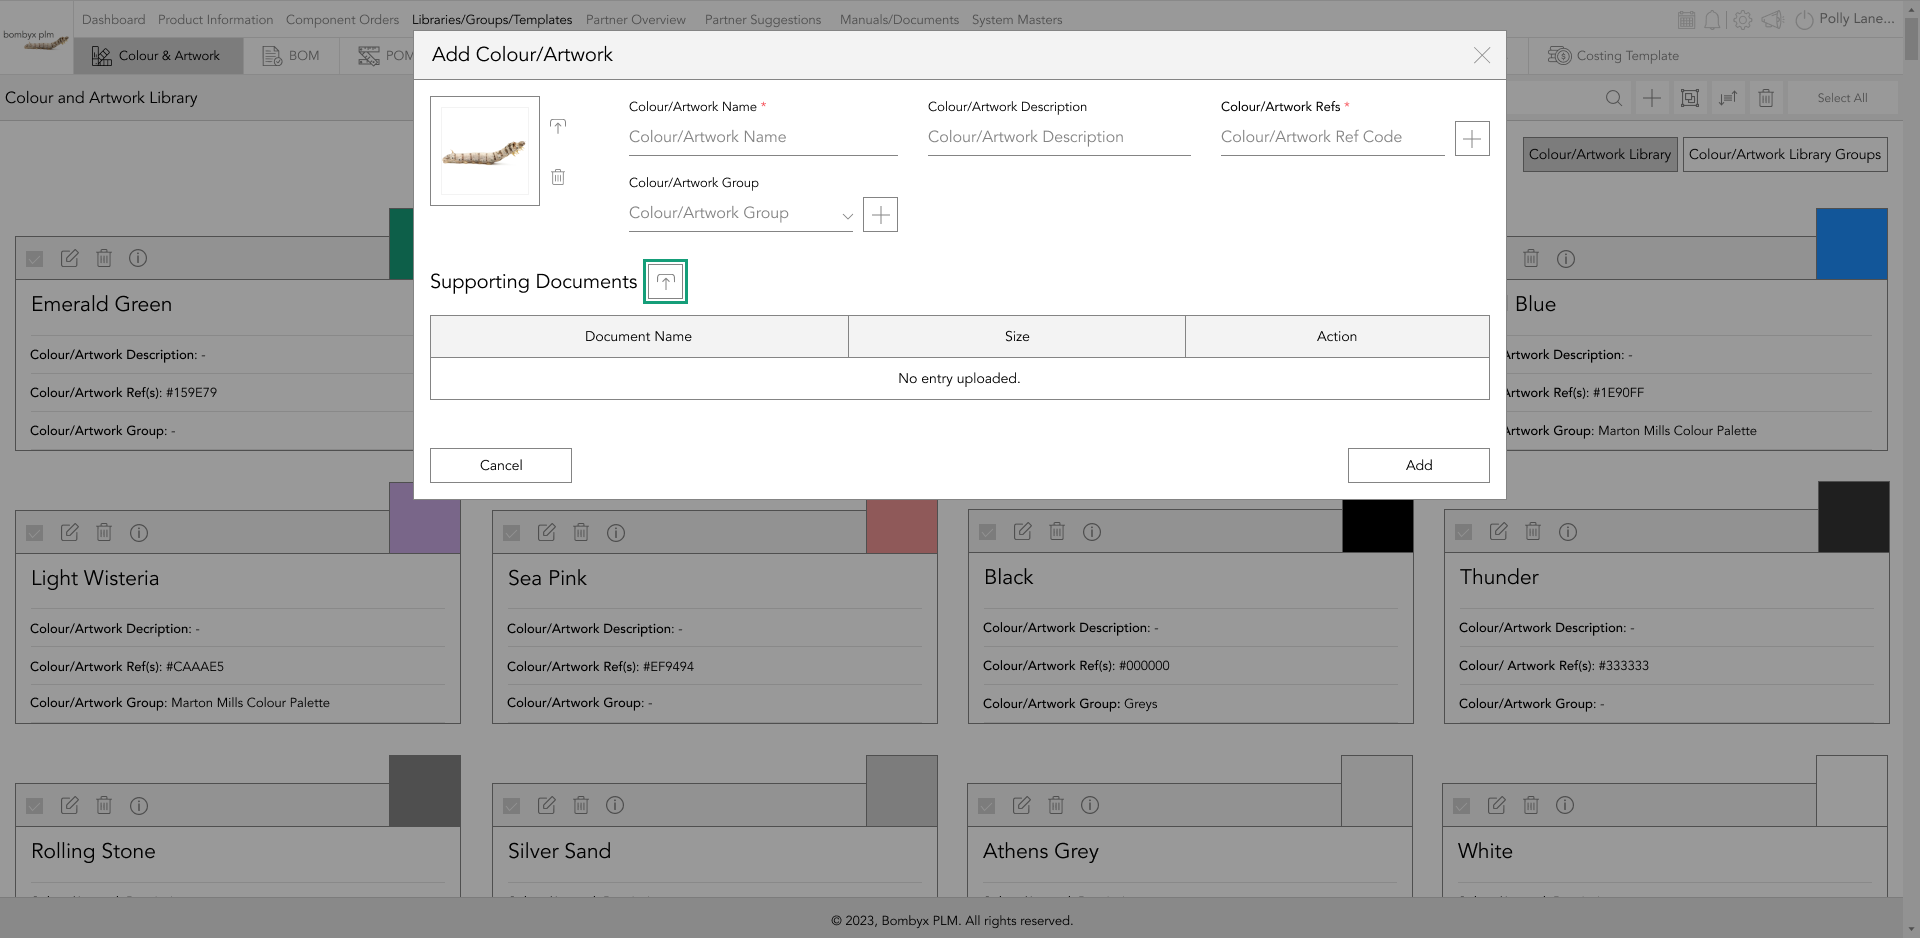
To add a new colour/artwork, tap the + icon near the search bar.

Add an image by completing two fields: Colour/Artwork Name and Reference, in the popup window that appears after uploading.
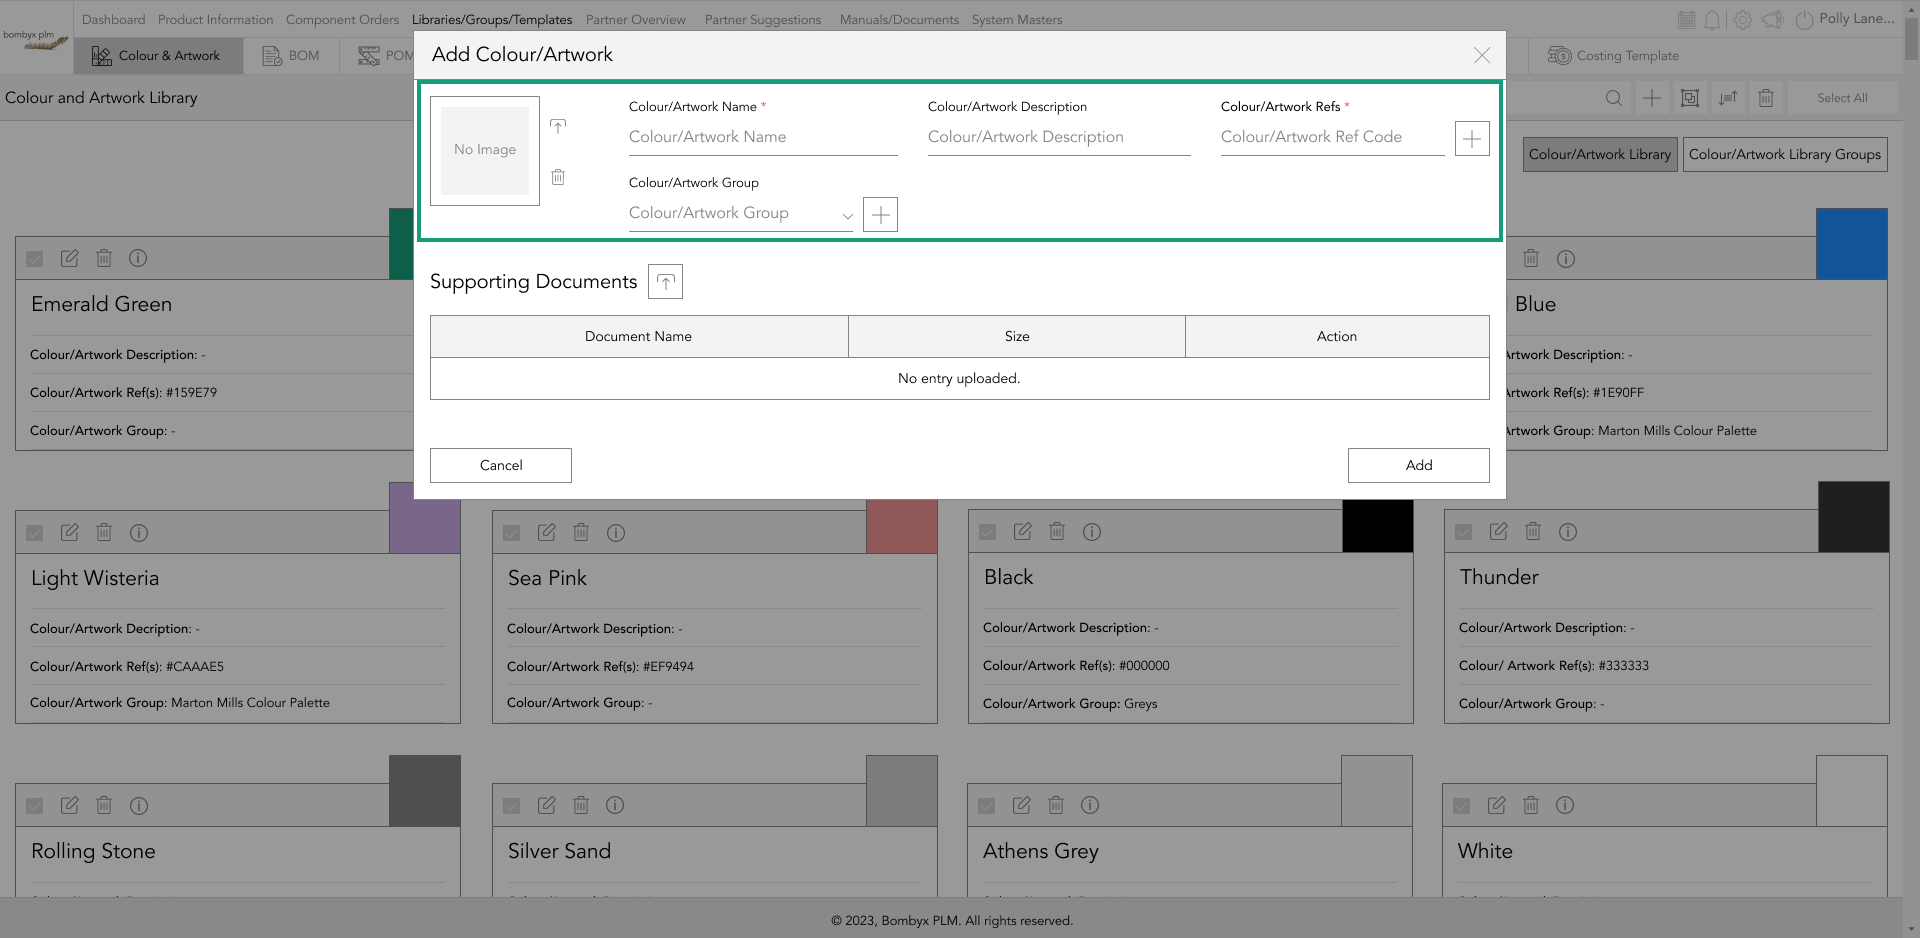
To add the colour/artwork to a group, select the applicable group(s) from the "Colour/Artworks Group" dropdown.
upload an image
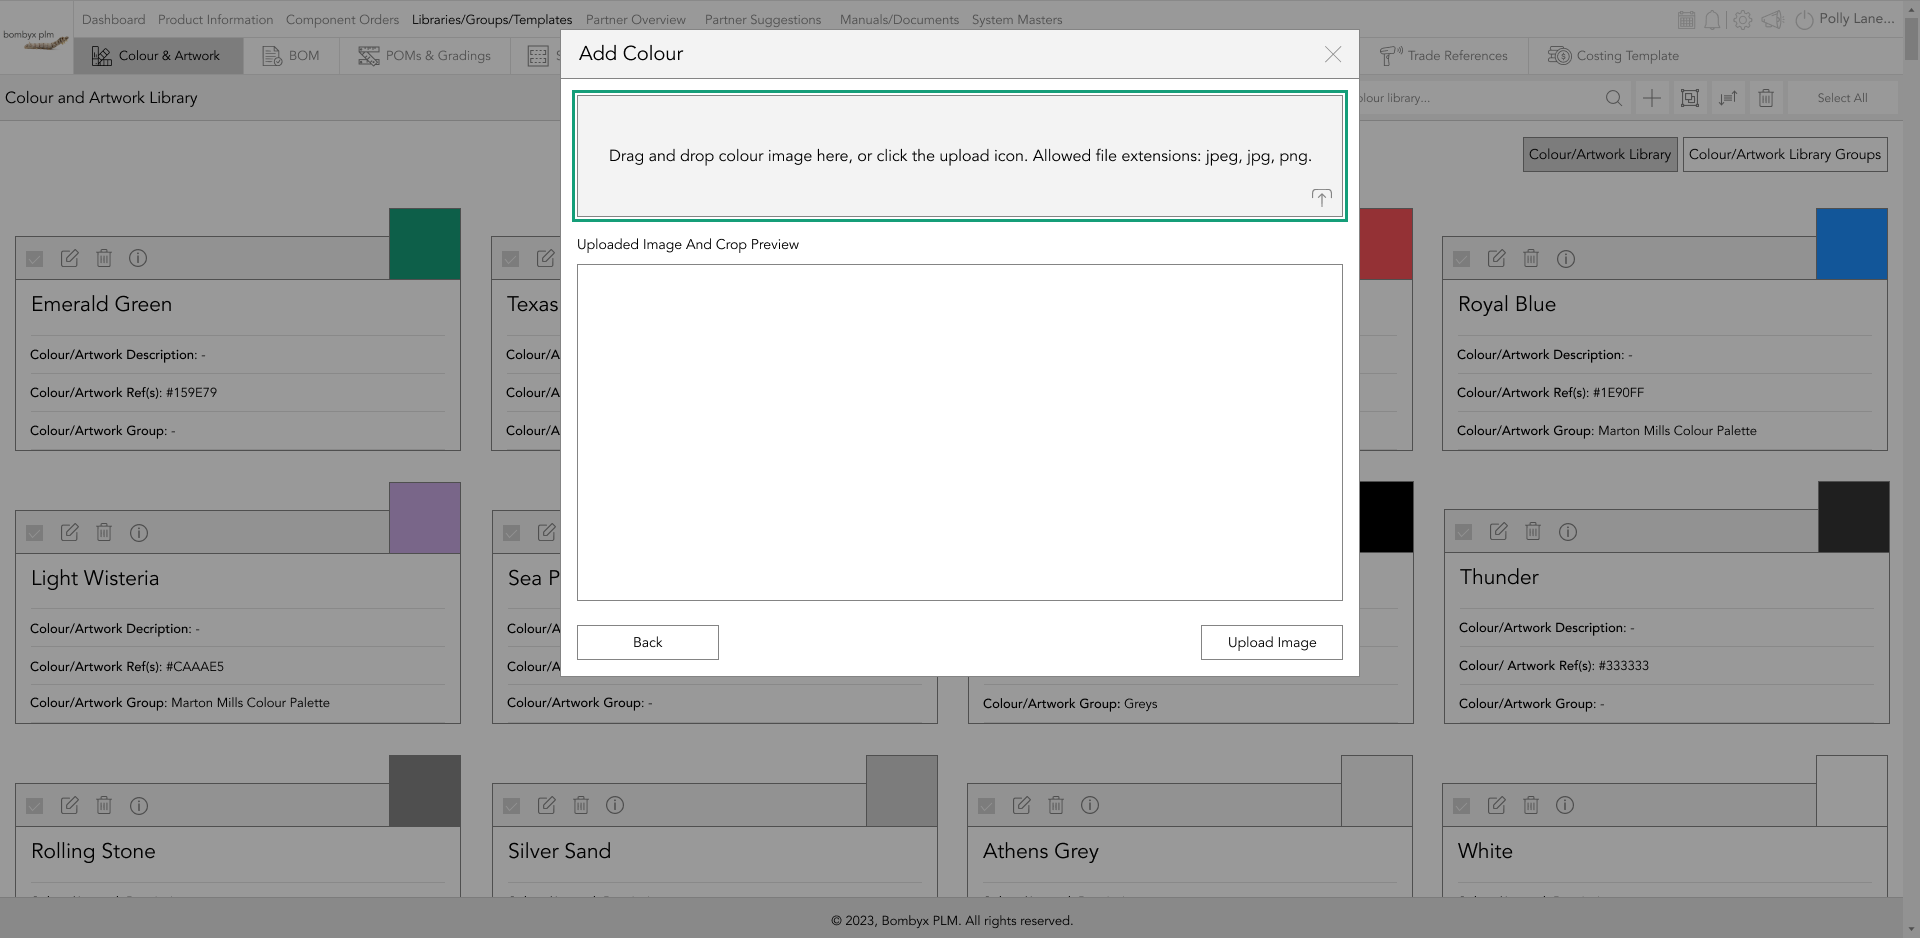
Locate and tap the upload icon next to the image box.

To upload an image, drag and drop it or select it using the upload icon, and tap 'Upload Image'.
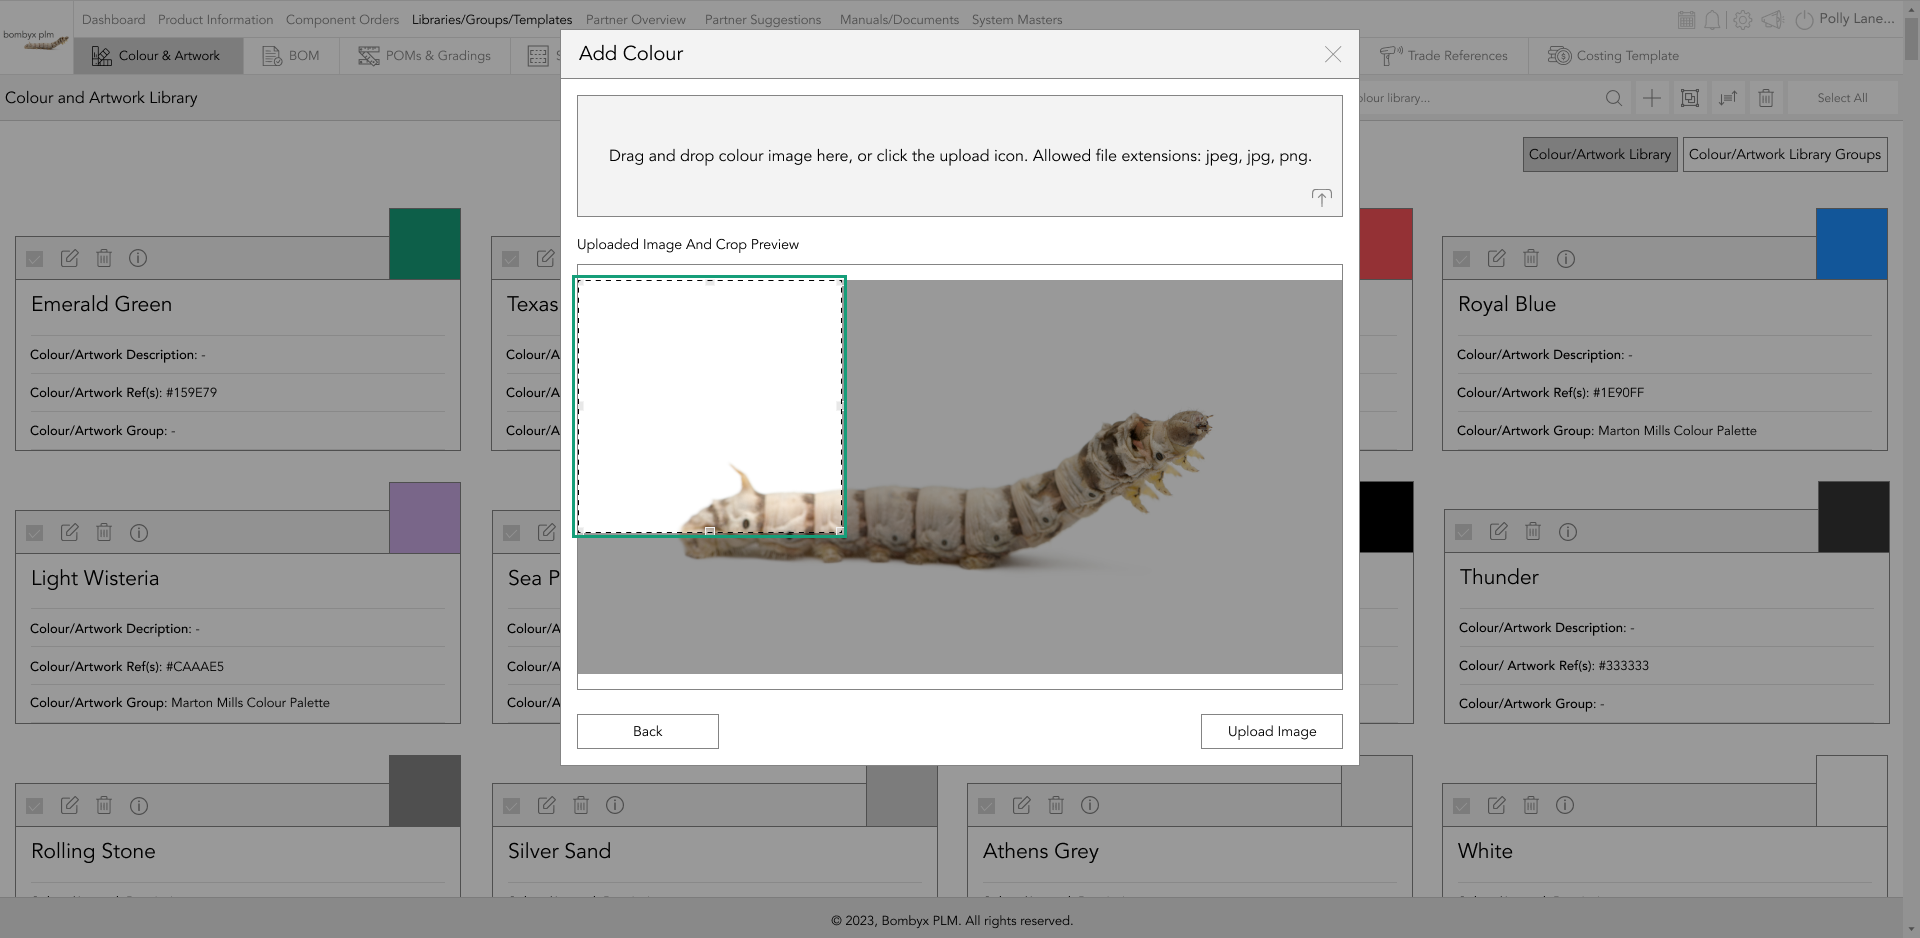
Furthermore, you can use the crop tool to select the whole image or a specific area of the image.
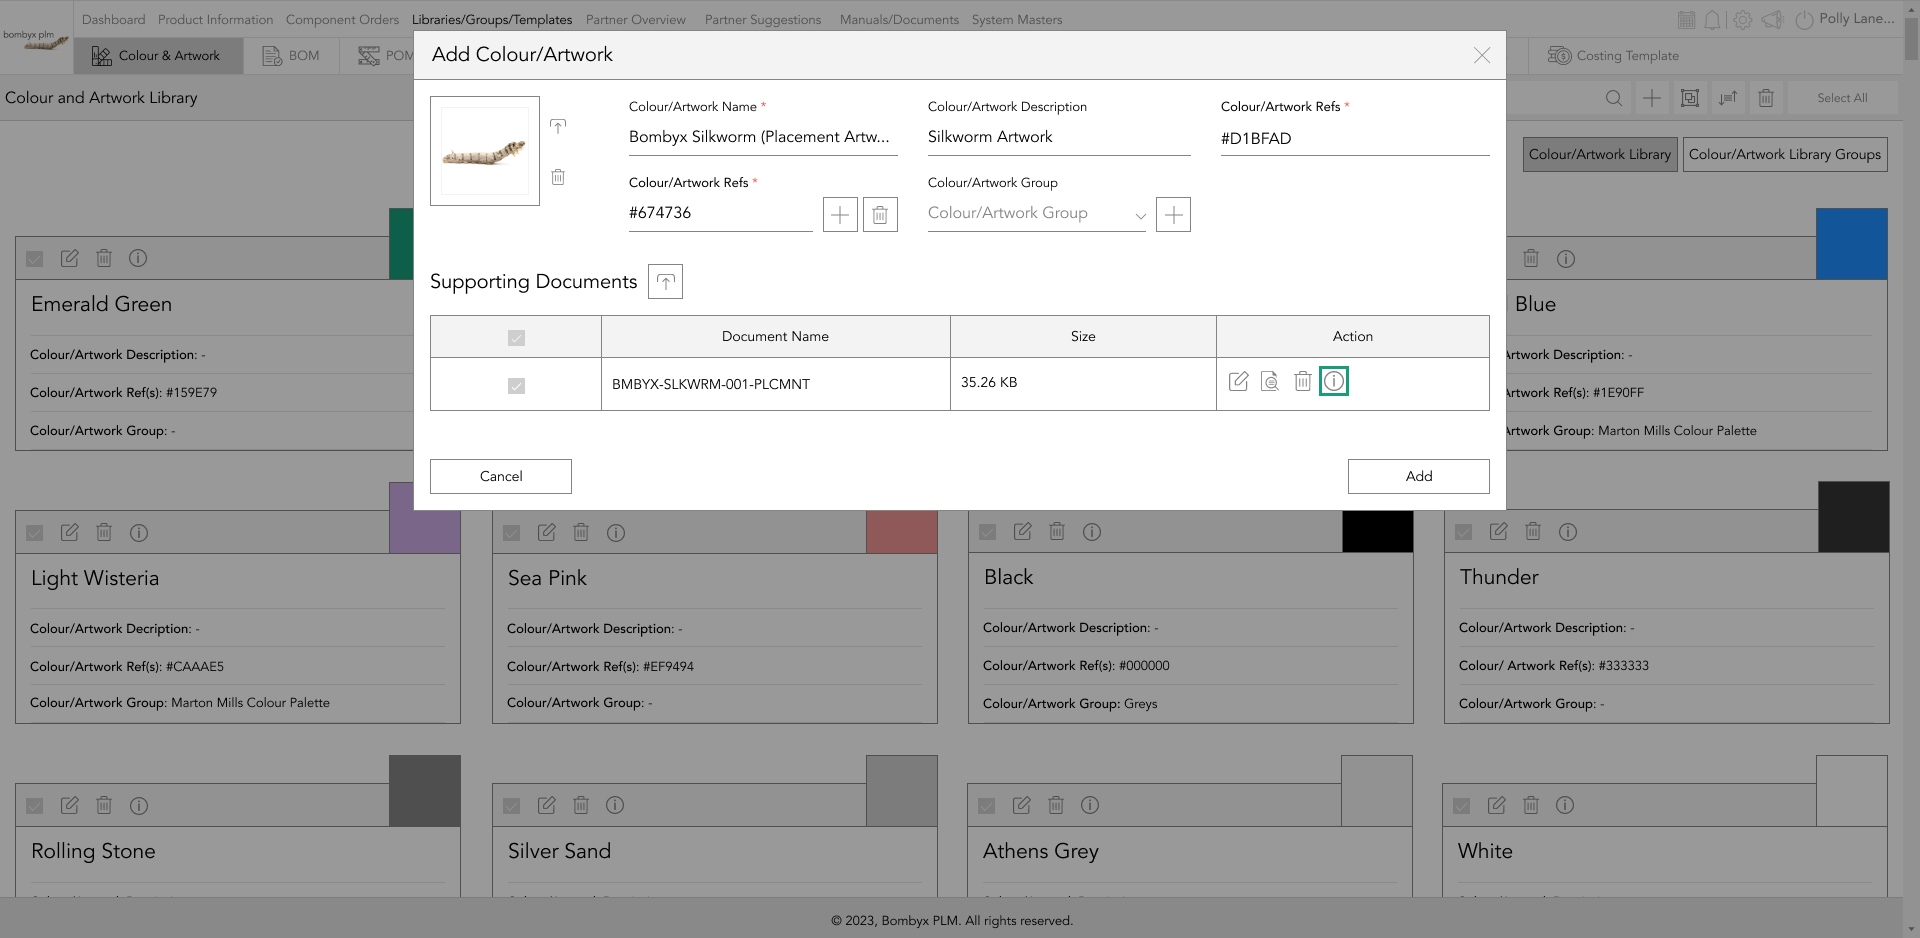
supporting documents
Uploading supporting documents for your colour/artwork can provide relevant information for designers and producers.
These documents include additional information on the color/artwork application and technical details.
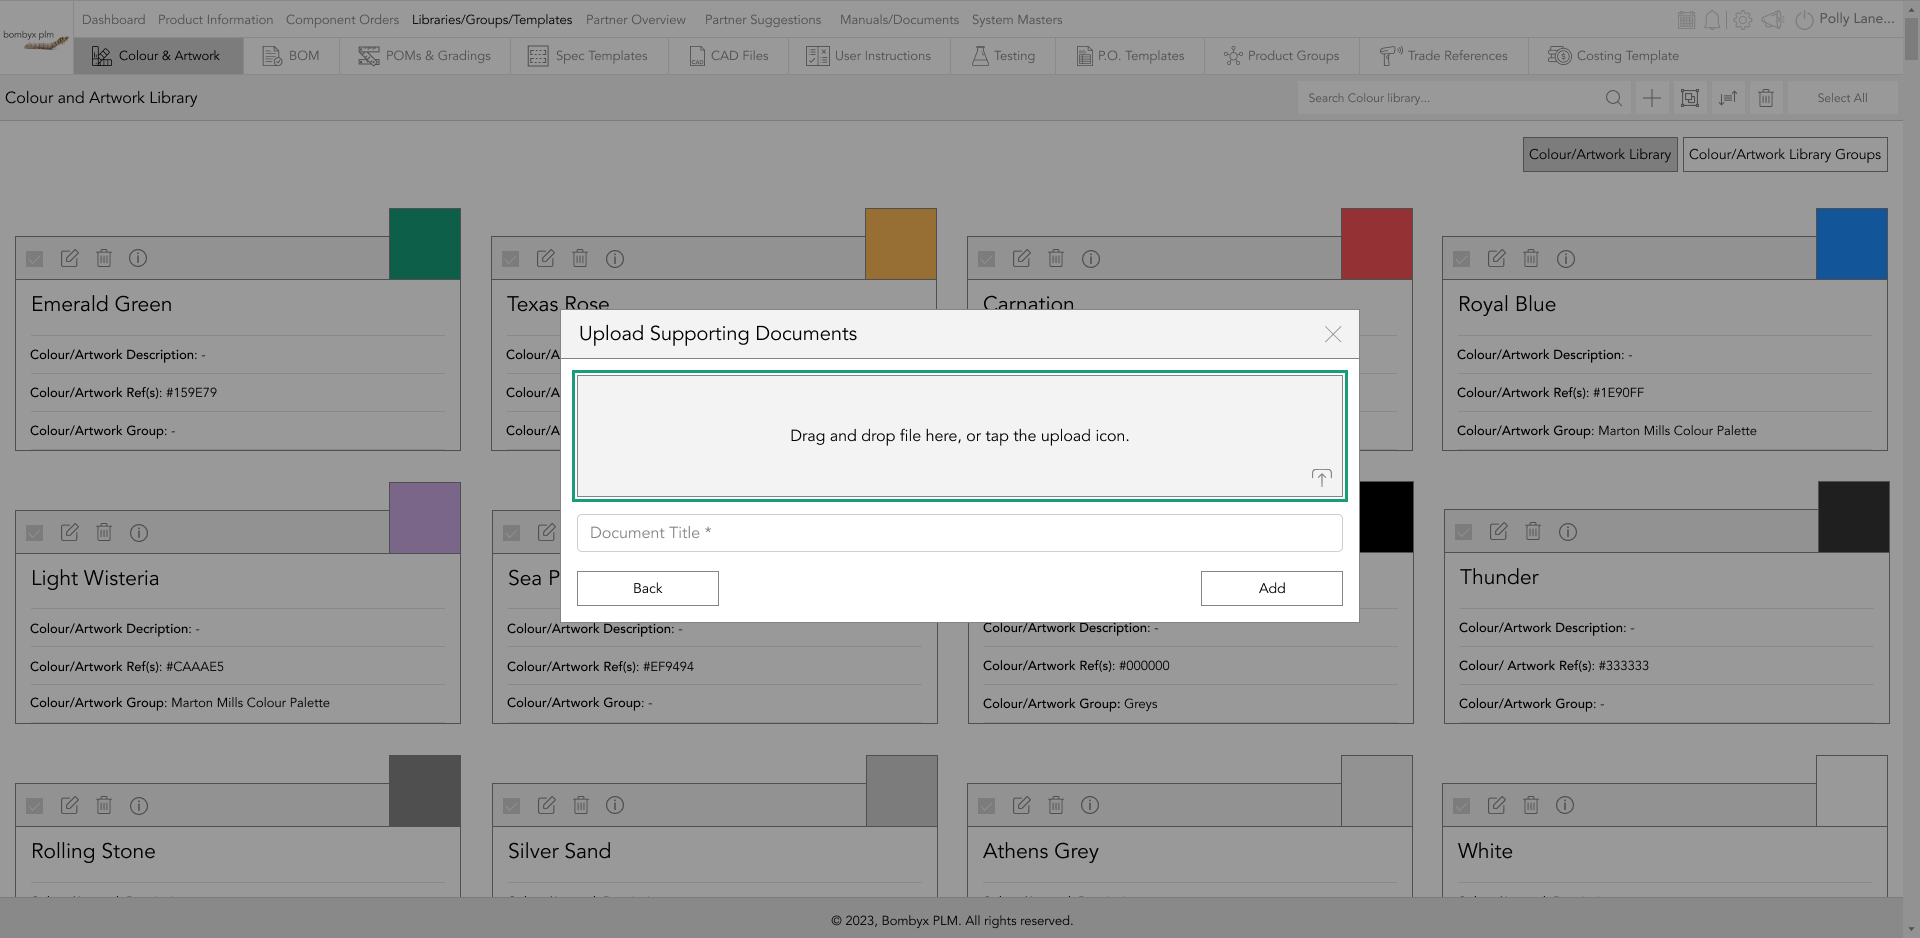
To upload a supporting document, tap the upload icon next to 'Supporting Documents' subheading.
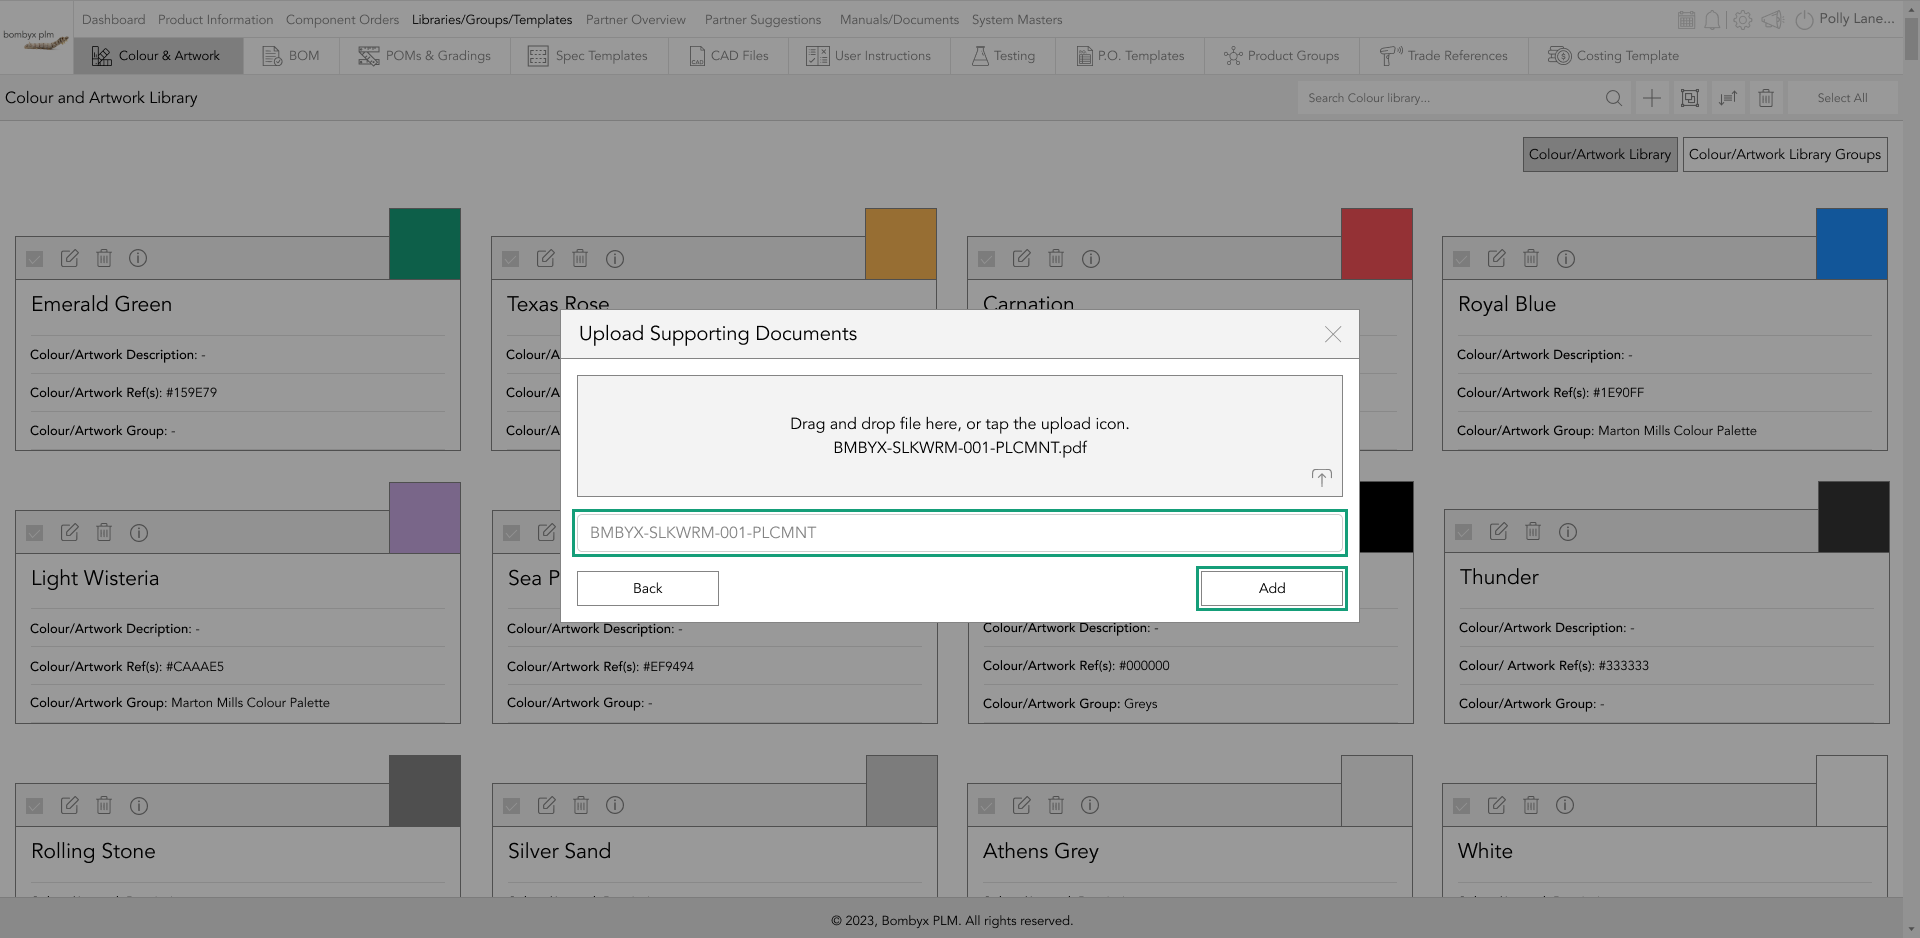
This will open a popup window. You can drag and drop the document or tap the upload icon to select the file from your device.
After uploading, the title will be set as the filename, but it can be edited. Tap 'Update' to add and return to the previous popup.
If you need to edit the document title at any time, tap the edit icon and update the title accordingly.
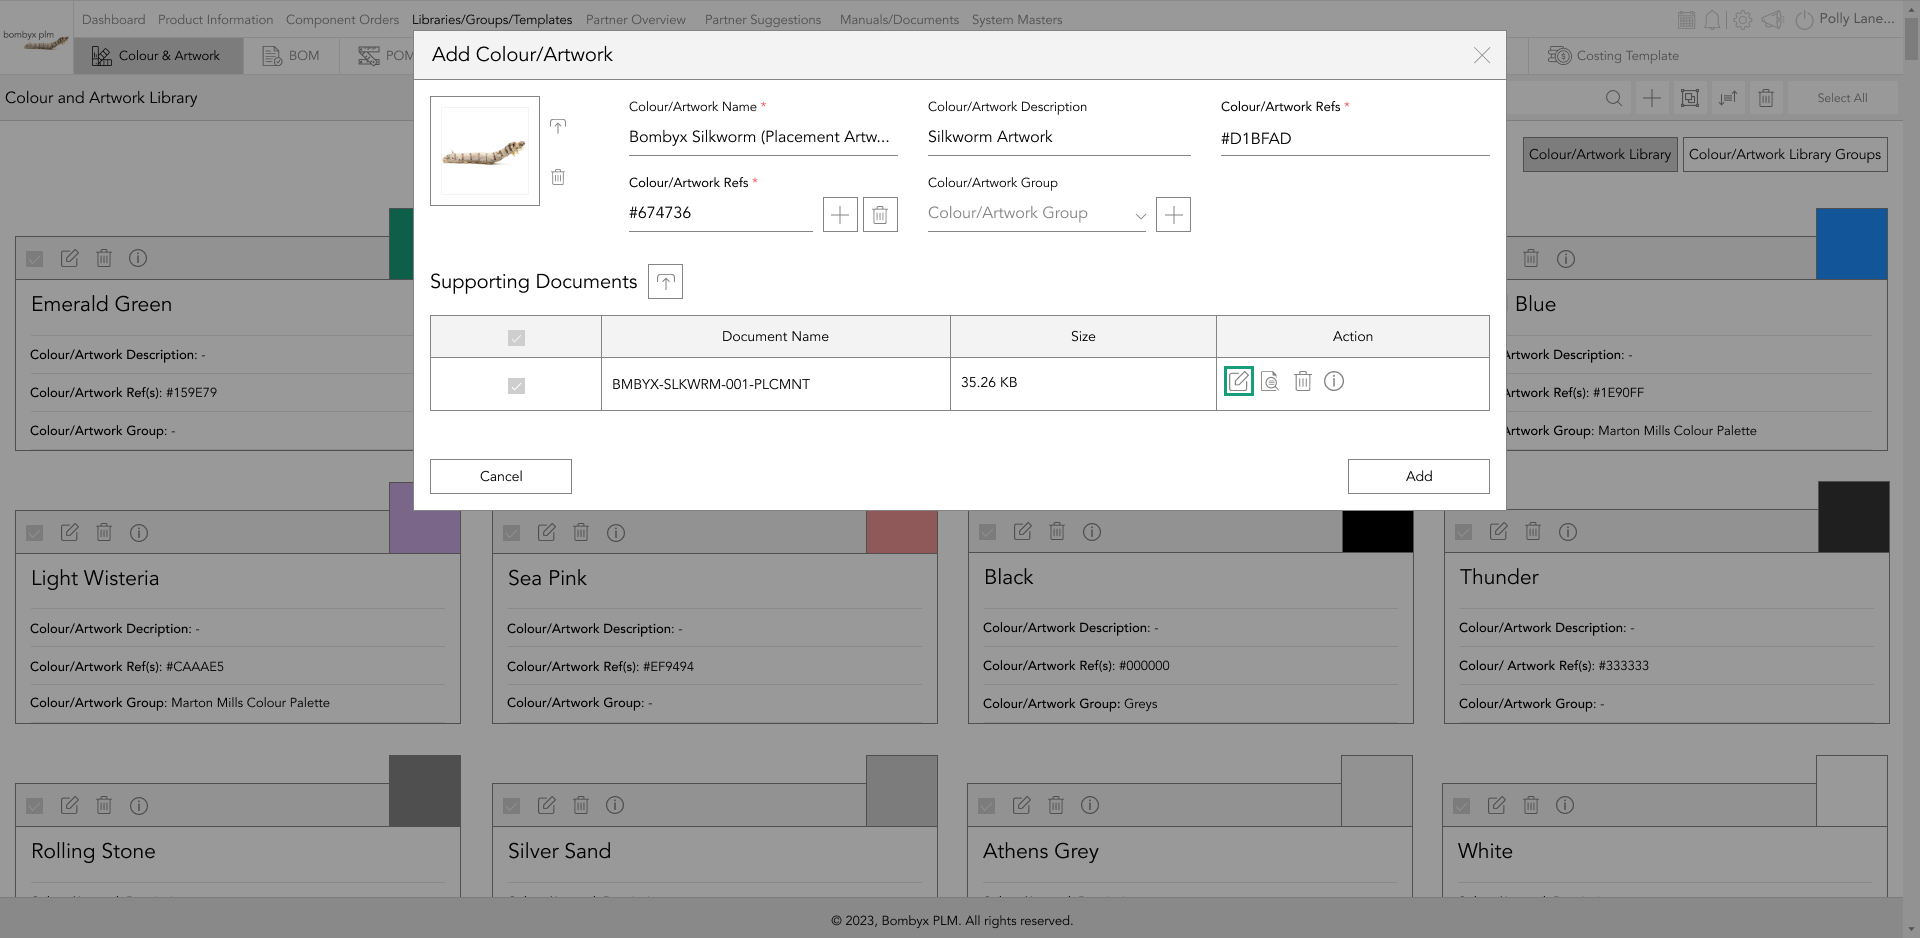
Furthermore, you can preview the document by tapping the preview icon to review the content without downloading it.

If you no longer require the document, it is easy to delete it from the library by tapping the delete icon.

To view details on the document's creation or modification, hover over the 'Information' icon in the action panel row.
editing a colour/artwork
To edit a colour/artwork card, tap the edit icon on the header of the colour card. Once you have made all the necessary changes, tap the save button to apply your changes.

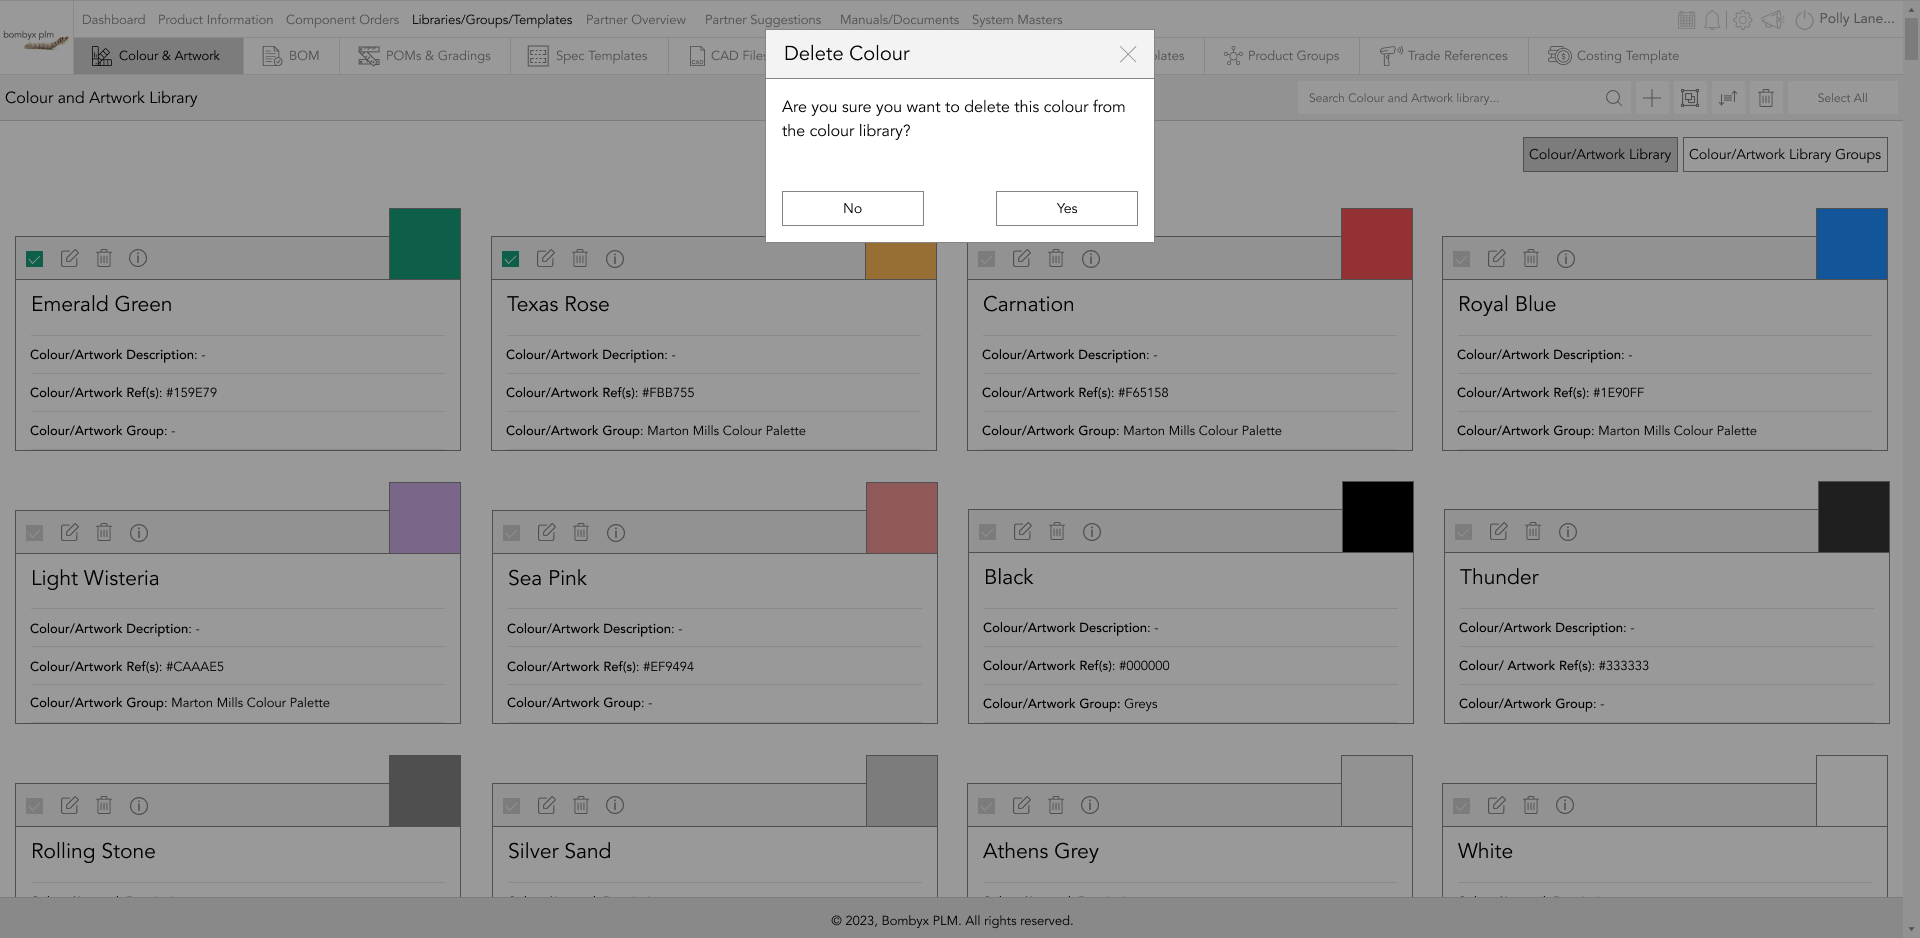
deleting colour/artworks
Colours and artworks can be deleted in two ways: First, by tapping the bin icon on the colour/artwork card's top bar.

You can delete colours and artworks in bulk by selecting checkboxes and tapping the delete icon.

A popup will appear to confirm your action, where you can choose 'Yes' to proceed, or 'No' to cancel.
add colours/artworks to a group
To add colours from the library, select the checkbox on the top bar of the colour card.
After selecting the colours/artworks, find the add to group icon on the page's top right-hand side.

From there, you can select a colour group from the drop-down menu to add your selected colours or artworks to.

In case you want to create a new group for the selected colour/artwork to be added, tap the plus icon next to the colour group selection dropdown.

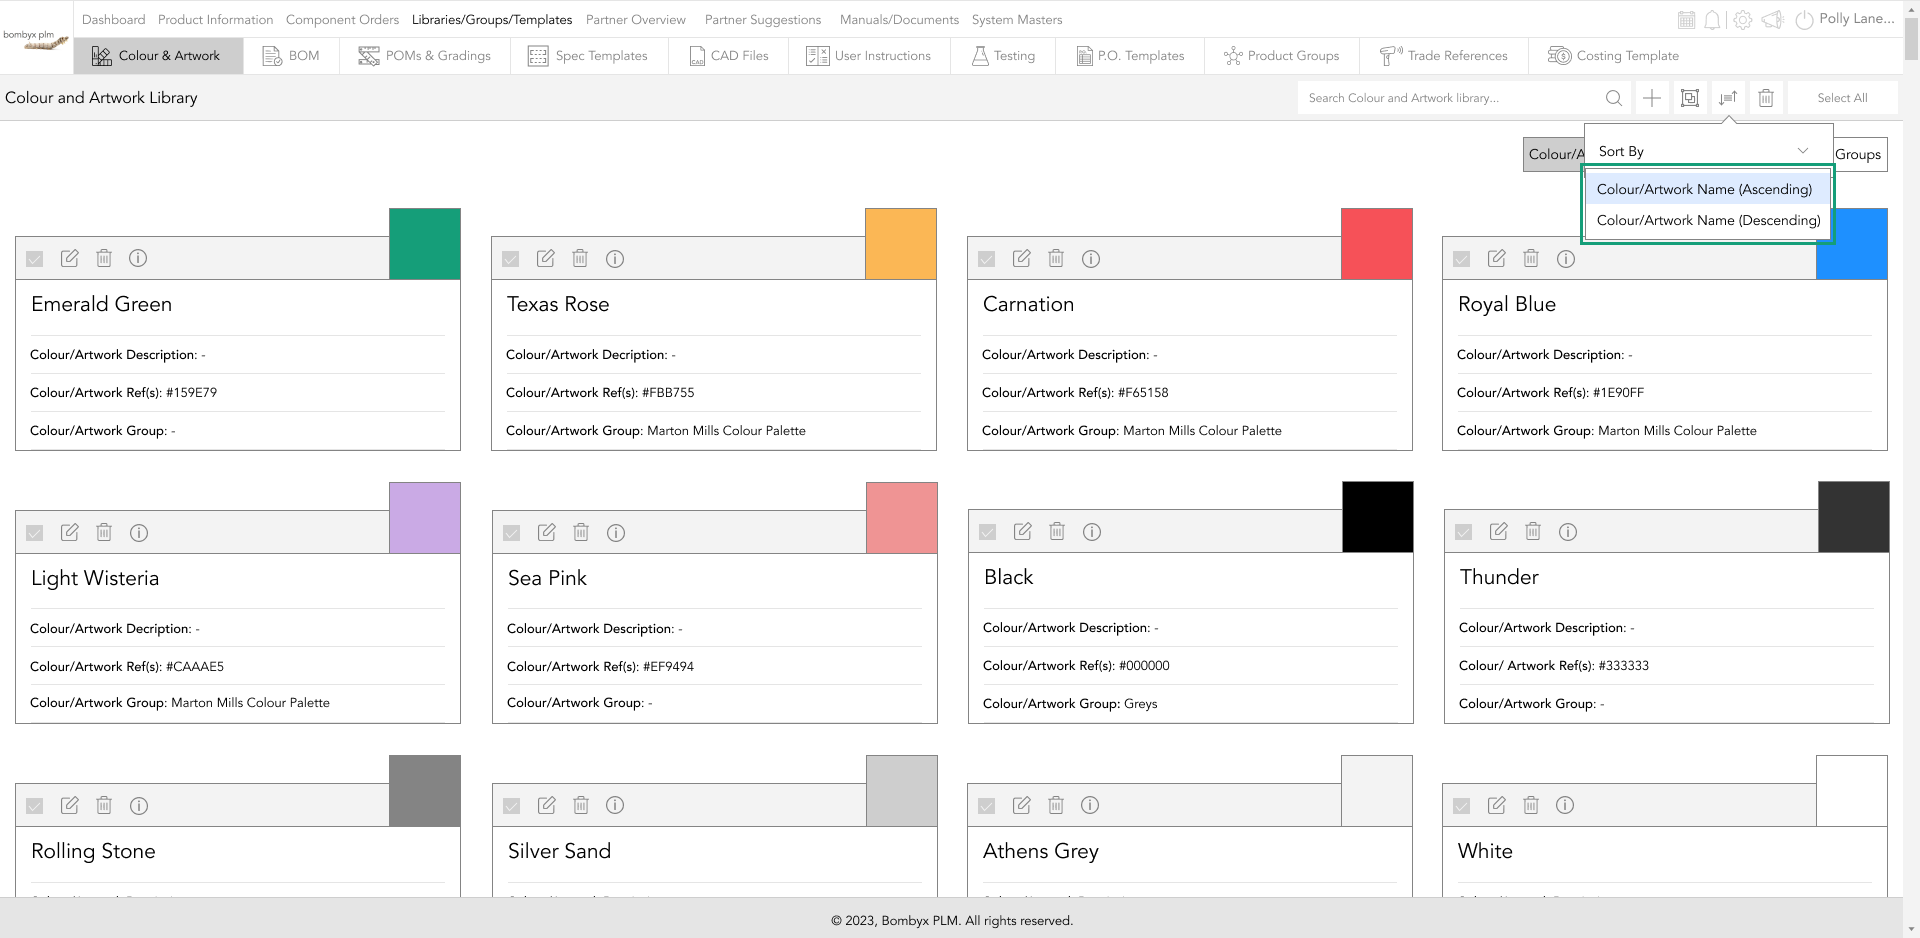
sort by
By tapping the sort by icon, you can sort your products into an order of your preference.

Prompting this action brings up a dropdown where you can choose 'Ascending' or 'Descending' order.
navigating to the colour/artwork groups
To access 'Colour/Artwork Groups' tap the button next to the 'Colours/Artworks Library'.

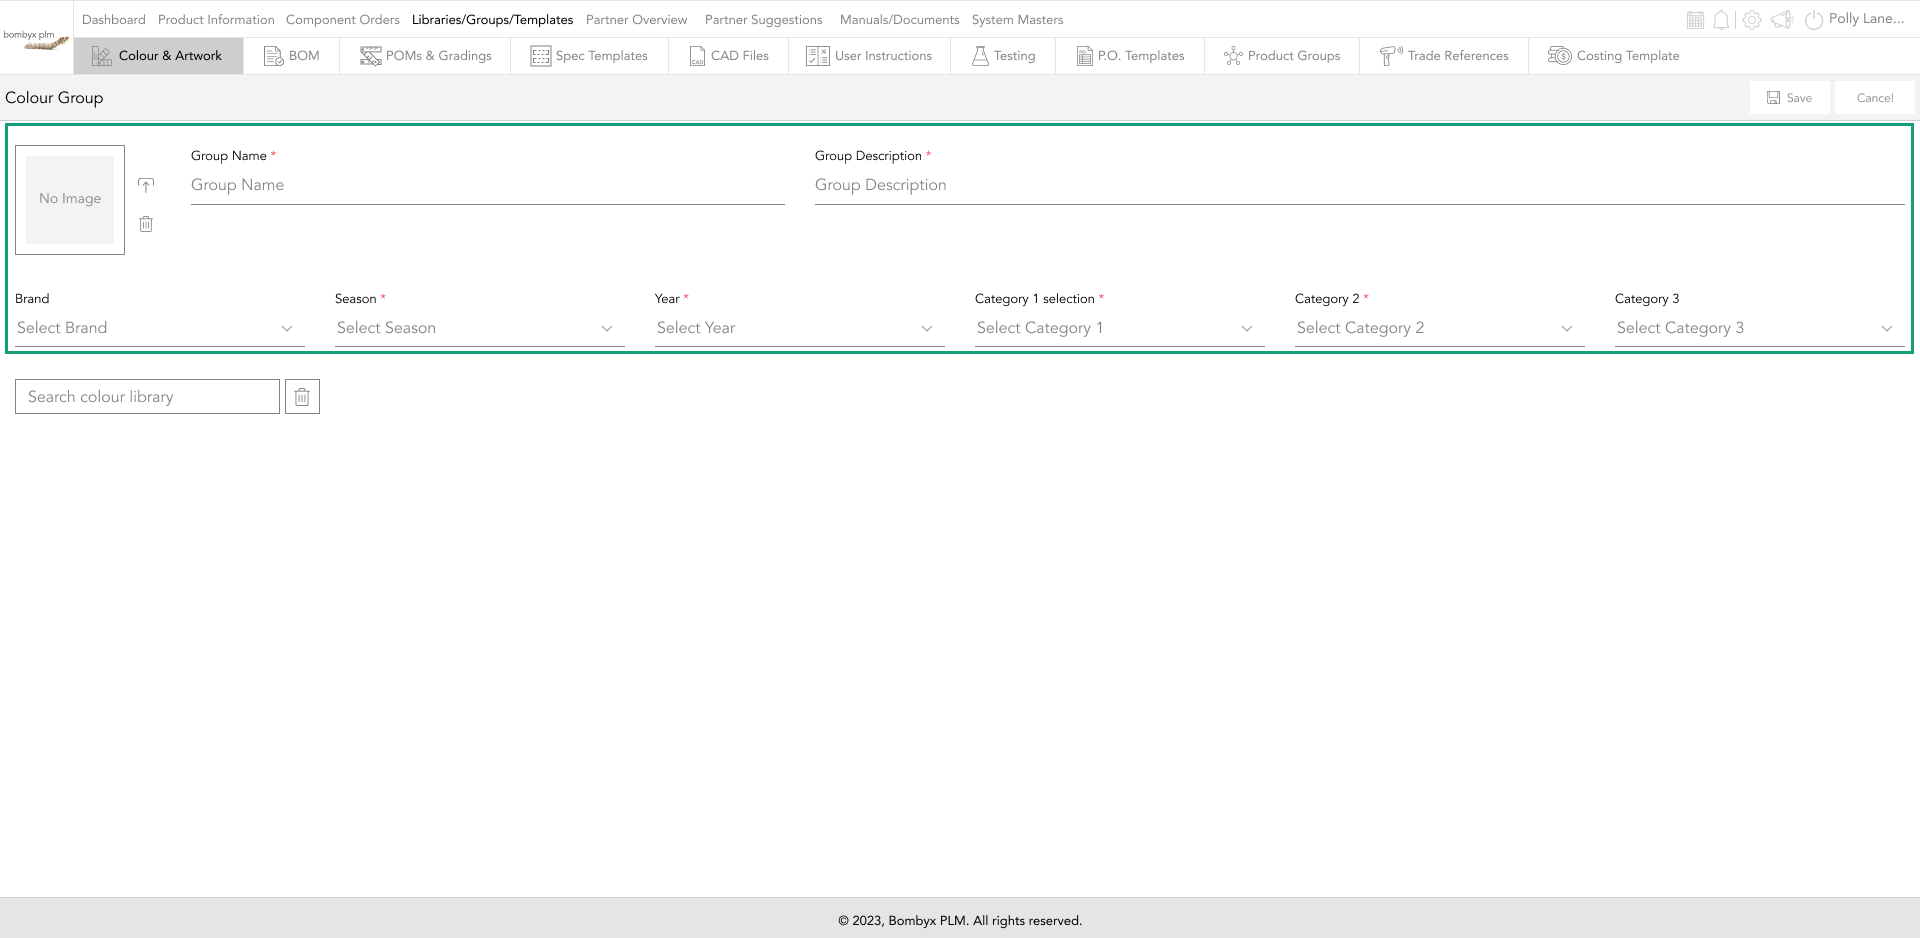
adding a new group
To add a new group, tap the '+' icon at the top, right hand side of the page.
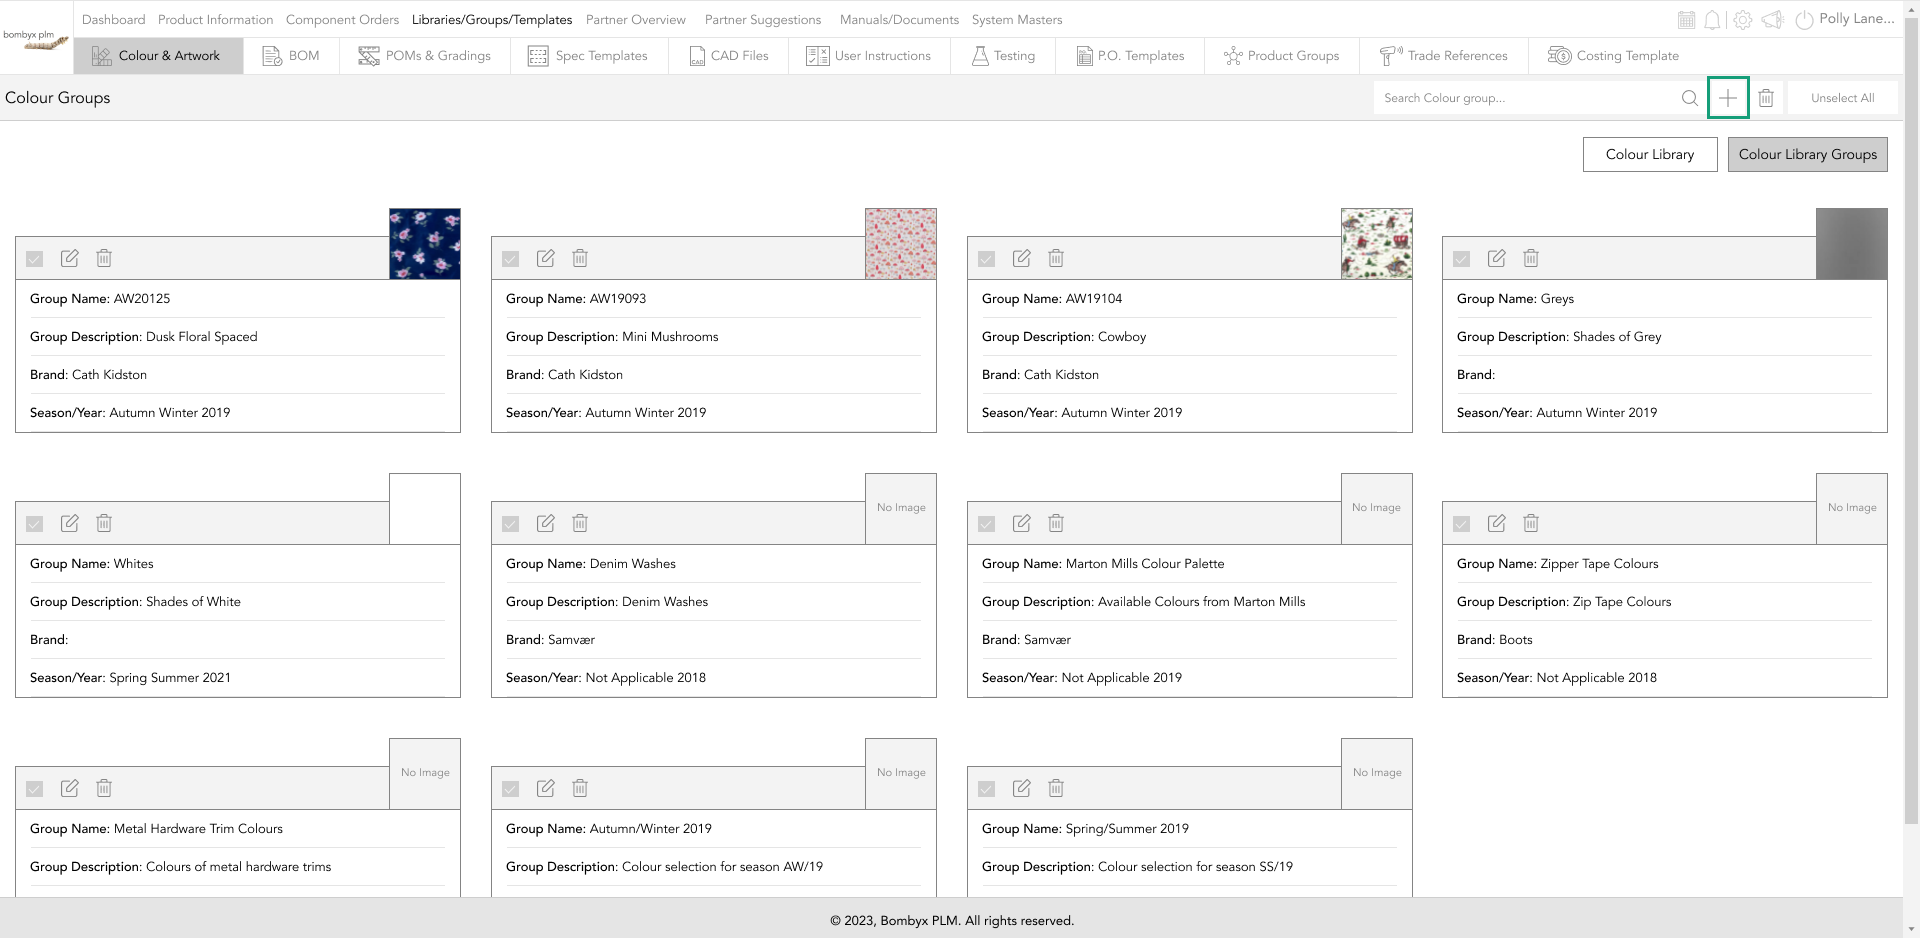
Next, a popup will appear and you will be prompted to fill in six required fields in order to create a colour or artwork group. Begin by adding a group name and description and tap 'Save'.
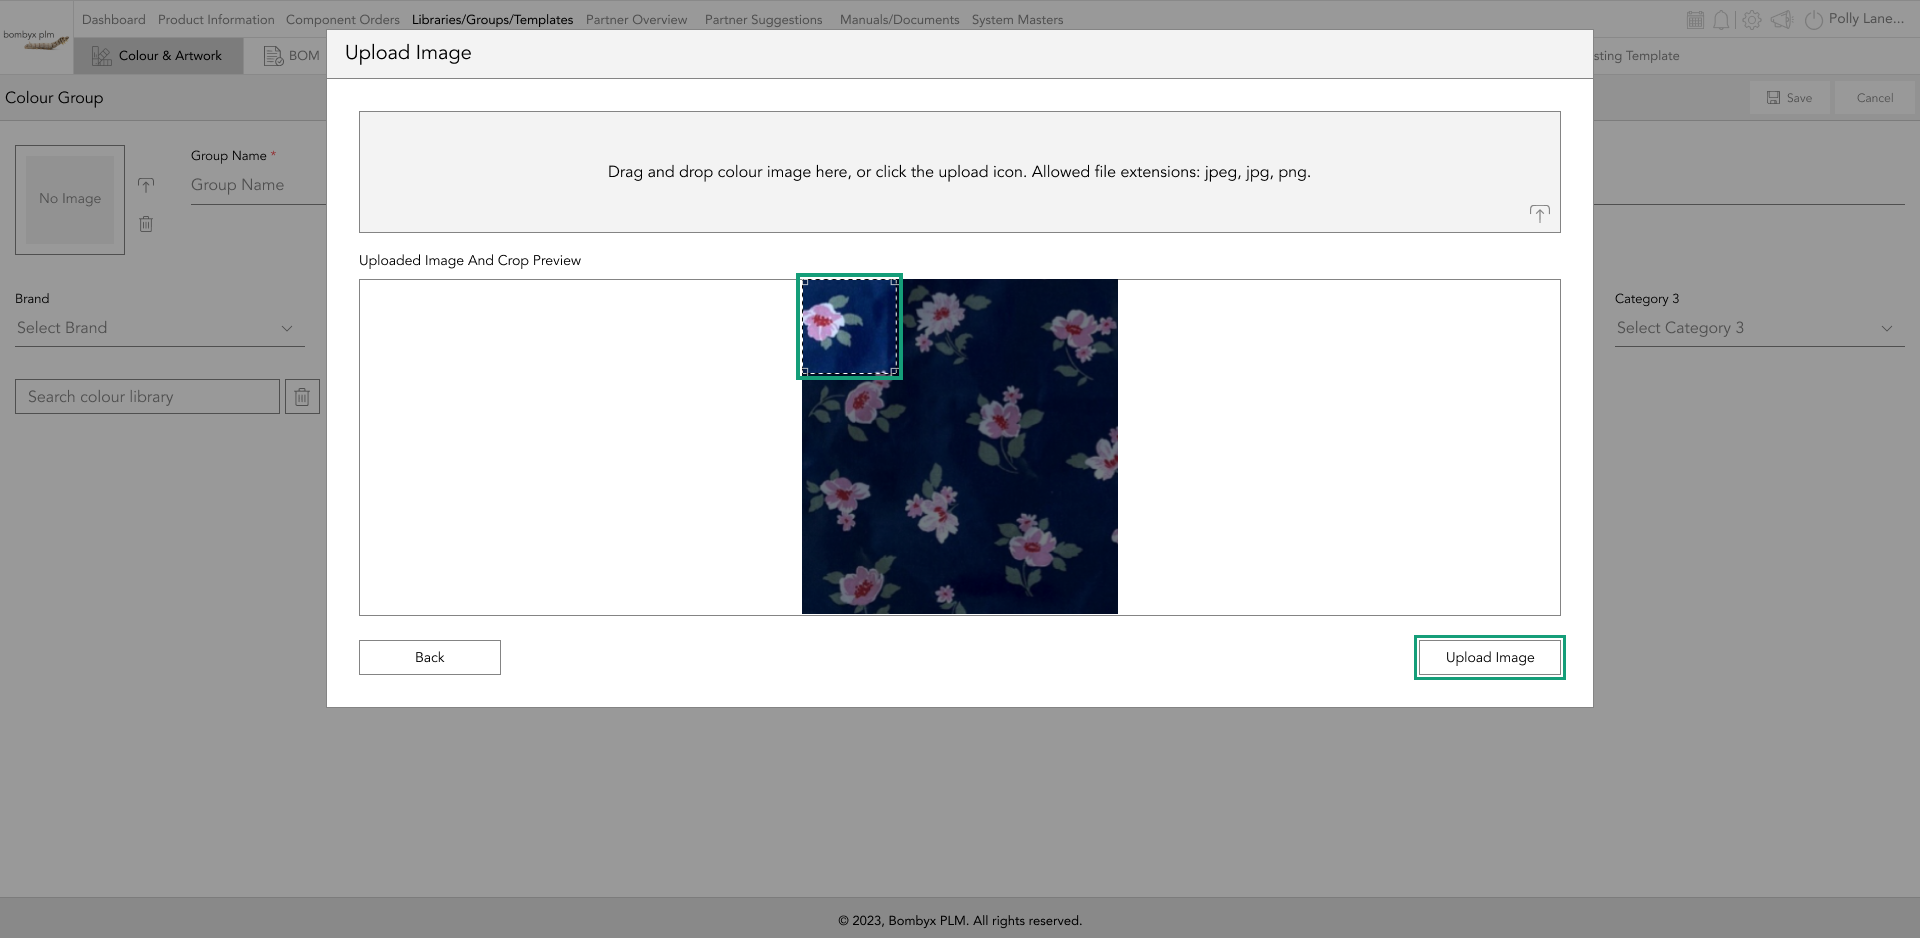
uploading an image
You can upload an image for your colour/artwork by tapping the upload icon, just like in the colours/artworks library.
A popup appears to upload an image of the colour/artwork, which can be dragged or selected by tapping the upload icon.

In addition, utilize the crop tool to choose the desired image identifier and then click 'Save' to upload.
importing colours & artworks
To import from the colour library, search for the desired colour in the search bar.
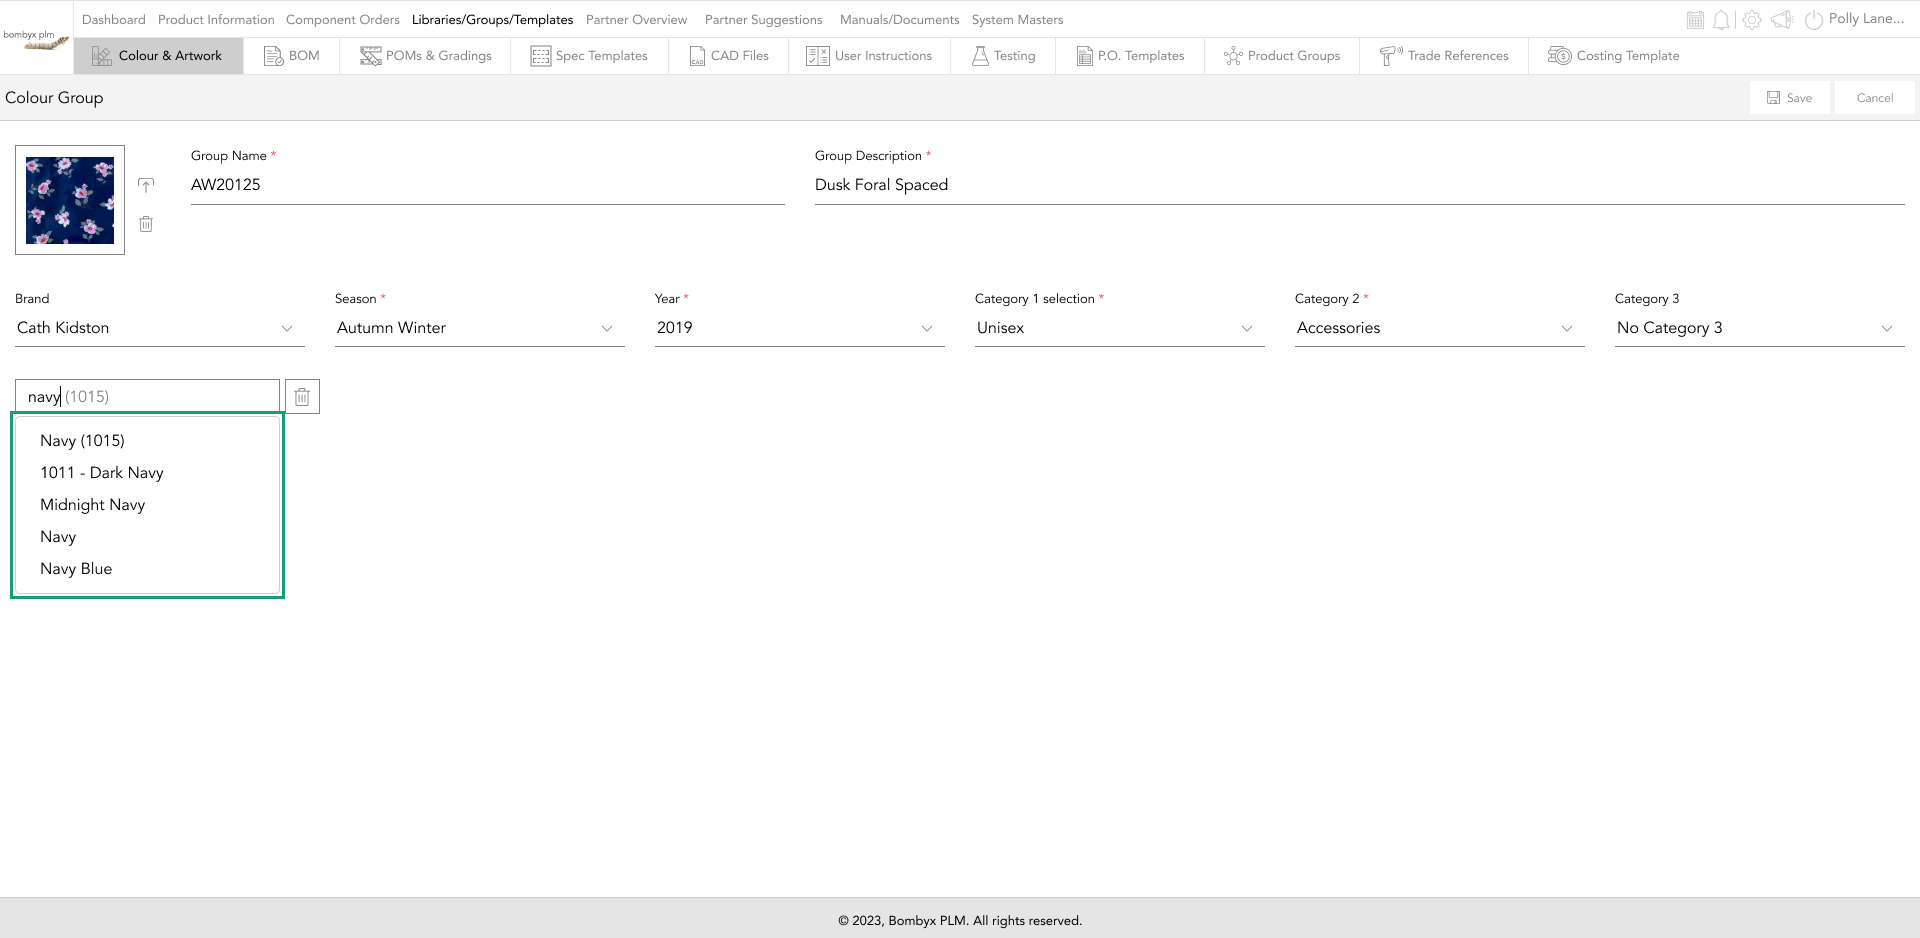
And when the colour you'd like to add appears in the dropdown, tap it to add it to the group.
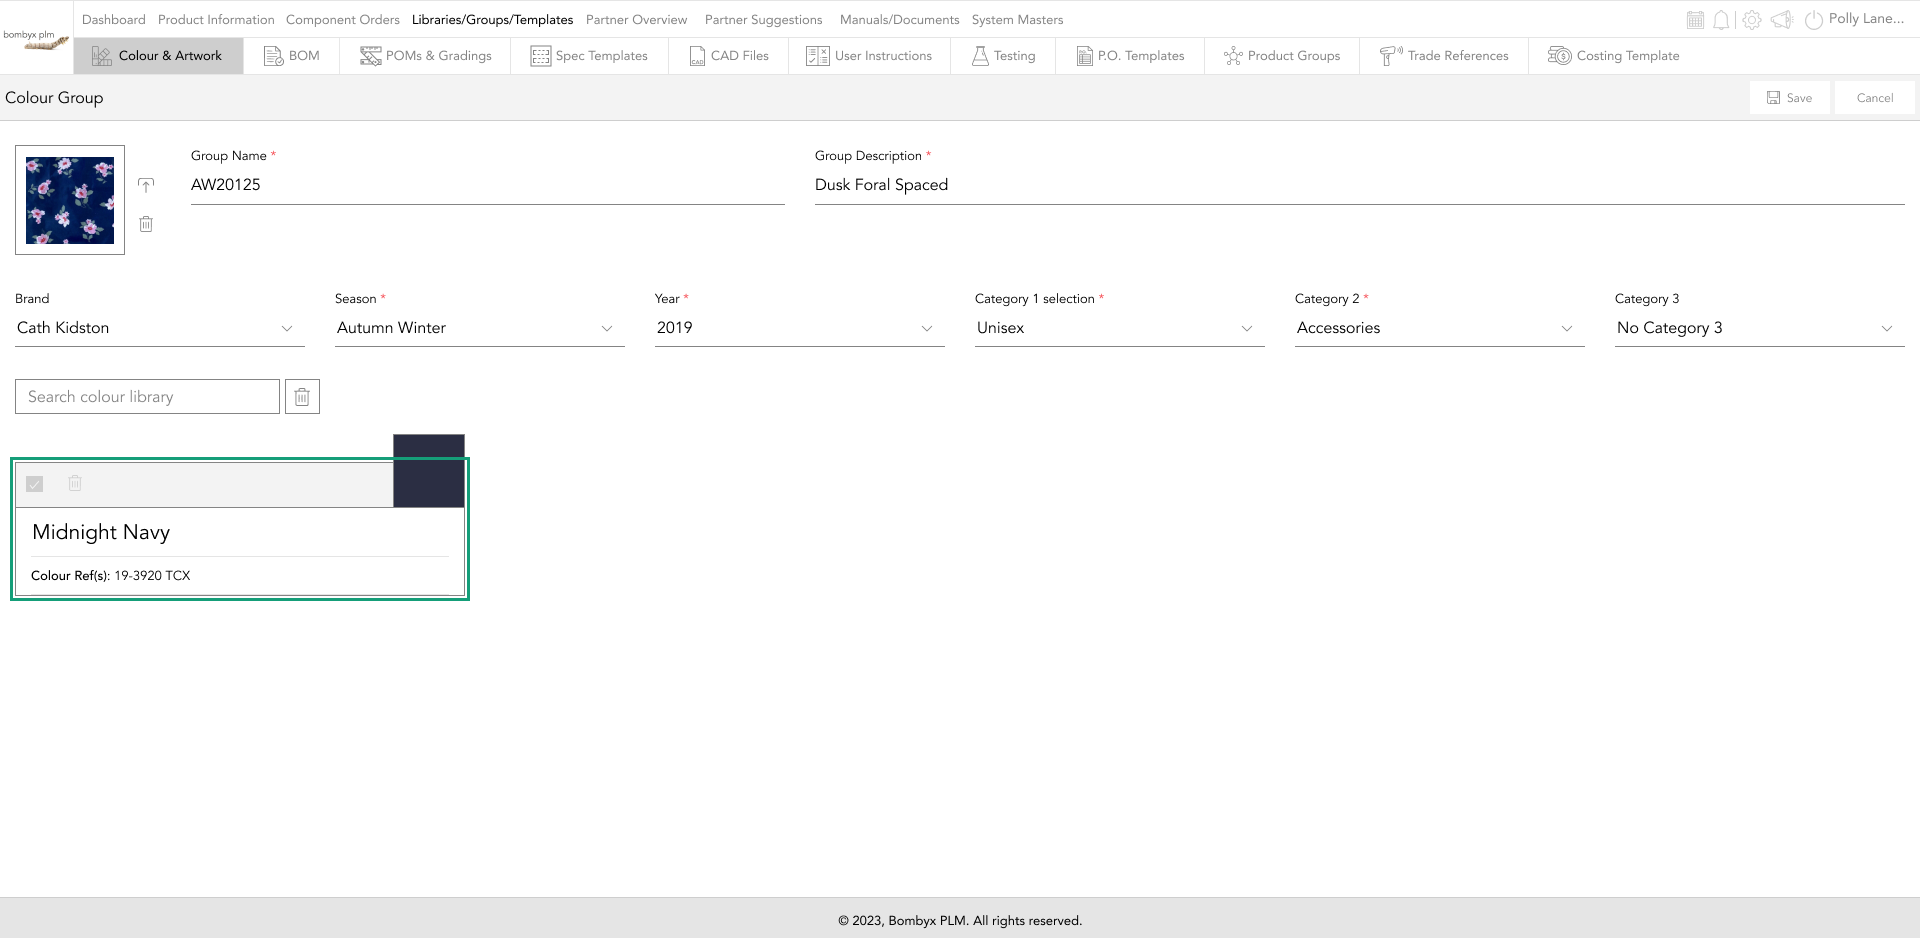
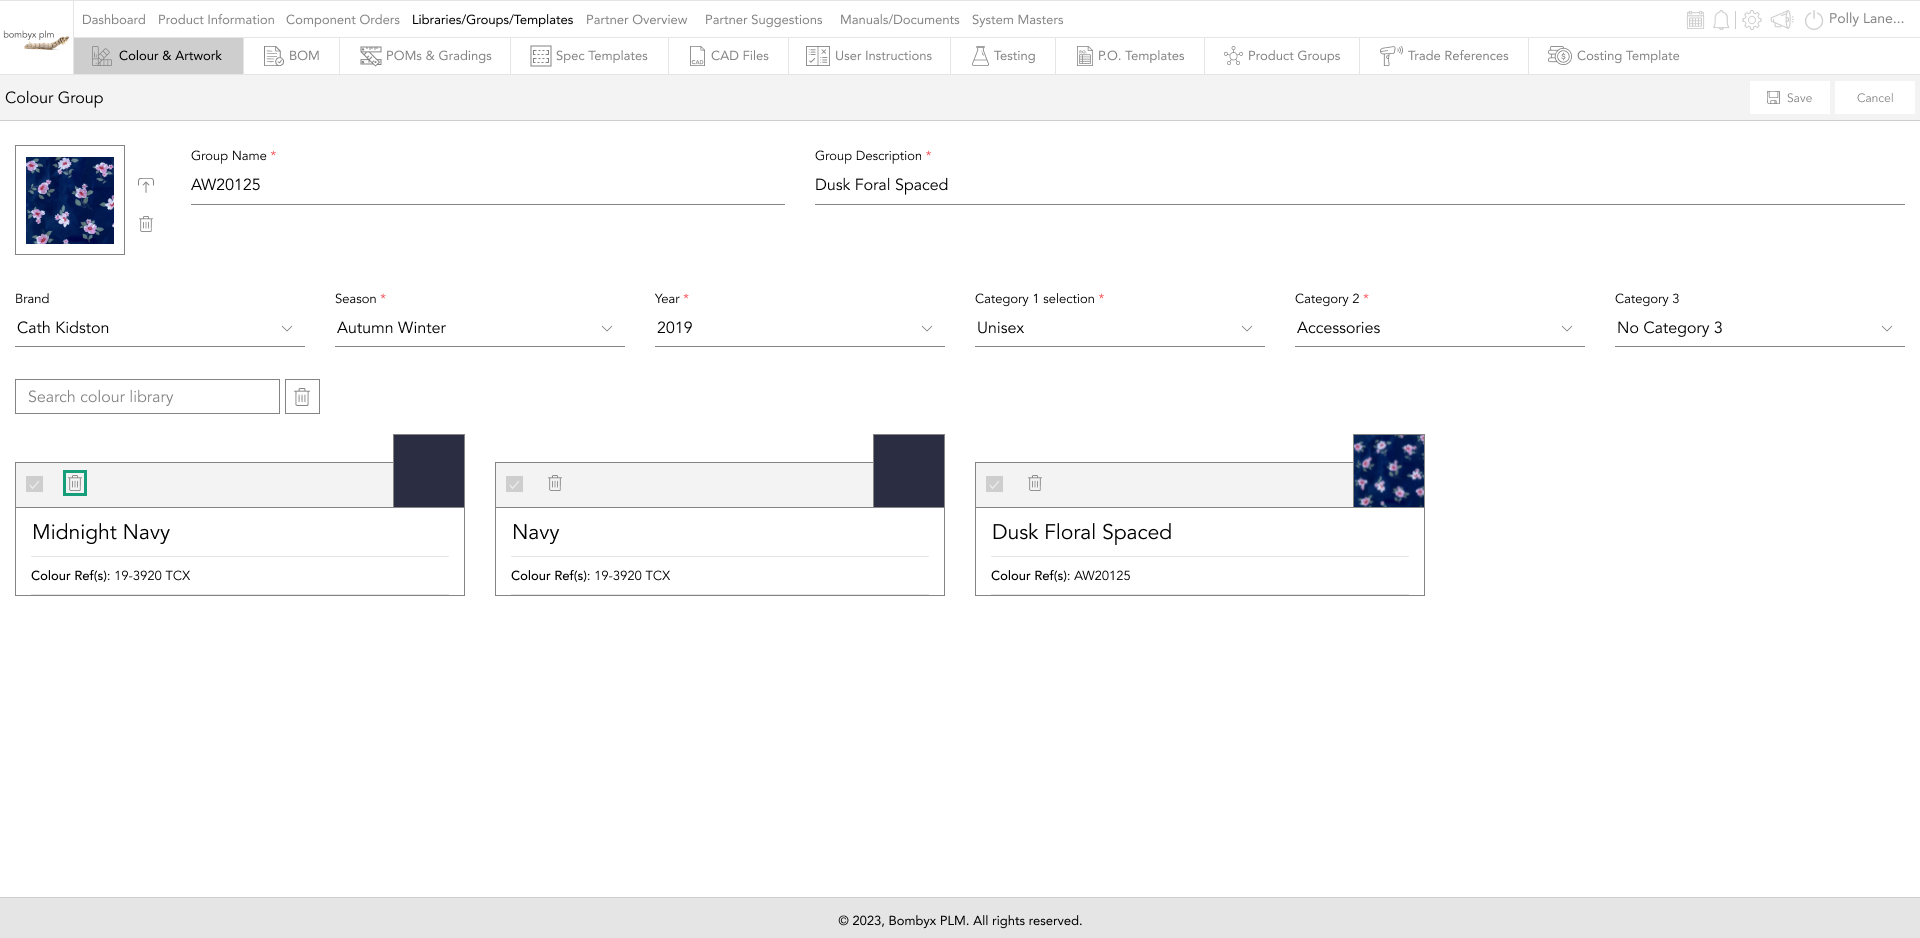
delete colours/artworks from inside a group
To delete a colour/artwork, you have two options. The first is to tap the bin icon on the header of the corresponding card.
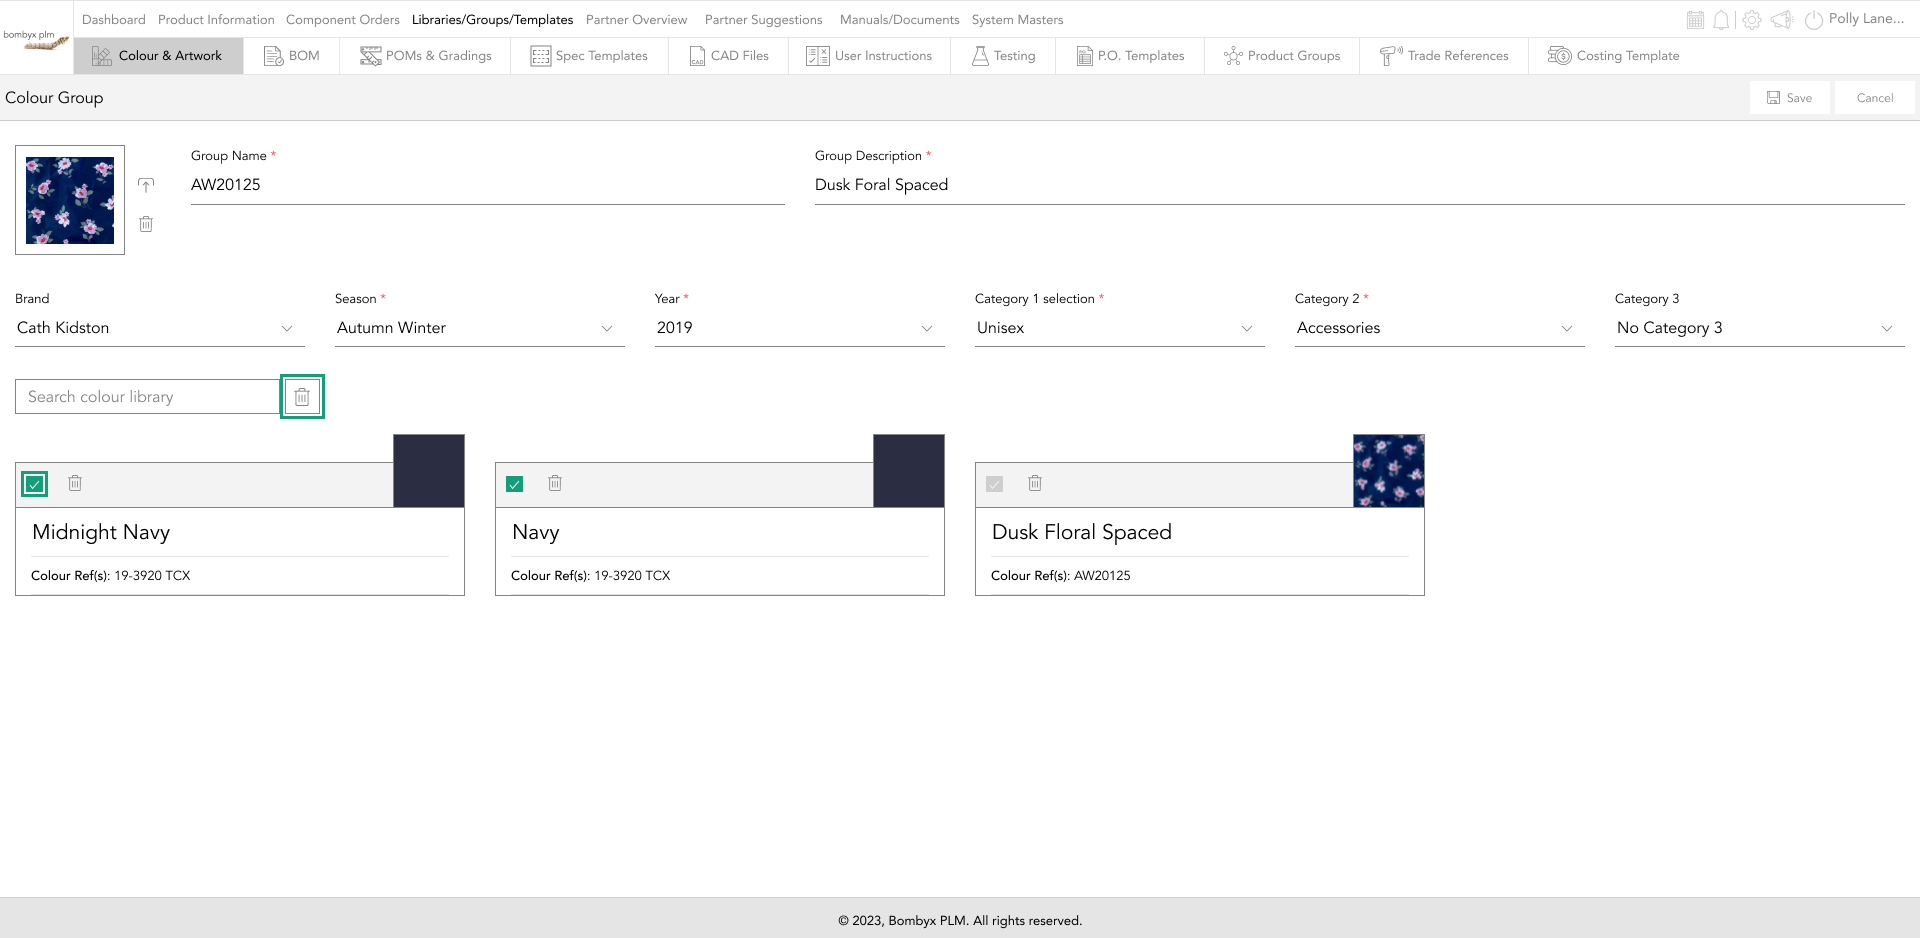
Secondly, you can also delete multiple colours/artworks at once. You can do this by checking the checkboxes of the colour/artwork cards you'd like to delete, and tap the delete icon that is positioned towards the top right hand side of the groups page.
edit group
After accessing the group's page, you can edit the group's information by tapping the edit icon.

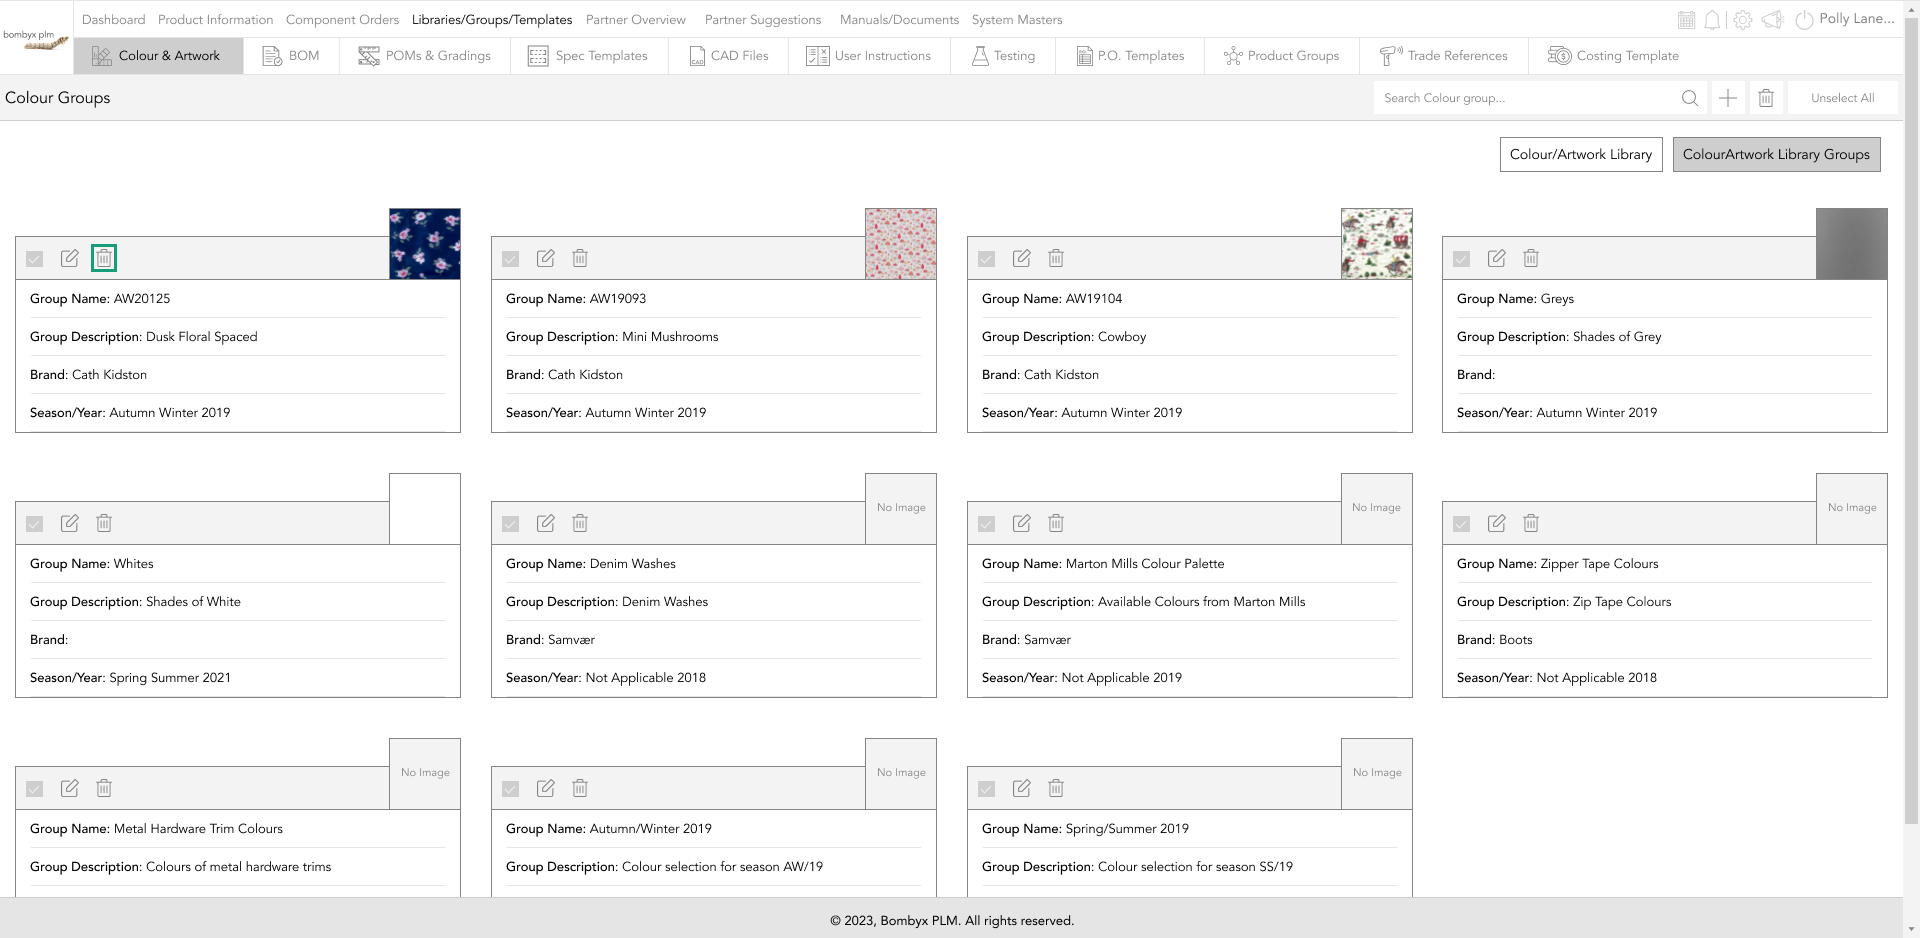
deleting groups
There are two ways to delete colour/artwork groups. First is to delete a single group, tap the bin icon on the grey header card of the group.
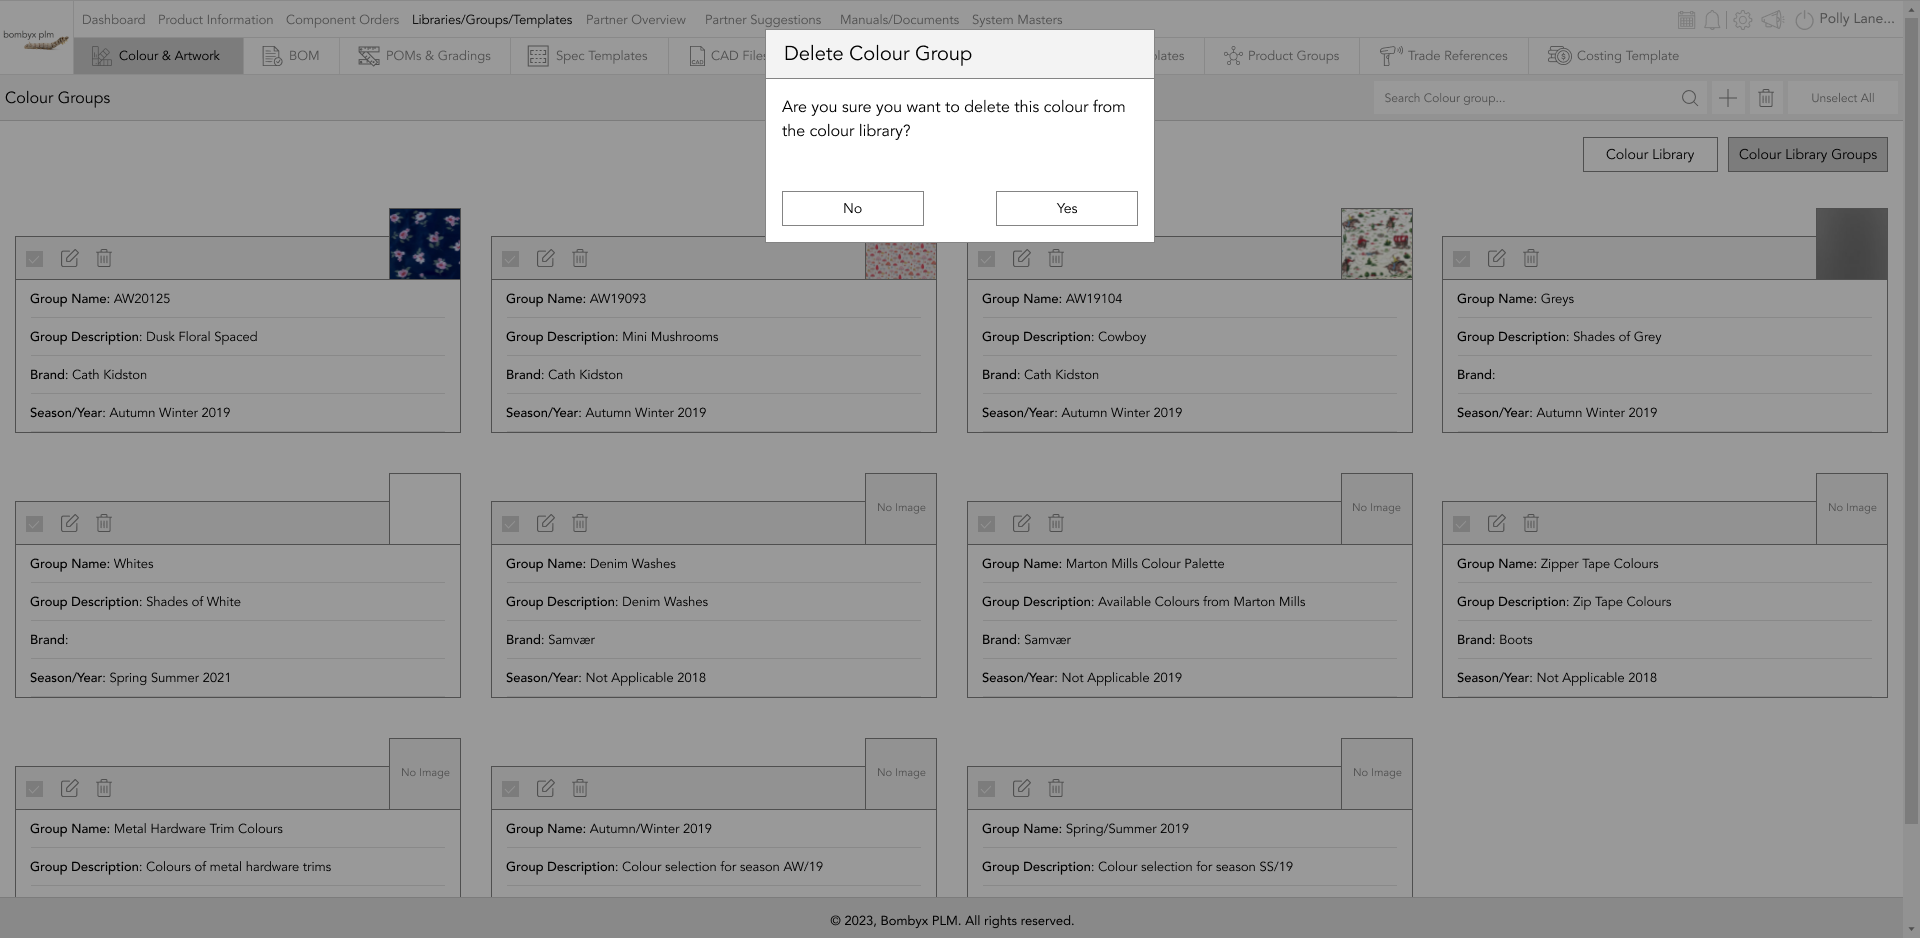
A popup will appear asking for you to confirm that you'd like to delete the group. Tap yes to delete it, or no to cancel the action.
Secondly is to delete multiple groups at once. To delete colour/artwork groups, select their checkboxes and tap the delete icon at the top right of the page.

Beyond the Label: Diving into the Sustainable Story with Digital Product Passports
Consumers today are increasingly concerned about the environmental and social impact of their purchases. From the food they eat.

Bombyx’s AI Integration: Advancing Business Excellence in PLM, PIM, and DAM Systems
Let's delve into the exciting realm of Artificial Intelligence (AI) undergoing a transformative evolution. As we Enter the year 2024.

Beyond Baubles: A Stylish Dive into Christmas Fashion Trends.
e explore the latest Christmas fashion trends, with a focus on achieving a harmonious balance between sophistication and comfort. From luxurious velvets to cosy knits

Streamlining Winter Fashion with PLM: Managing Seasonal Changes
Winter fashion production demands meticulous planning and execution. PLM serves as a guiding force in production management, aiding in resource allocation, scheduling

Christmas Experience through Digital Transformation
During the Autumn/Winter months in Europe and the USA, are marked by heightened activity. The festive season introduces an atmosphere of joy and unity. Amidst the era of digital in
Demanding Trends & The Transformative Power of Product Lifecycle Management
Explore how strategic Product Lifecycle Management (PLM) empowers fashion to navigate trends sustainably. This post delves into the symbiosis of trends and sustainability,
The Power of Product Information Management (PIM) With a PLM System.
In today's fast-paced business environment, effective product information management is crucial for success. Product Information Management (PIM) is a powerful tool.

Fashion and the Power of Product Lifecycle Management
In recent years, the fashion industry has witnessed a surge in fashion, a phenomenon characterised by the rapid production and consumption of inexpensive clothing... and a whole l
Supply Chain Management has Forever Changed
Brands make use of product lifecycle data analysis to help them work out price points, marketing and advertising strategies, packaging, growth and expansion… and a whole lot more